

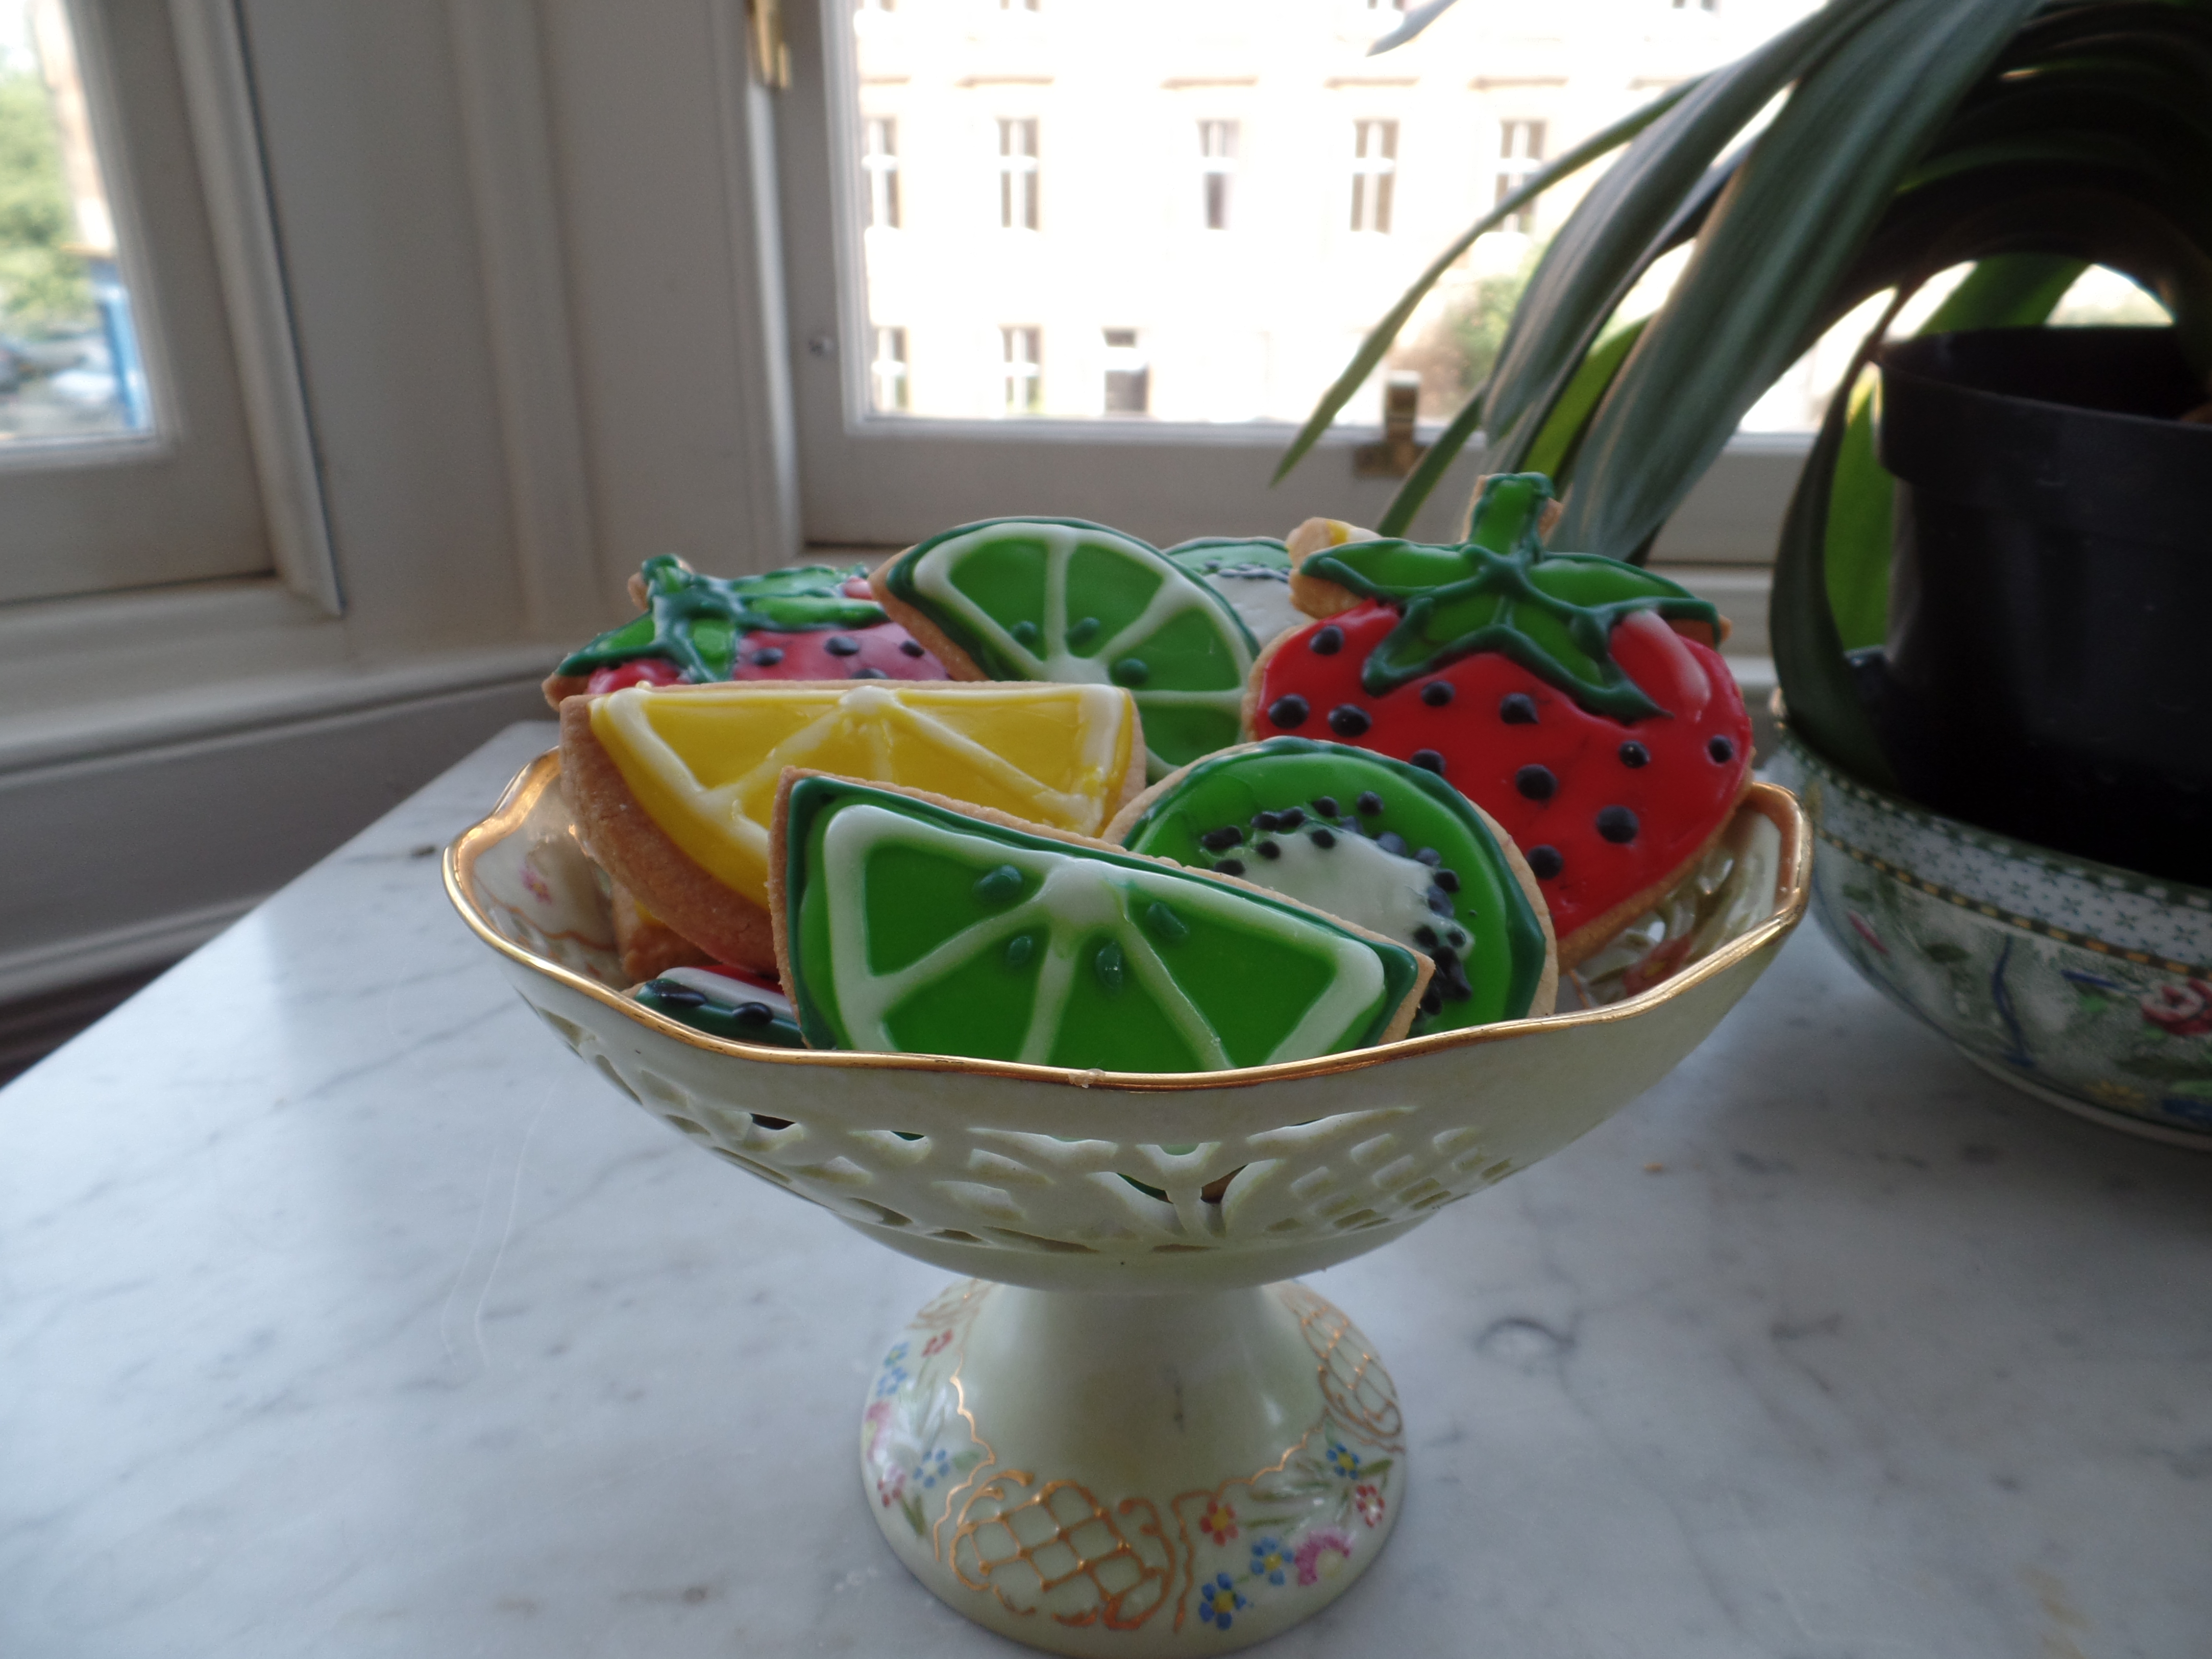
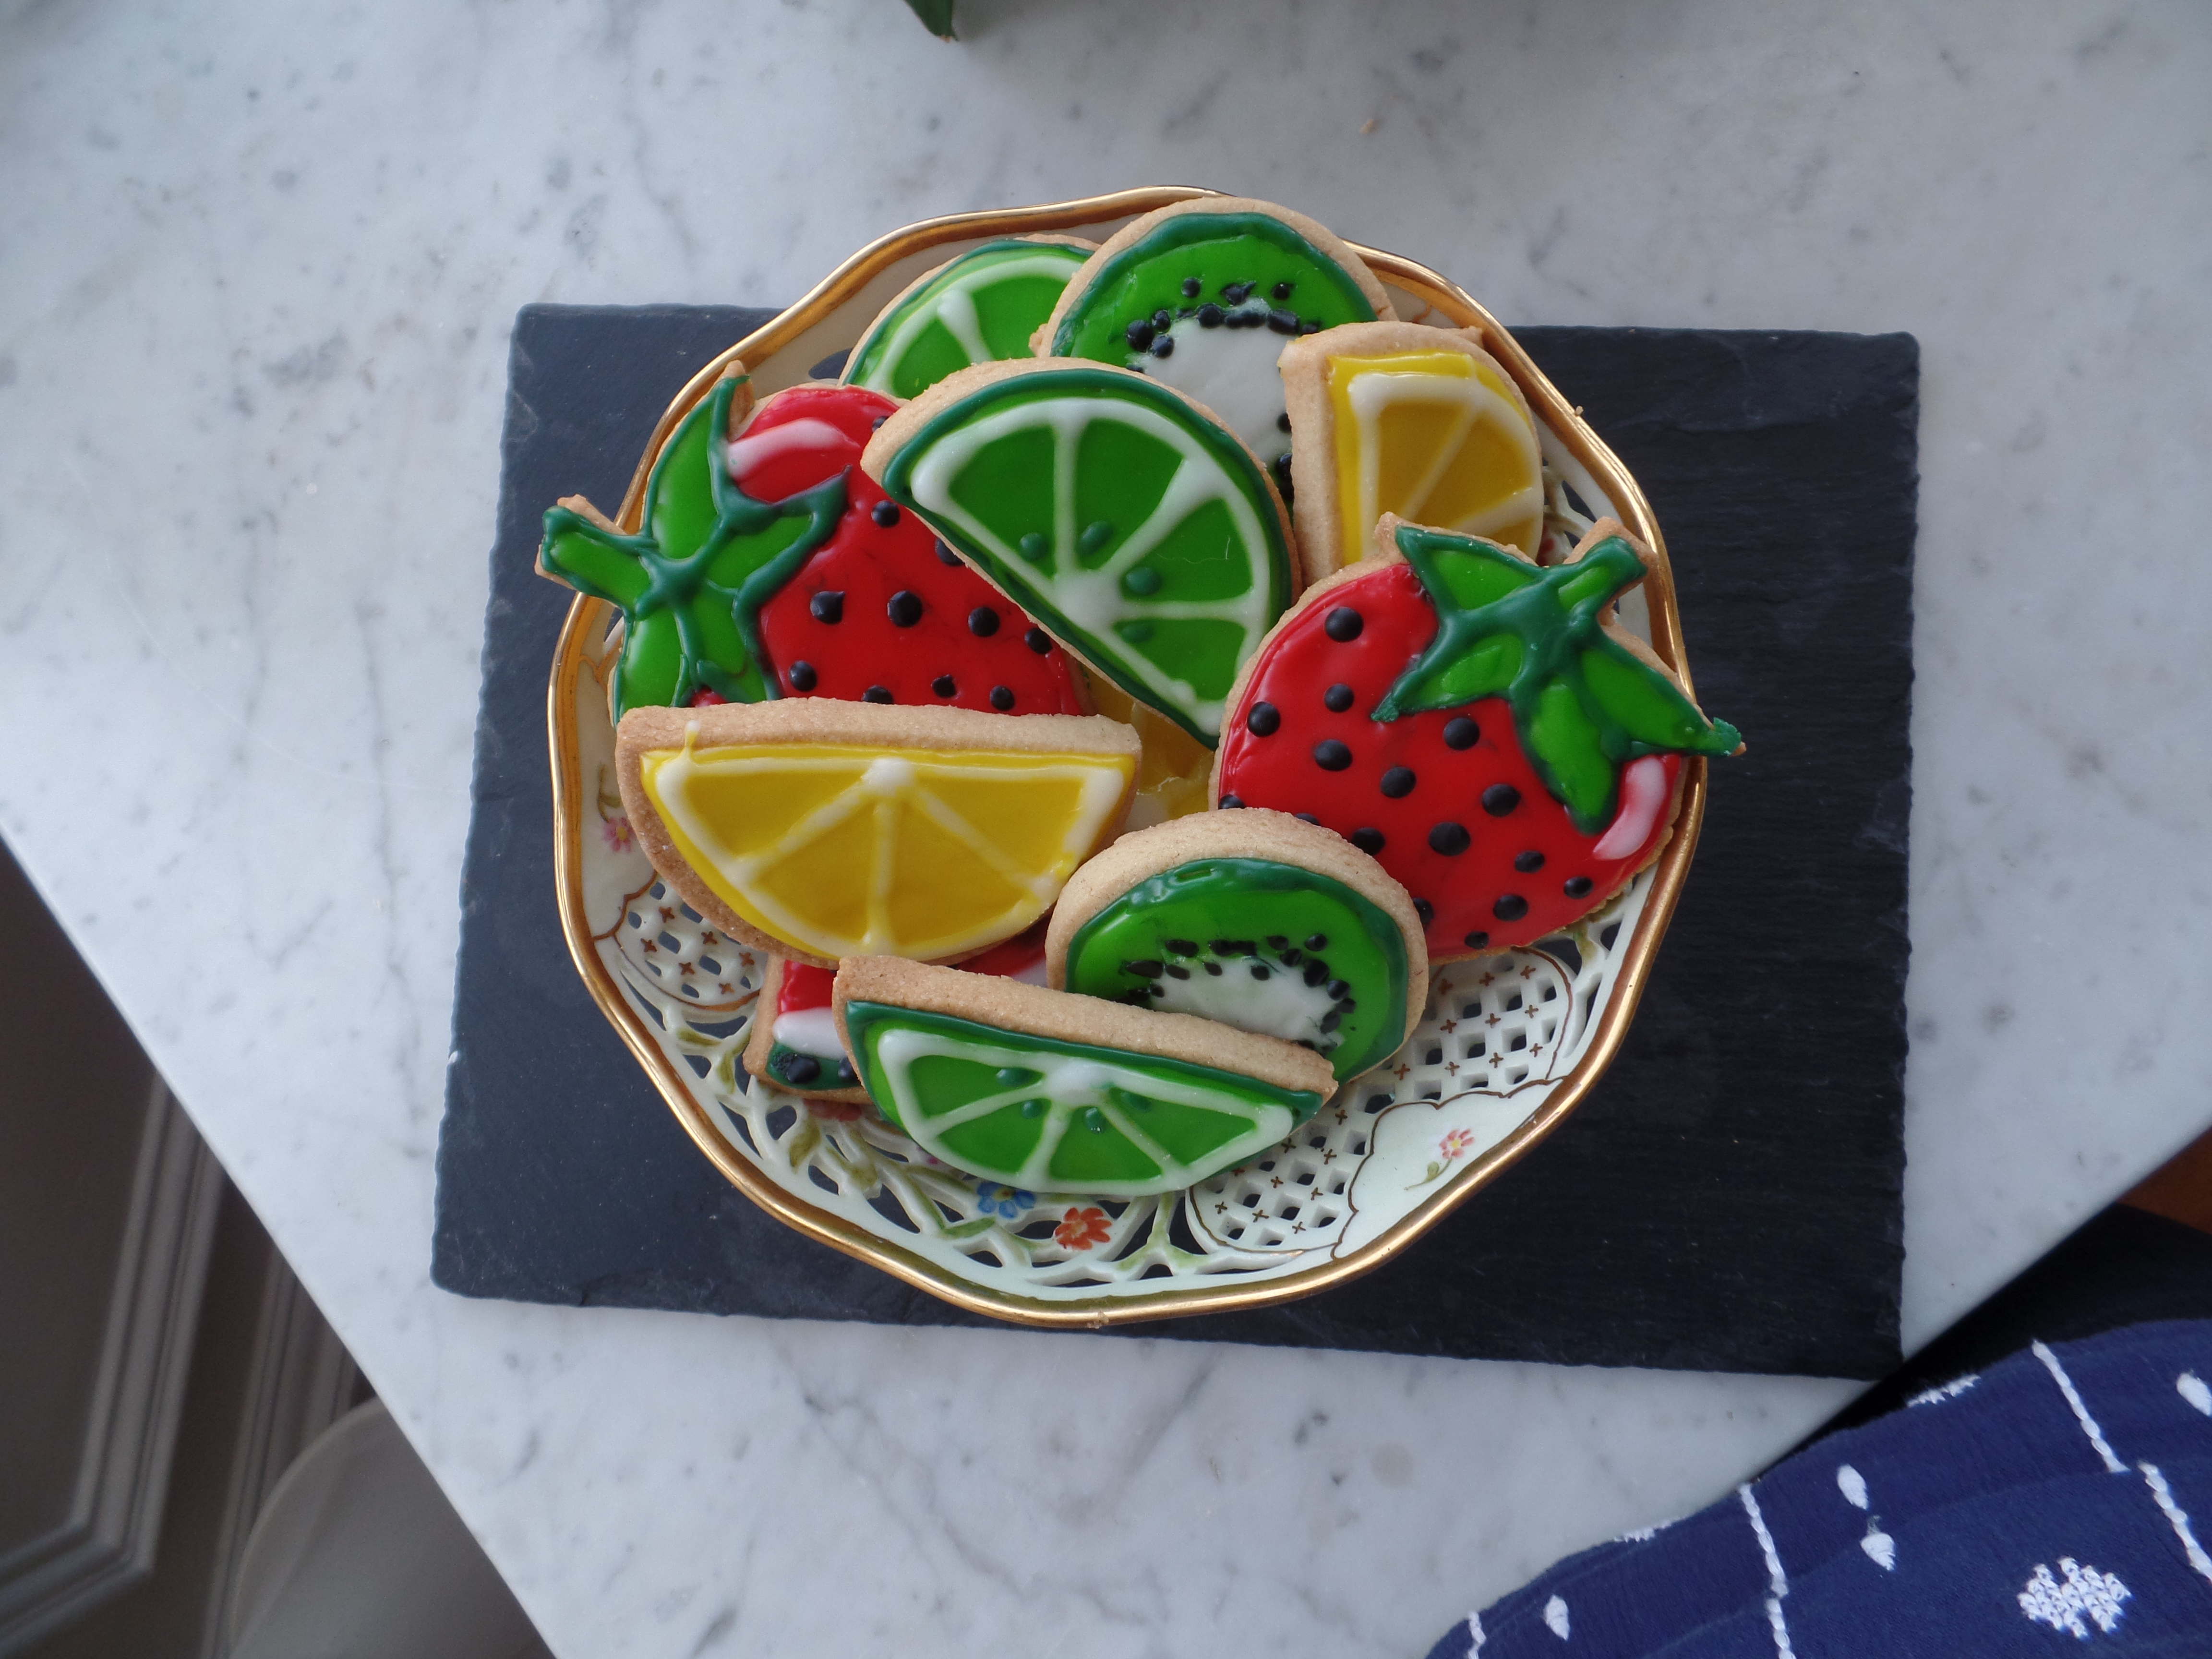
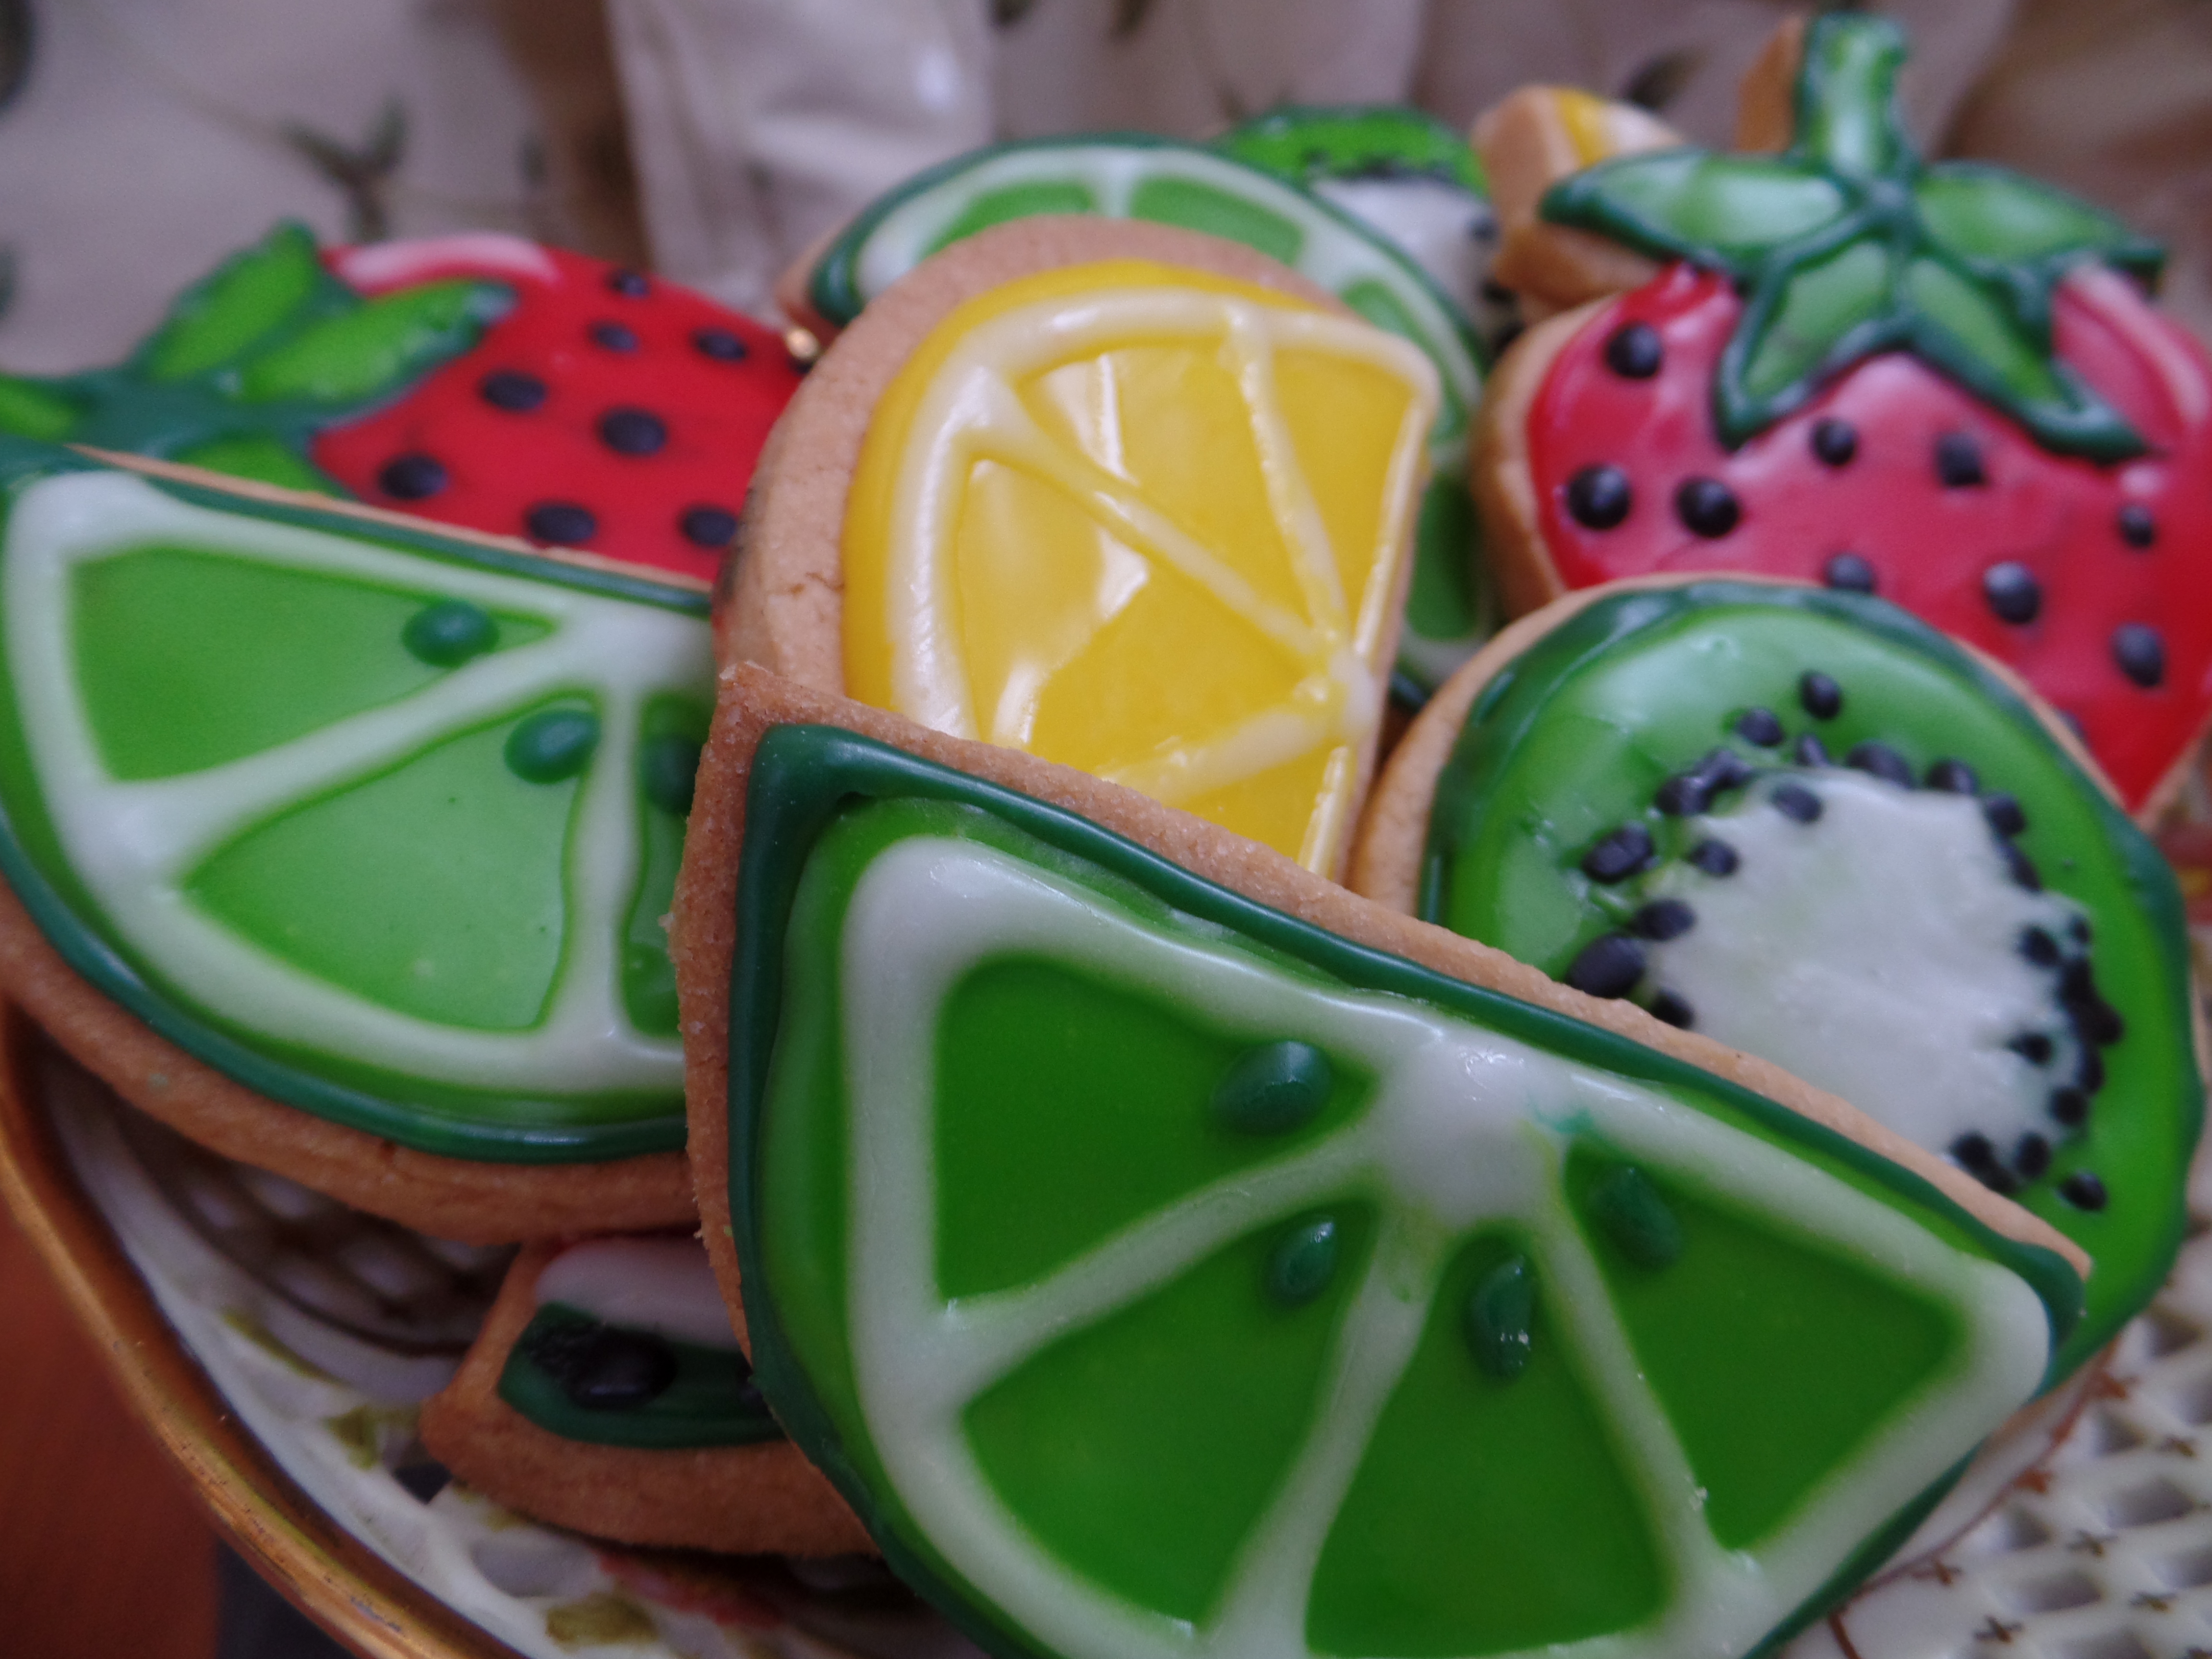
I am loving the current trend for iced biscuits that appears to be going on at the moment. Have a look at my ‘baking inspiration’ board on Pinterest and you will see some of the designs that I would love to have a bash at at some point. The actual biscuits are so easy to make and the possibilities for different shapes and decoration are endless. I chose to go for a fruity, summer theme and the end result is very cheery looking to say the least!
This was my first attempt at iced biscuits and I don’t think they’re too bad for a first go. However next time I think I will make my icing less runny and invest in some very thin piping nozzles for piping the outline of the biscuits. I used a slightly adapted versions of Bake of Star Ruth Clemen’s recipes for the both the biccies and the glaze icing.
The icing can be quite fiddly- I was concentrating so hard that I think I ended up in the ‘piping zone’, which is unfortunately why I ended up abandoning my camera during the decorating process- sorry about that. Anyway, as I said before, they are something I would like to try again so I will be able to go into more detail regarding the piping technique then. For now I hope you enjoy these as my first attempt…
Prep time:
Approx 2 hrs depending on how complex you want your designs to be.
Makes: 30 Biscuits approx
Ingredients:
For the Biscuits:
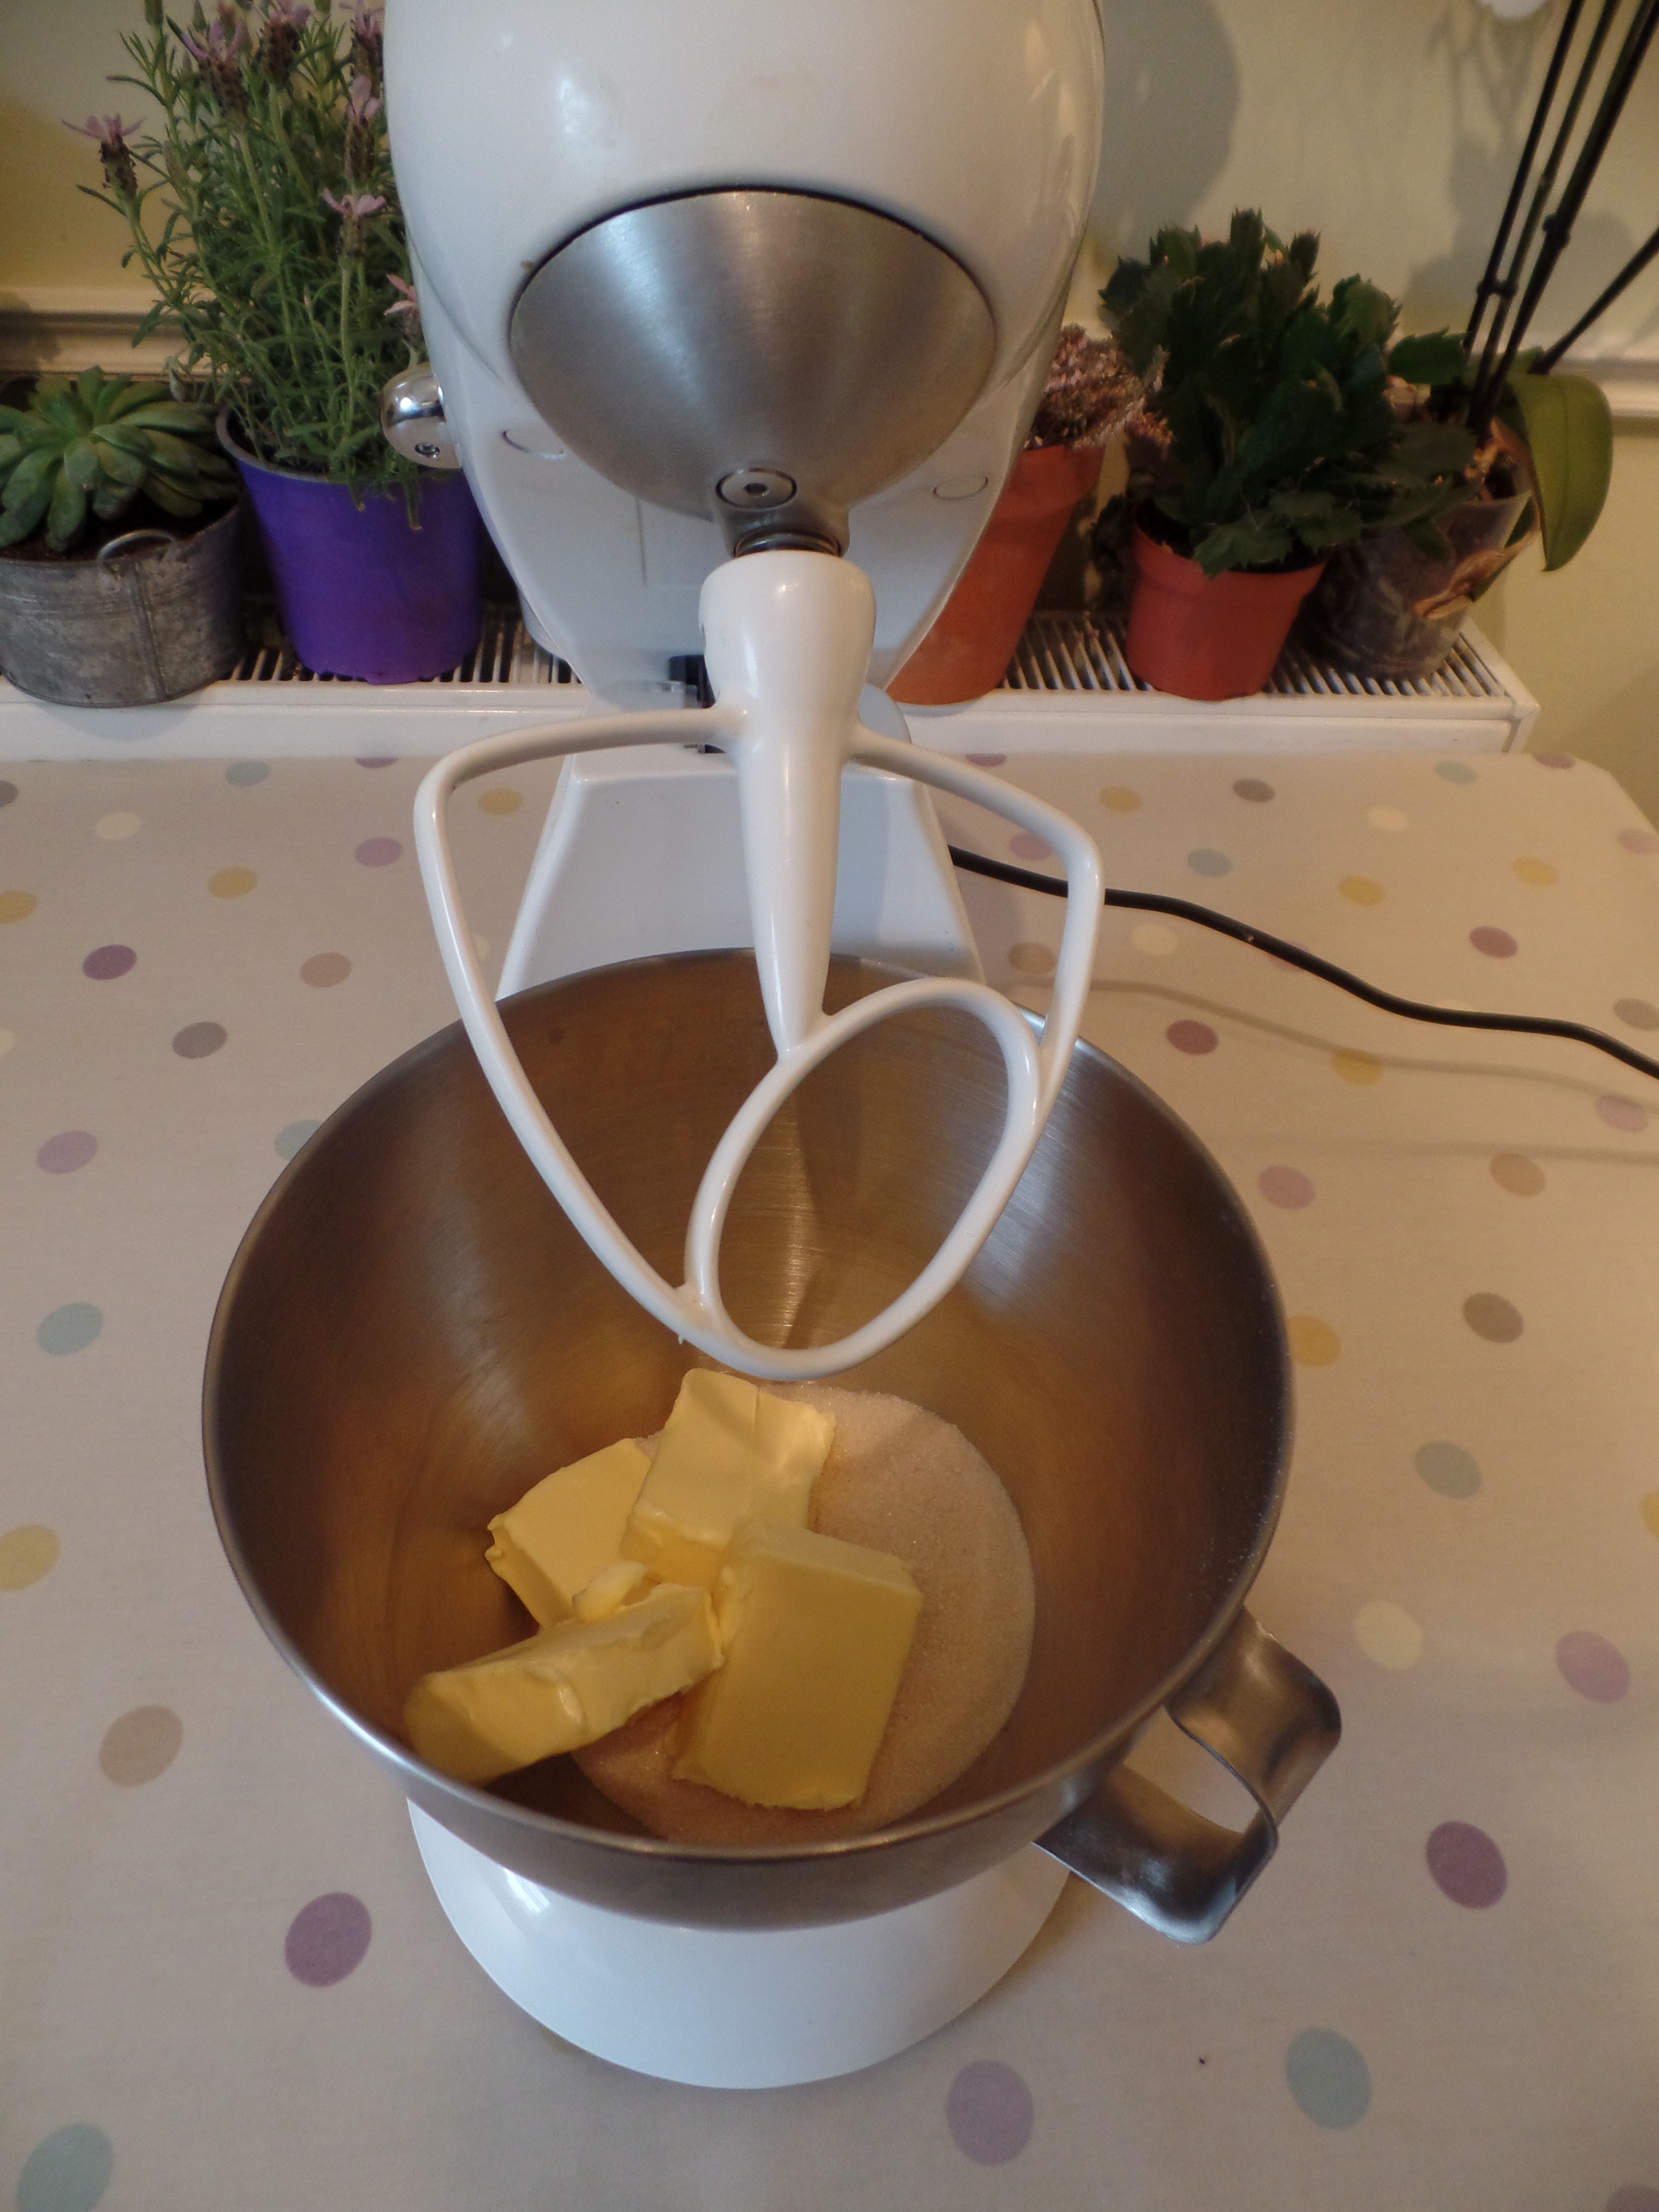
220g Salted Butter, softened
200g Caster Sugar
Half tsp Vanilla Extract
1 Large Egg
425g Plain Flour
For the Glaze Icing:
500g icing sugar
85g liquid glucose (available in tubes from the baking aisle in most large supermarkets)
60ml water
Special equipment:
A good selection of food colourings, preferably gel or powder.
Method:
1.Preheat the oven to 180°C/ 350 F/ Gas Mark 6.
2. Cream together the butter and sugar.
3. Add the egg and the vanilla extract and beat well.
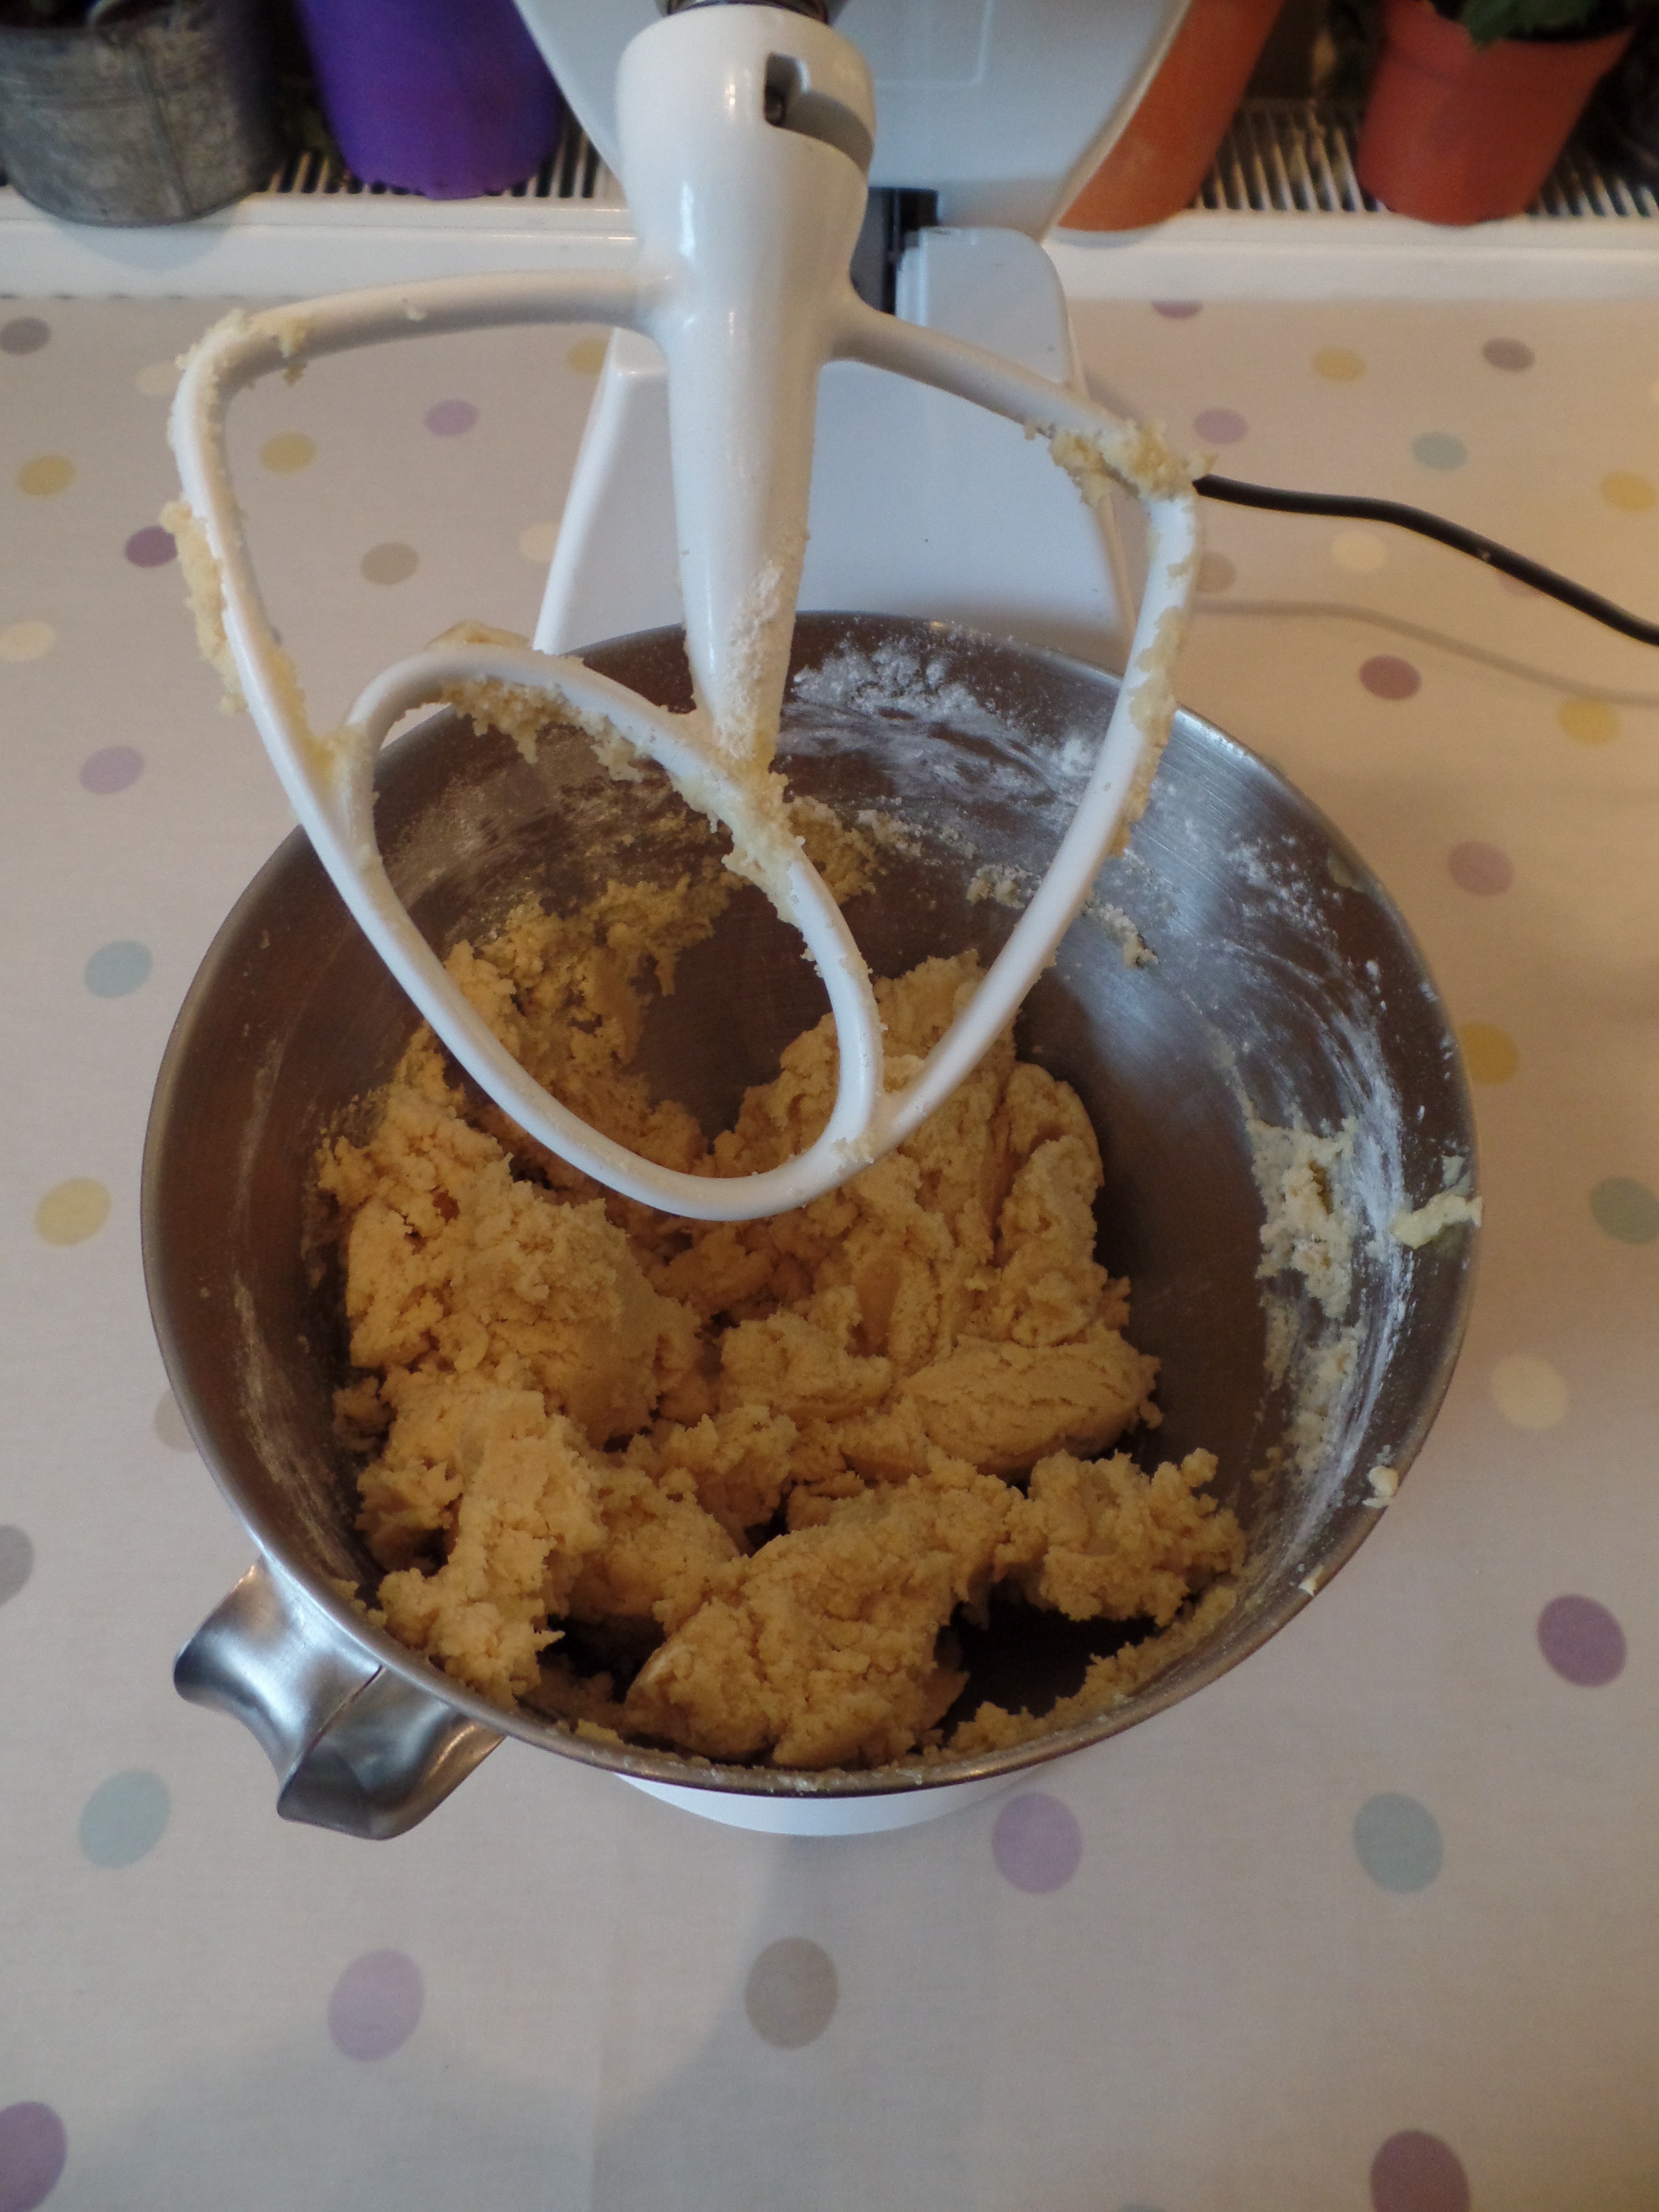
4. Add the flour and work together into a dough.
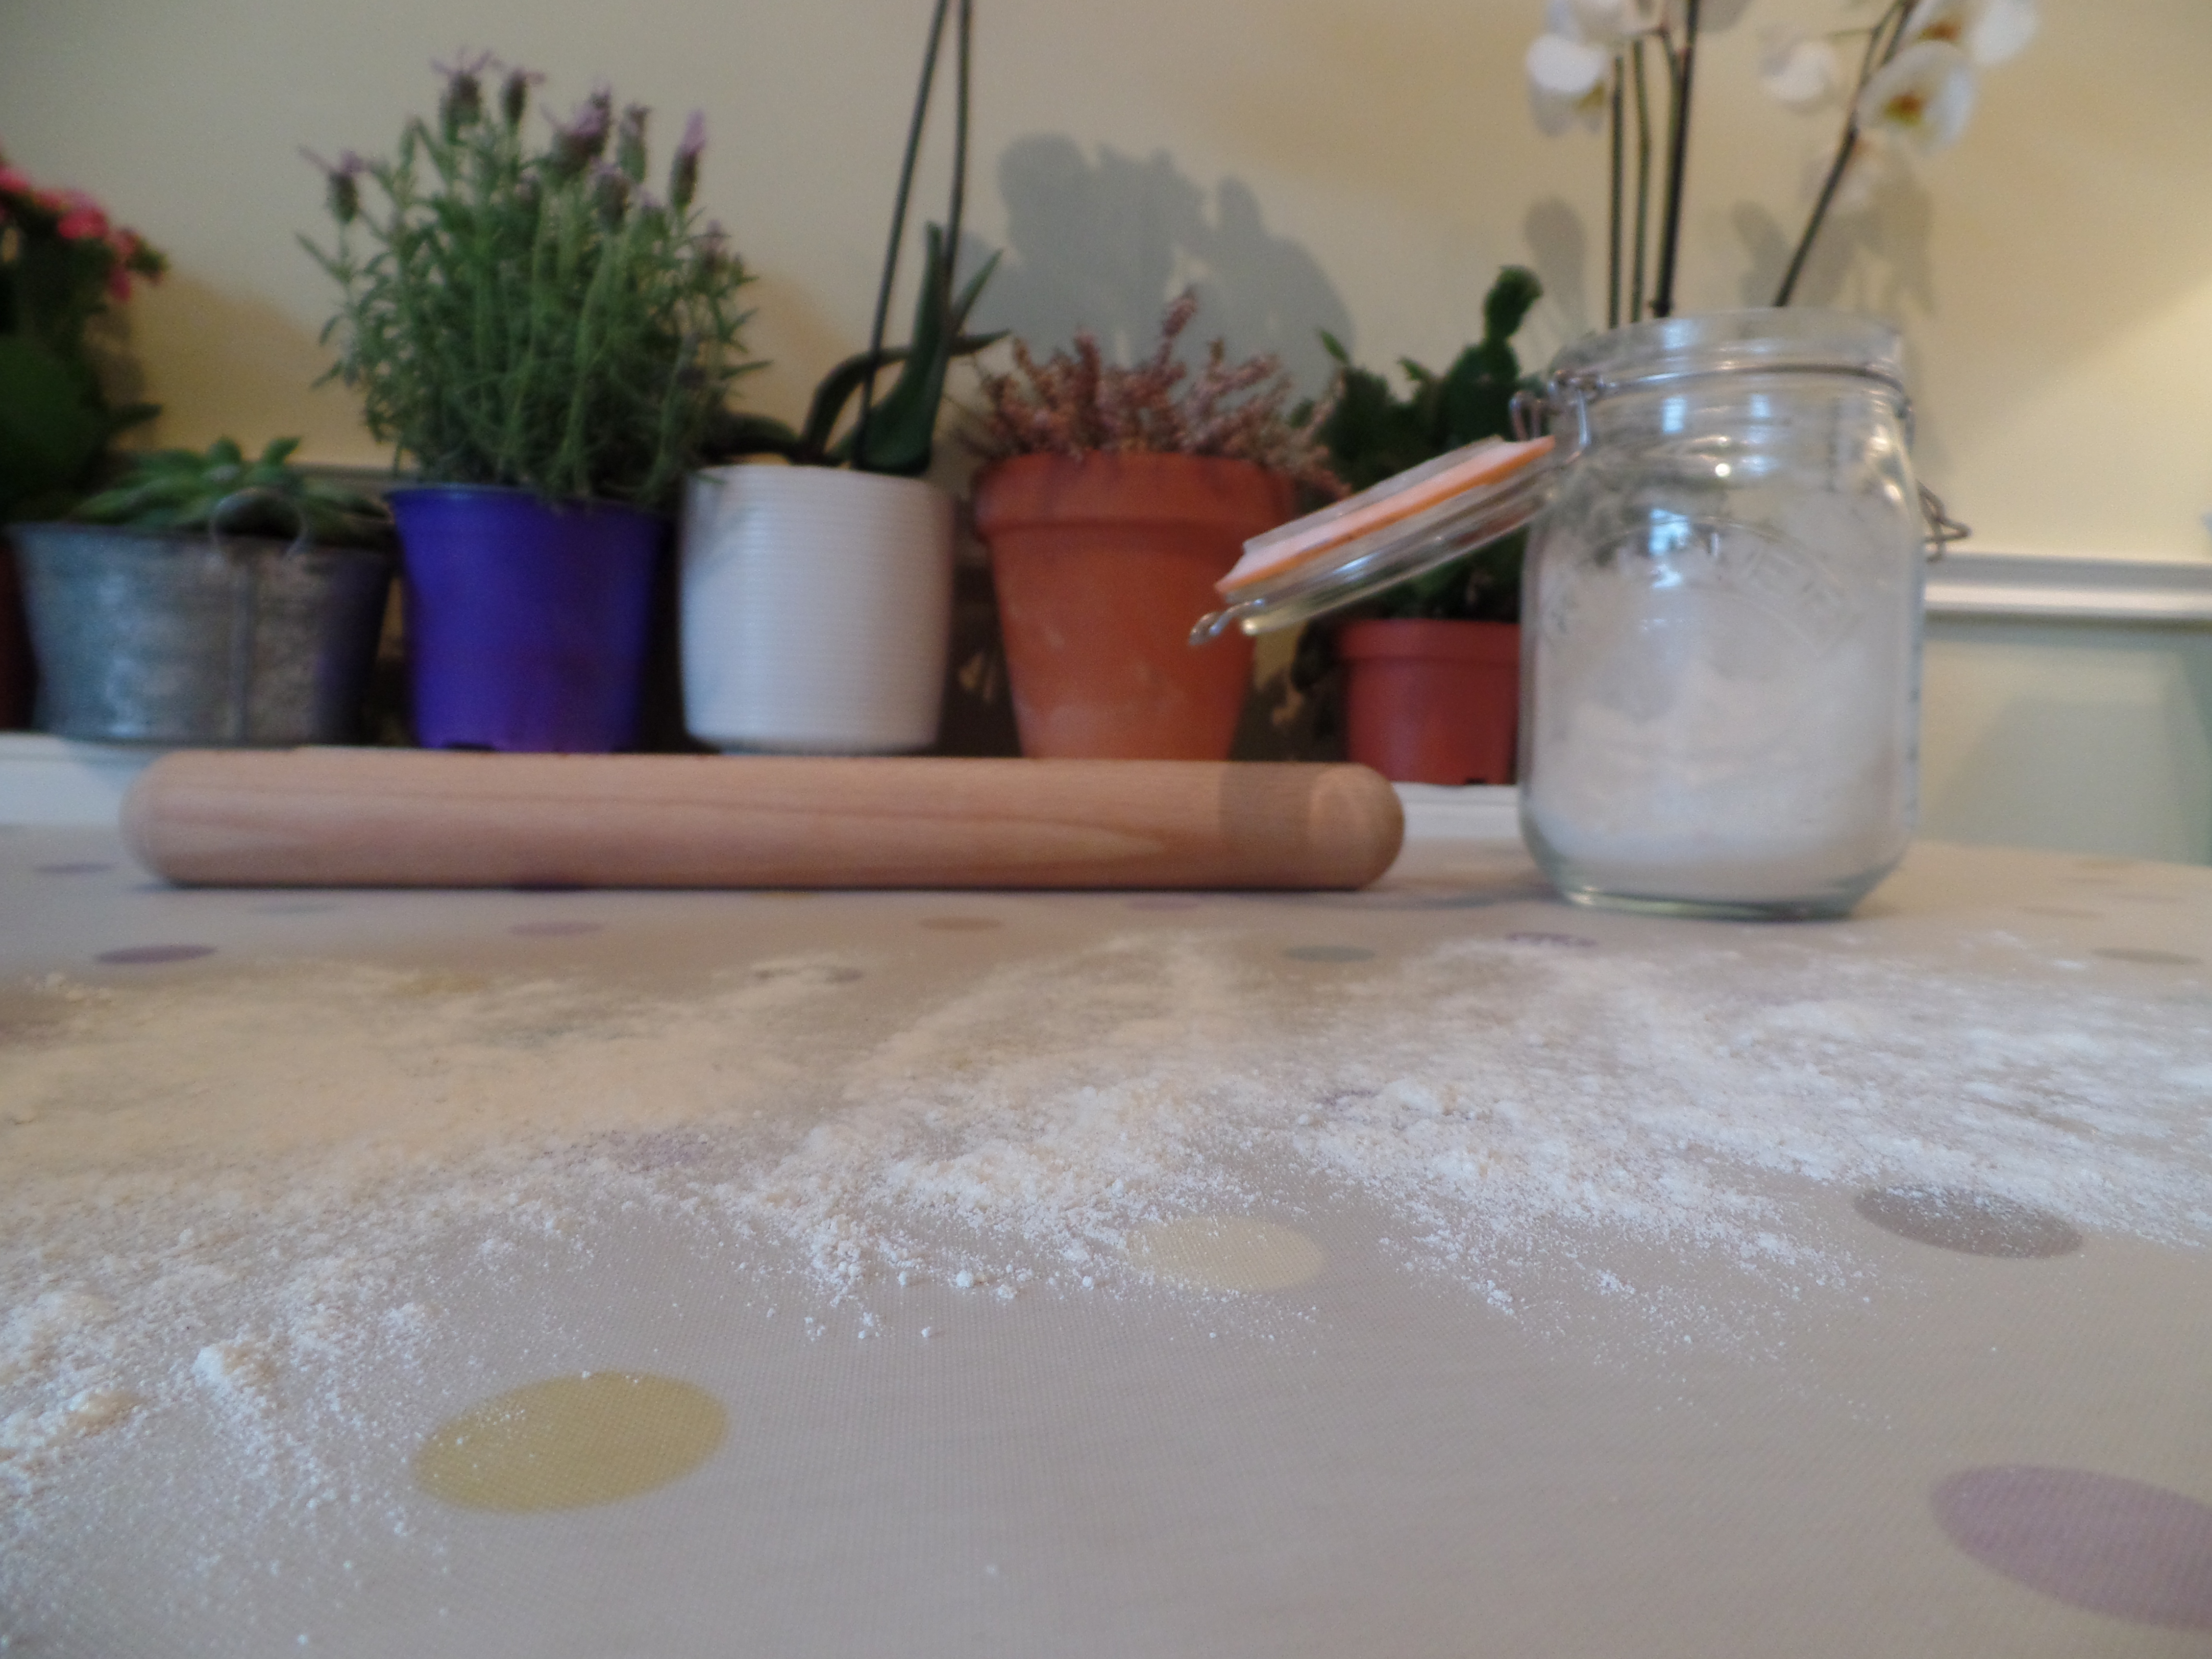
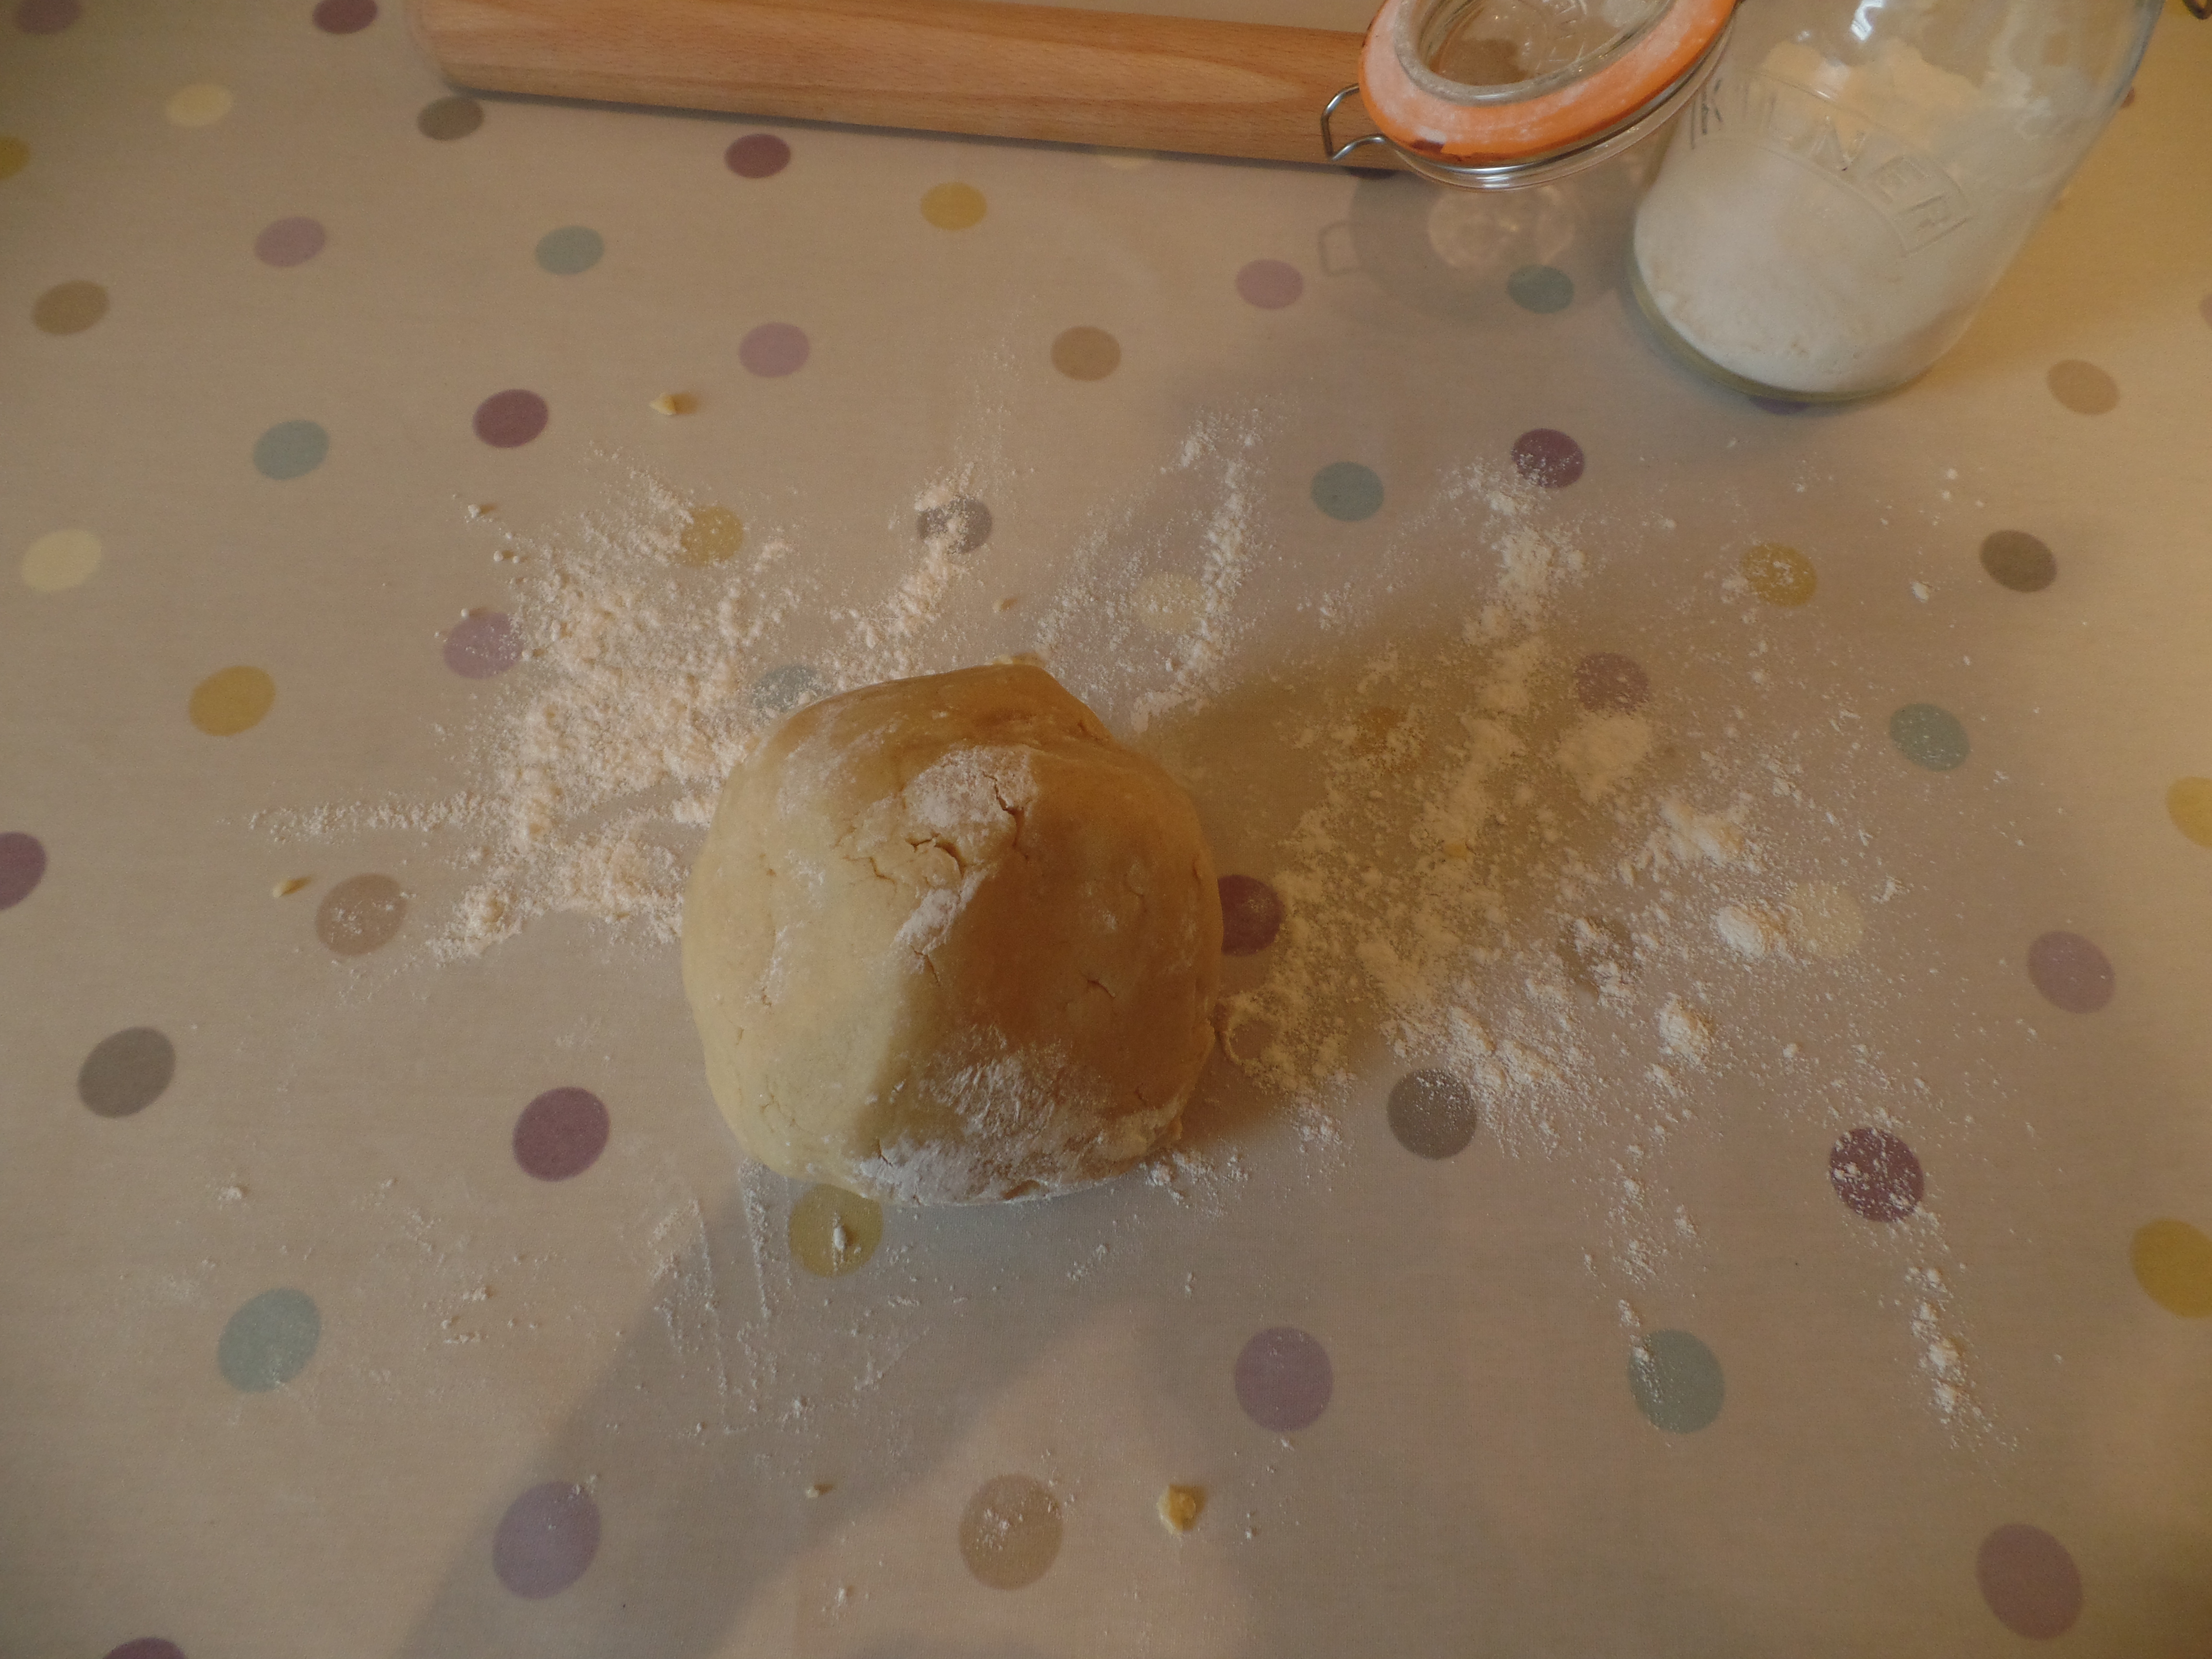
5. Lightly flour the work surface and gently knead the dough until it is smooth and pliable. Add more flour if you think it feels too sticky.
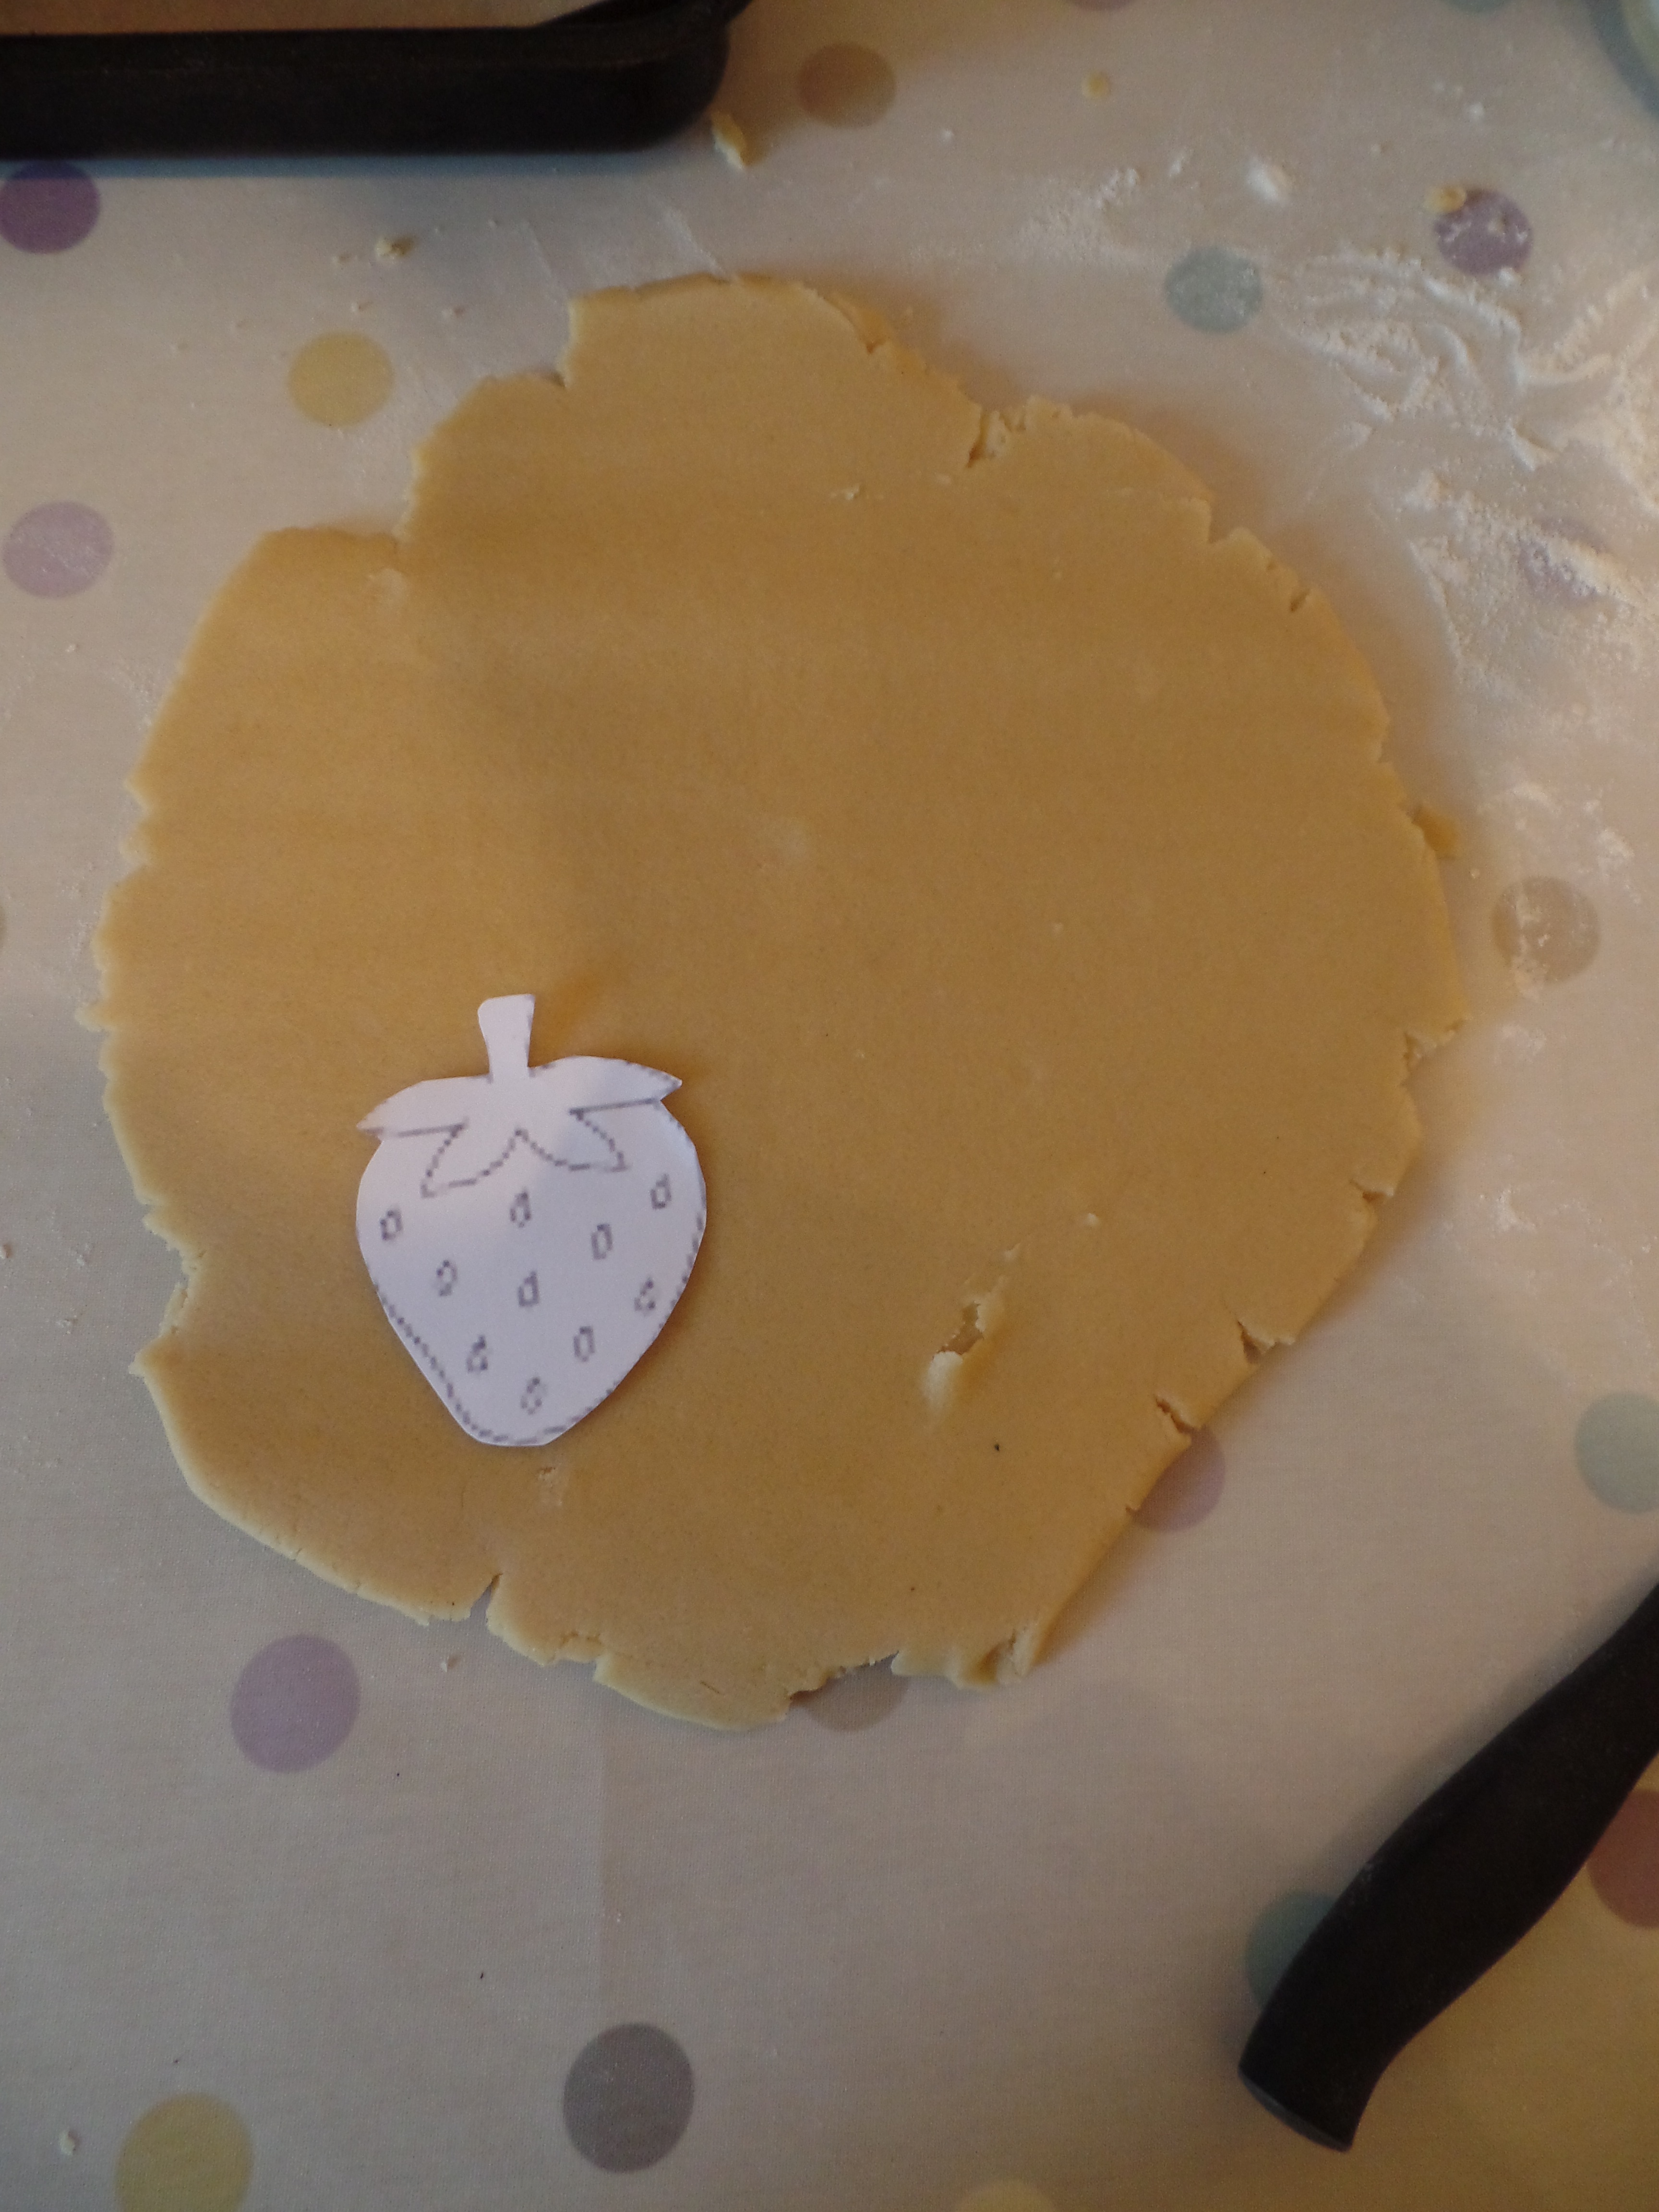
6. Roll out your dough with a rolling pin and then cut out your biscuits with your chosen cutter or template and transfer to a lined baking tray. To make my paper templates I just traced around shapes that I found on the Internet.
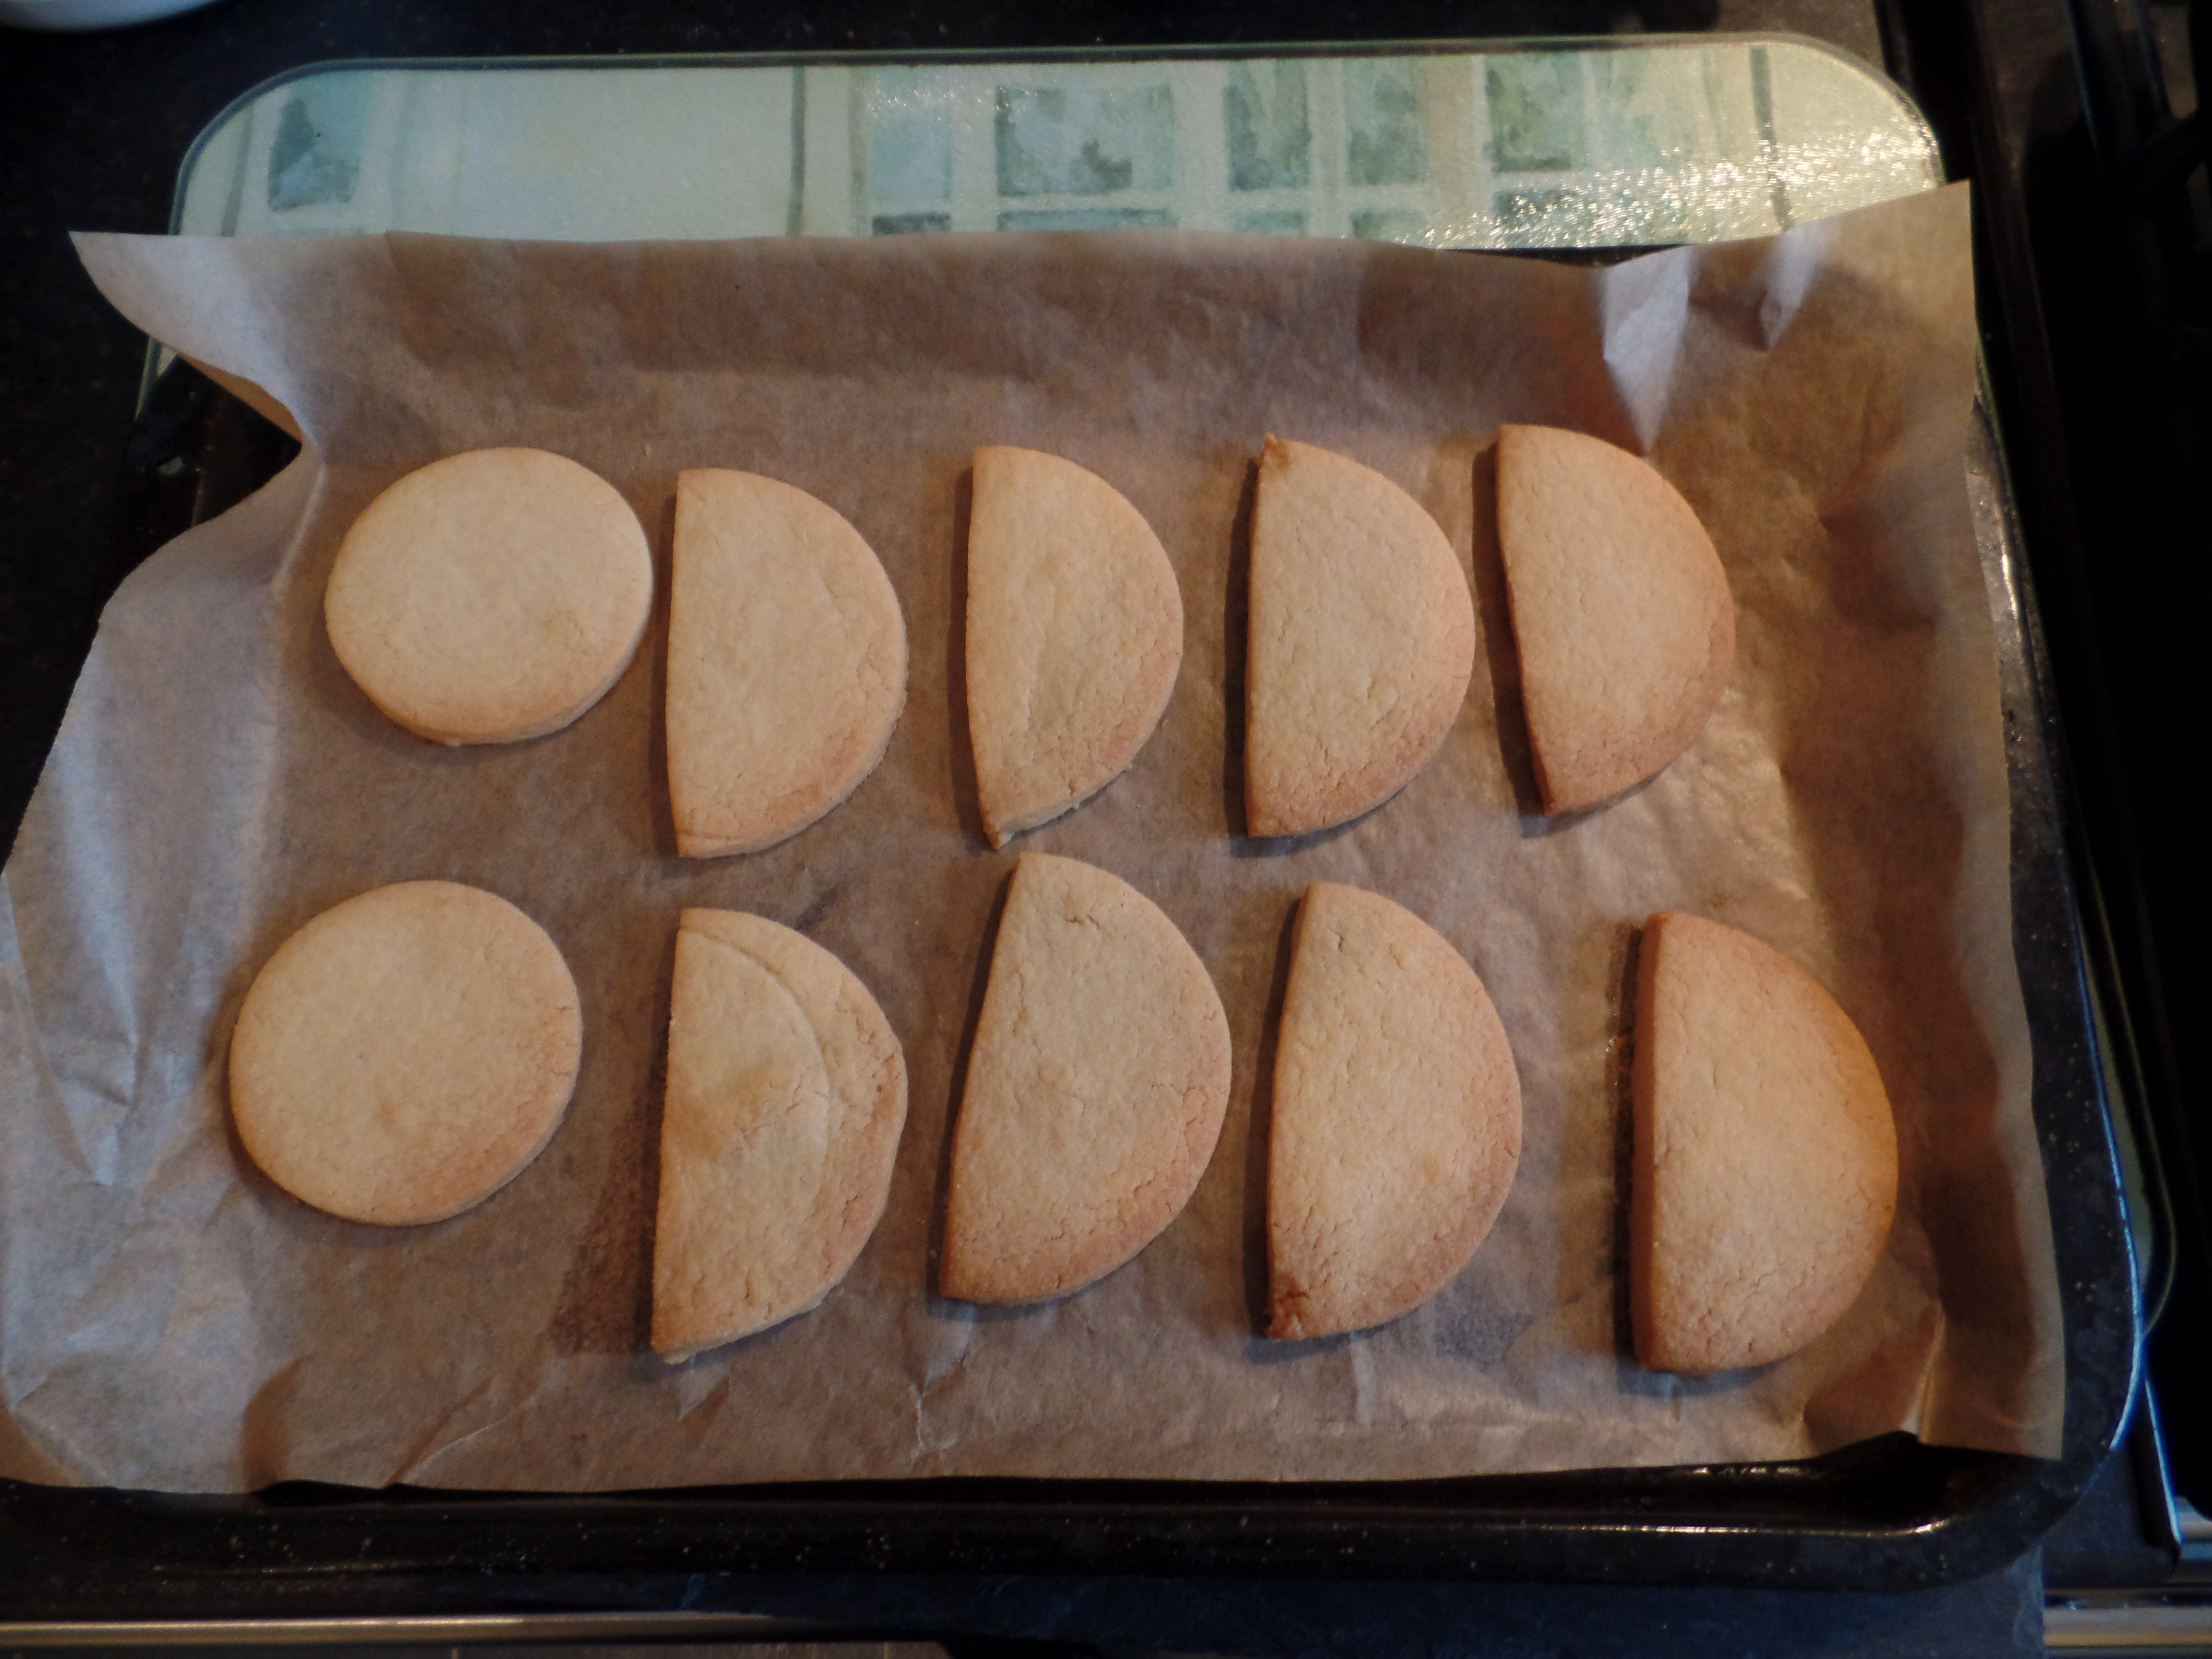
7. Bake in the oven for 8- 10 minutes (depending on the size of biscuits, if you’re making huge ones they will obviously take longer) until the edges are lightly golden brown.

8. Allow to cool on the tray for 5 minutes before transferring to a wire rack to cool completely.
9. To make your glaze: Add all of the ingredients into a bowl and mix until combined. Adapt the icing by adding more icing sugar to make it thicker and more water to make it thinner. I always think its better to go for thicker personally.
10. Divide the icing up into separate bowls depending on how many different colours you want then add the food colourings.
11. Put the icing in a piping bag and cut a very small hole in the tip.
12. Start piping your designs on to the biscuits using a thicker icing to do the outline then a thinner one to ‘flood’ the inside of the outline. Leave to dry and then pipe finer details on top.
And there you go! Behold some of the cheeriest biscuits to ever grace my biscuit tin!

One thought on “Recipe: Fruity Iced Biscuits”