
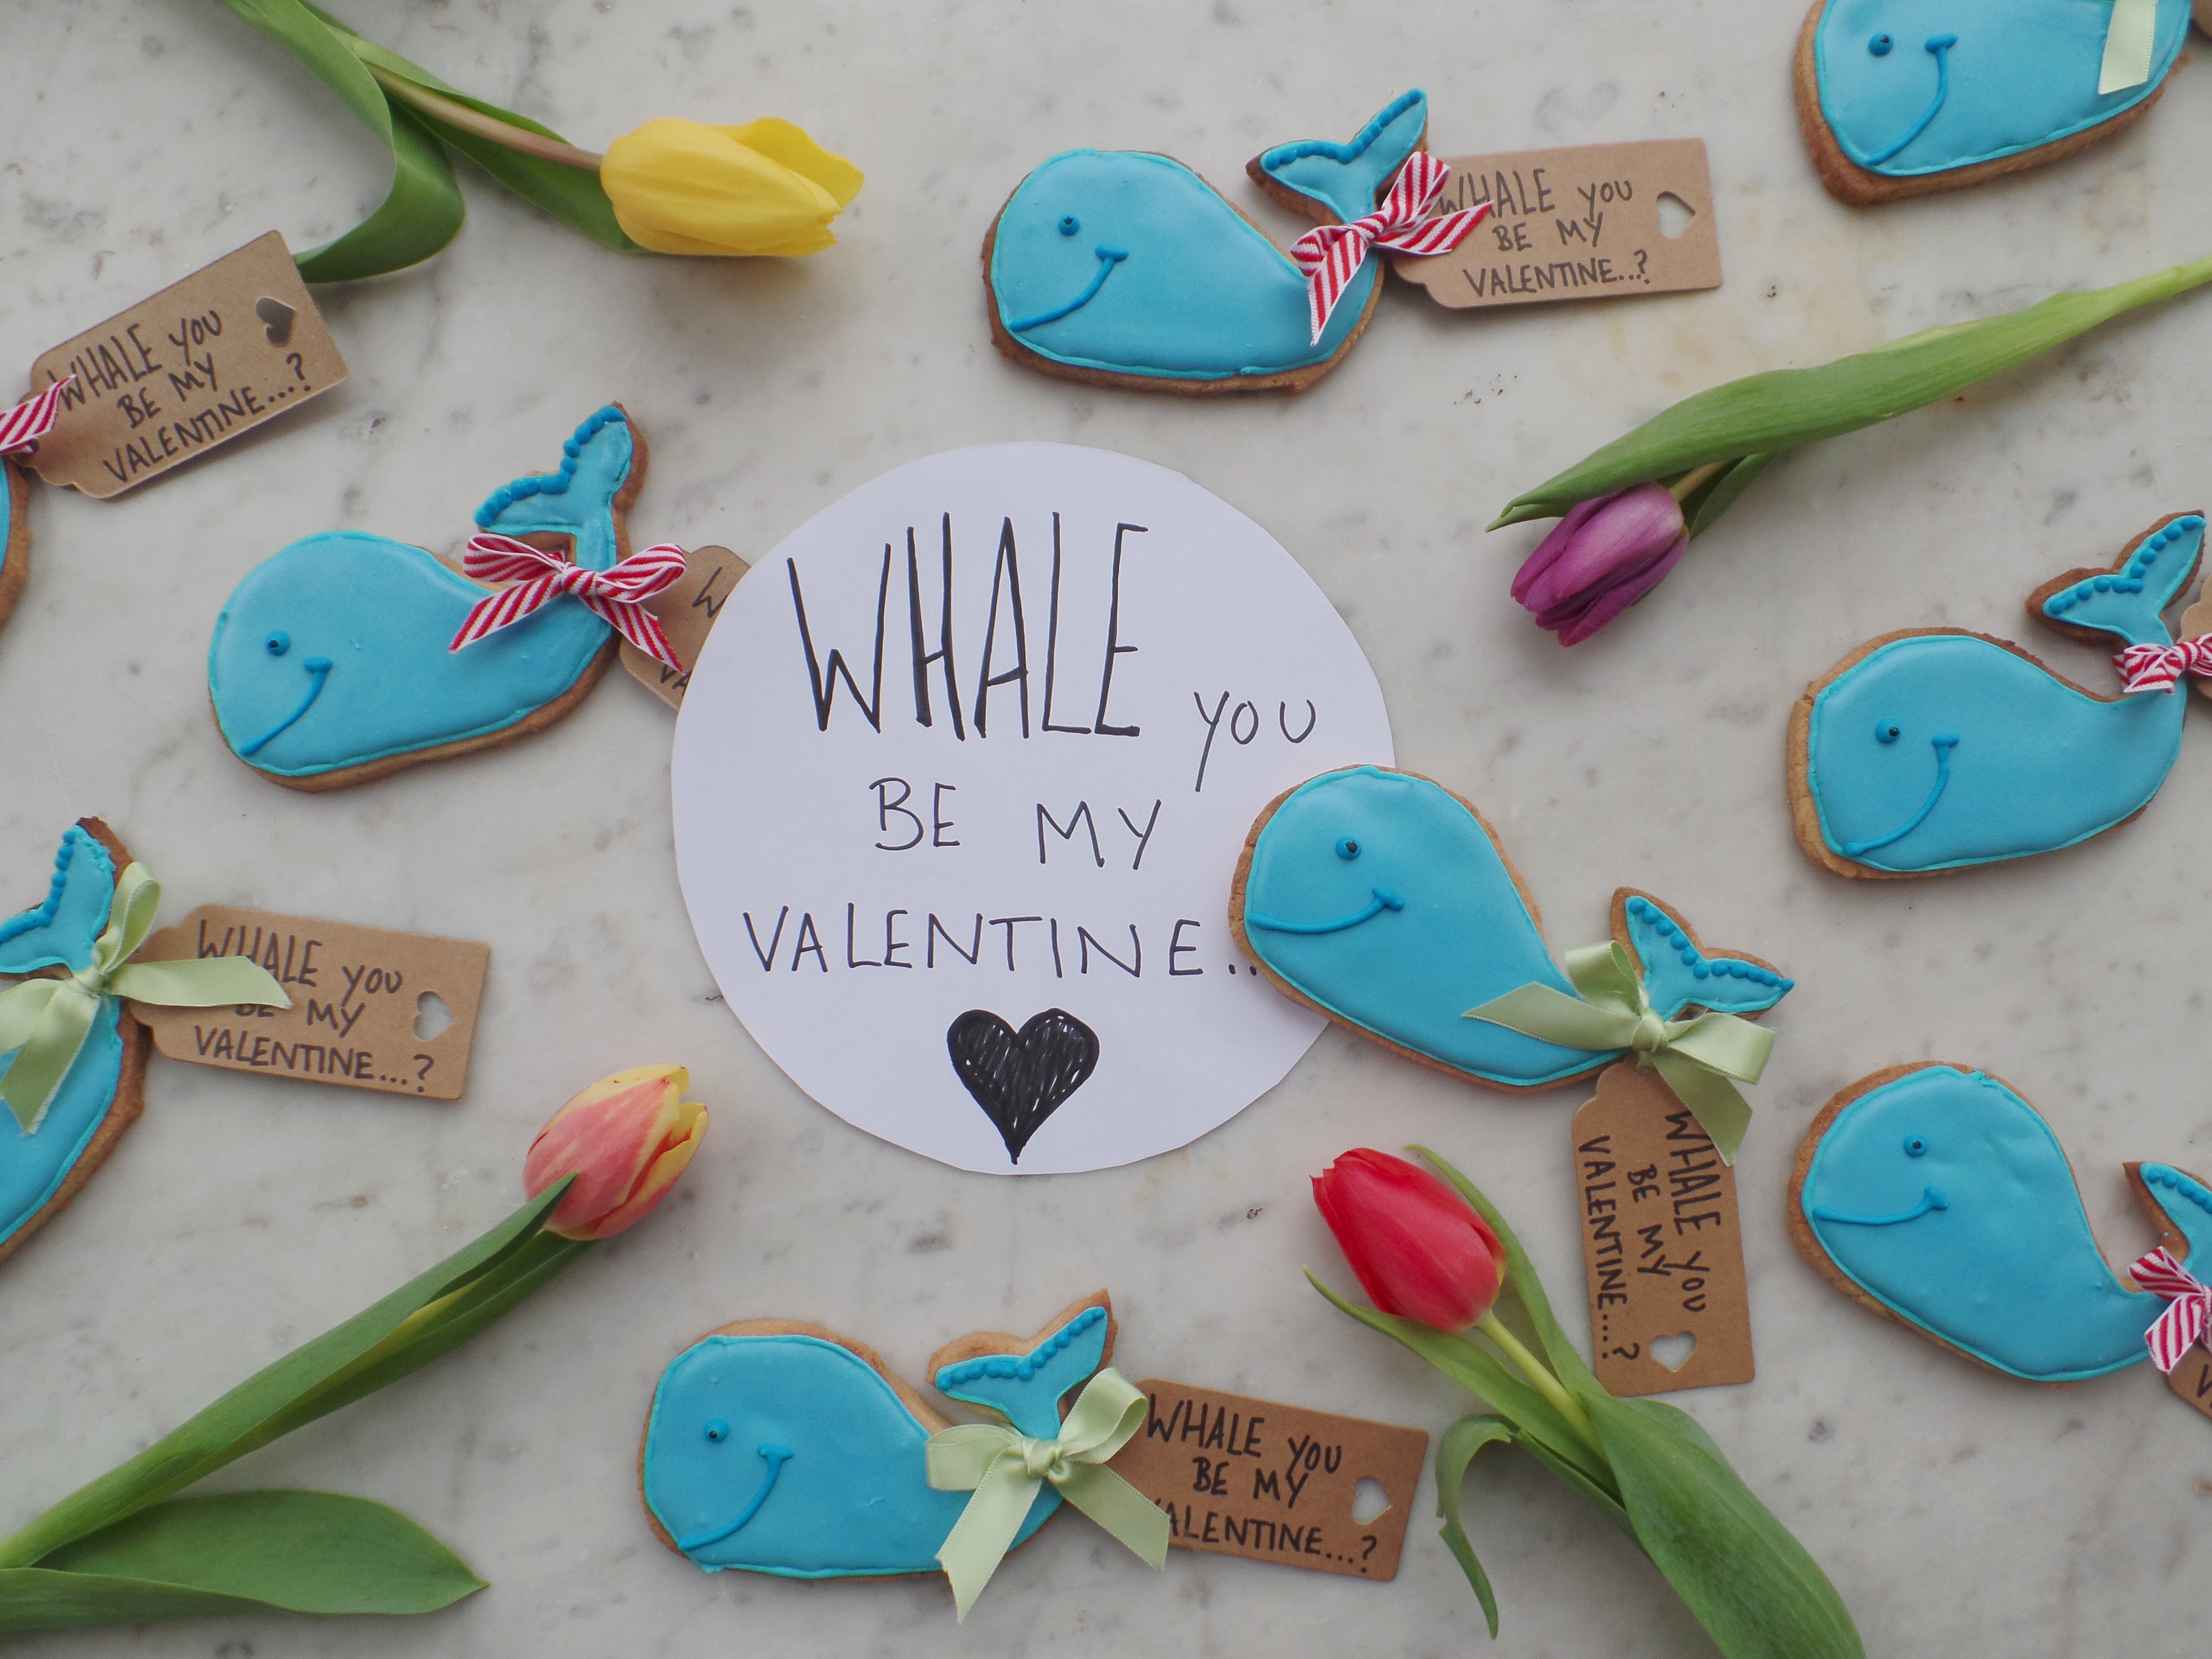
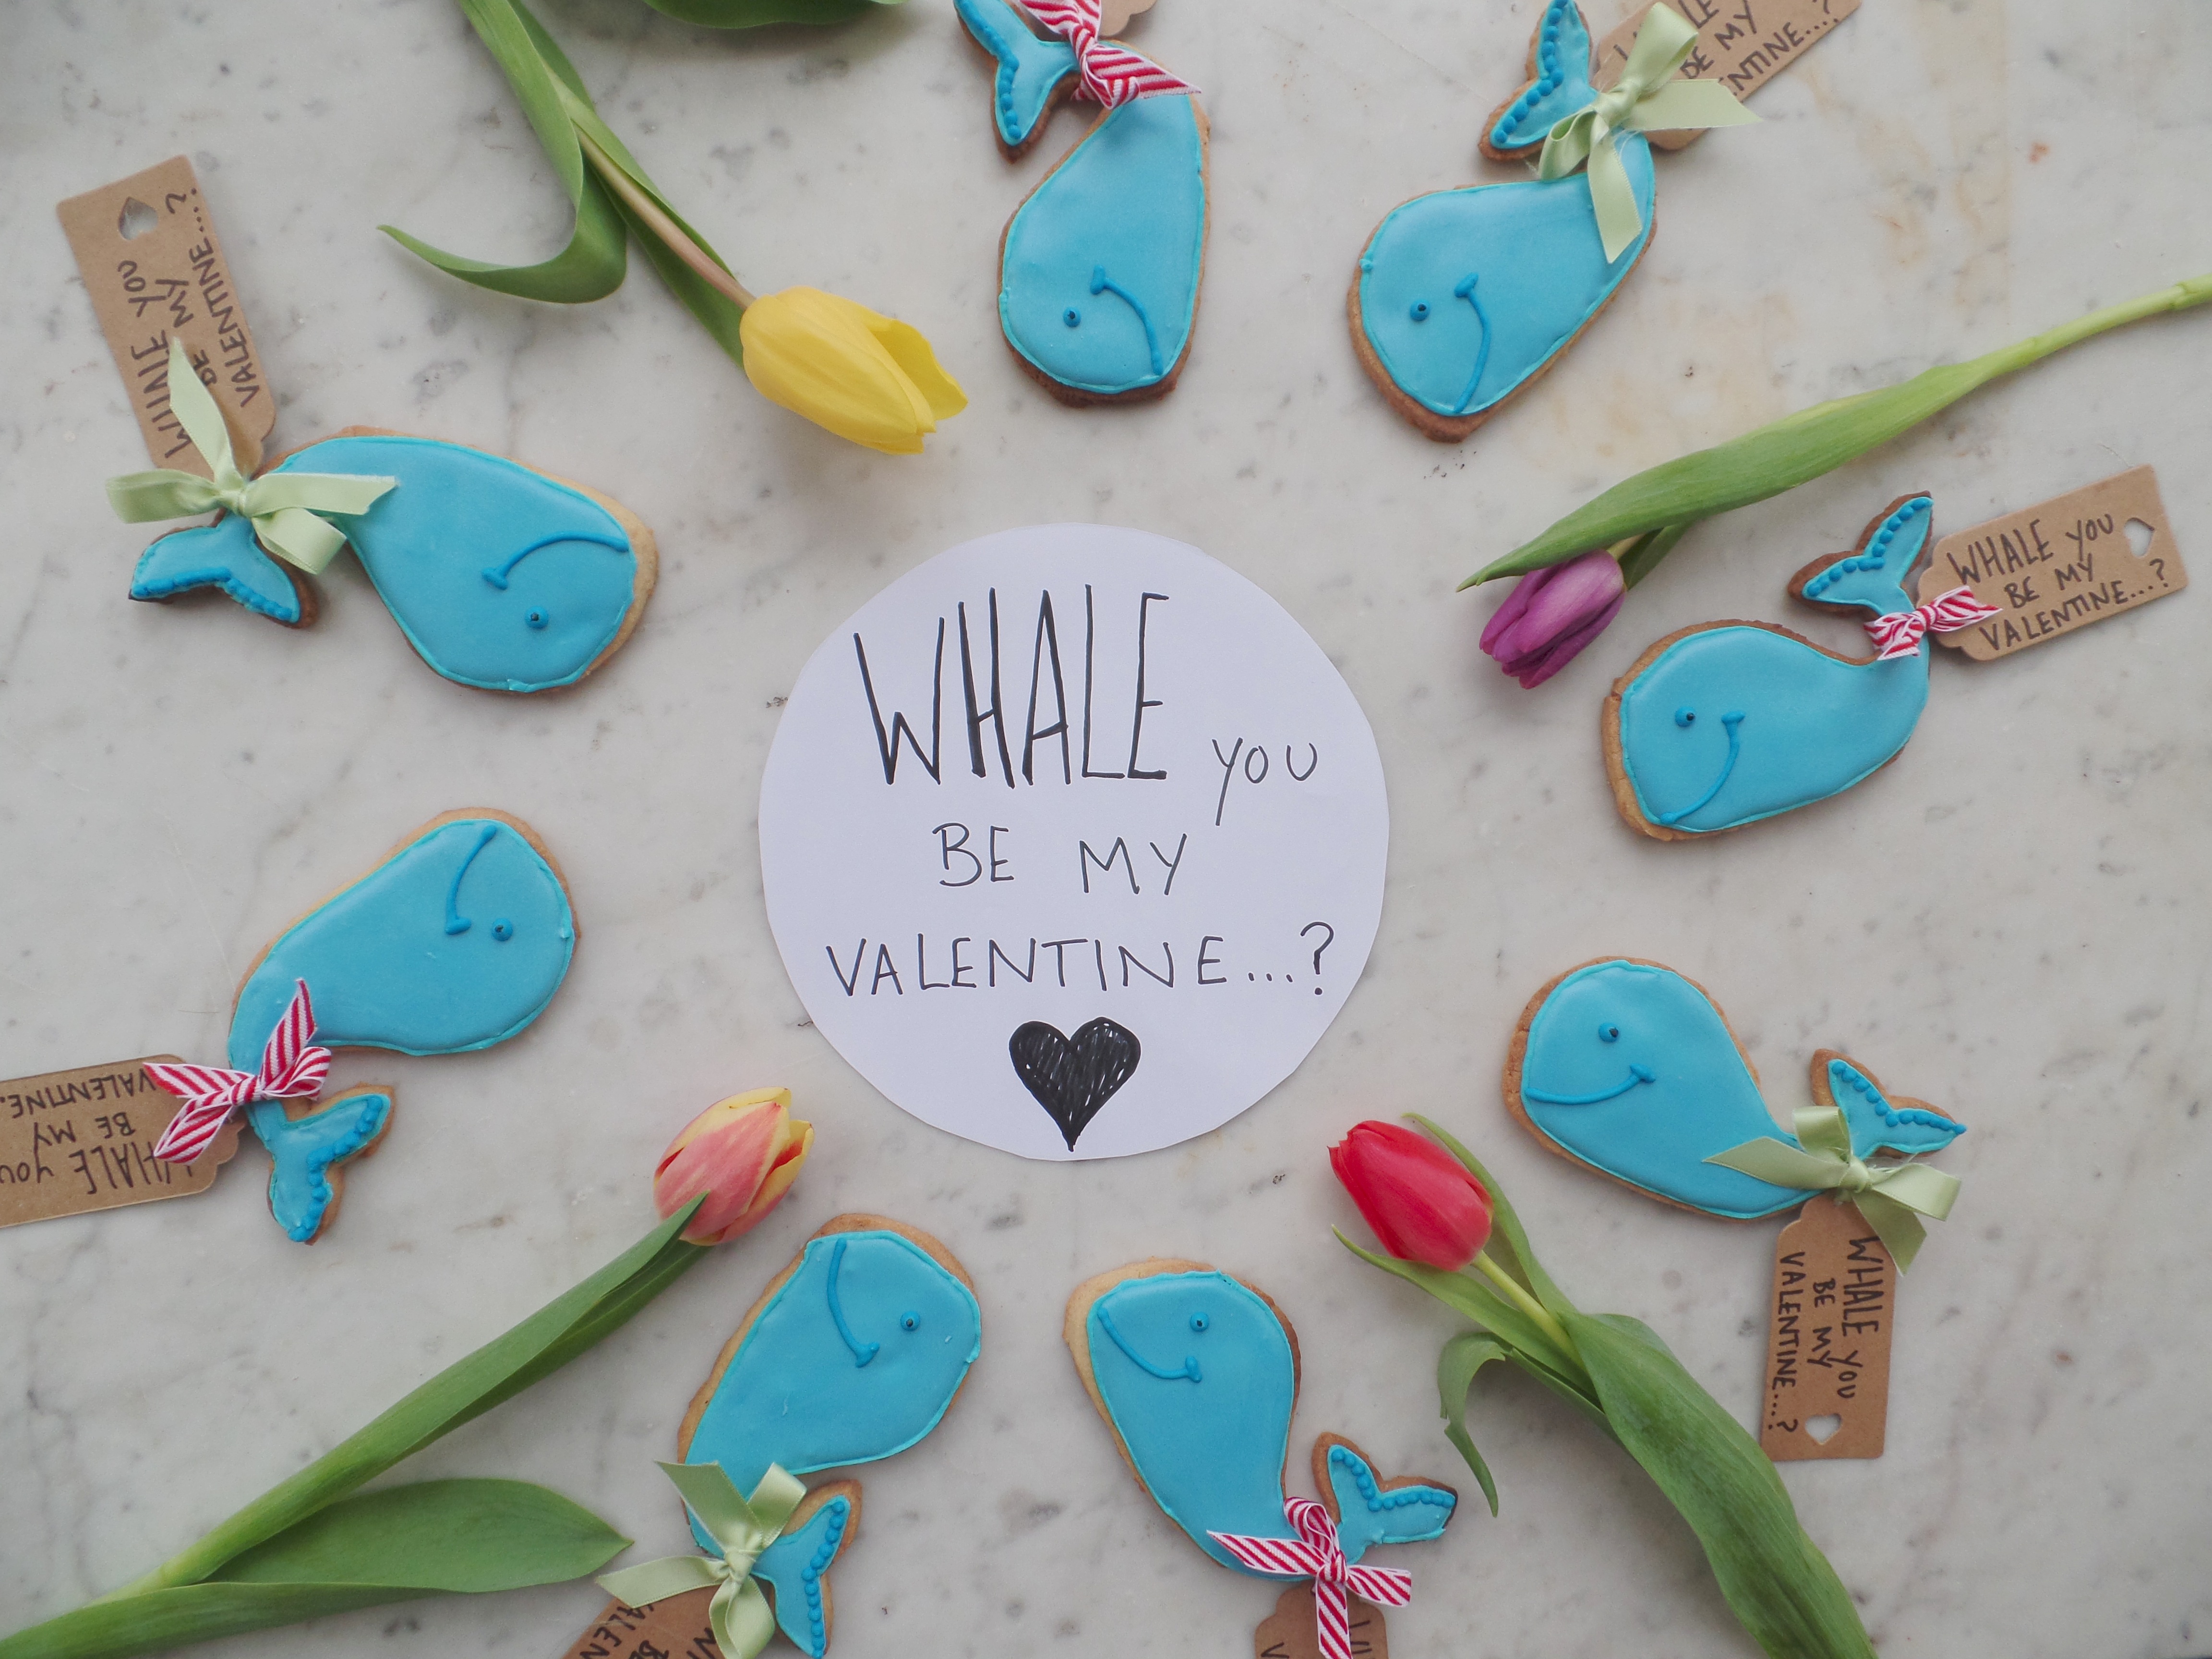
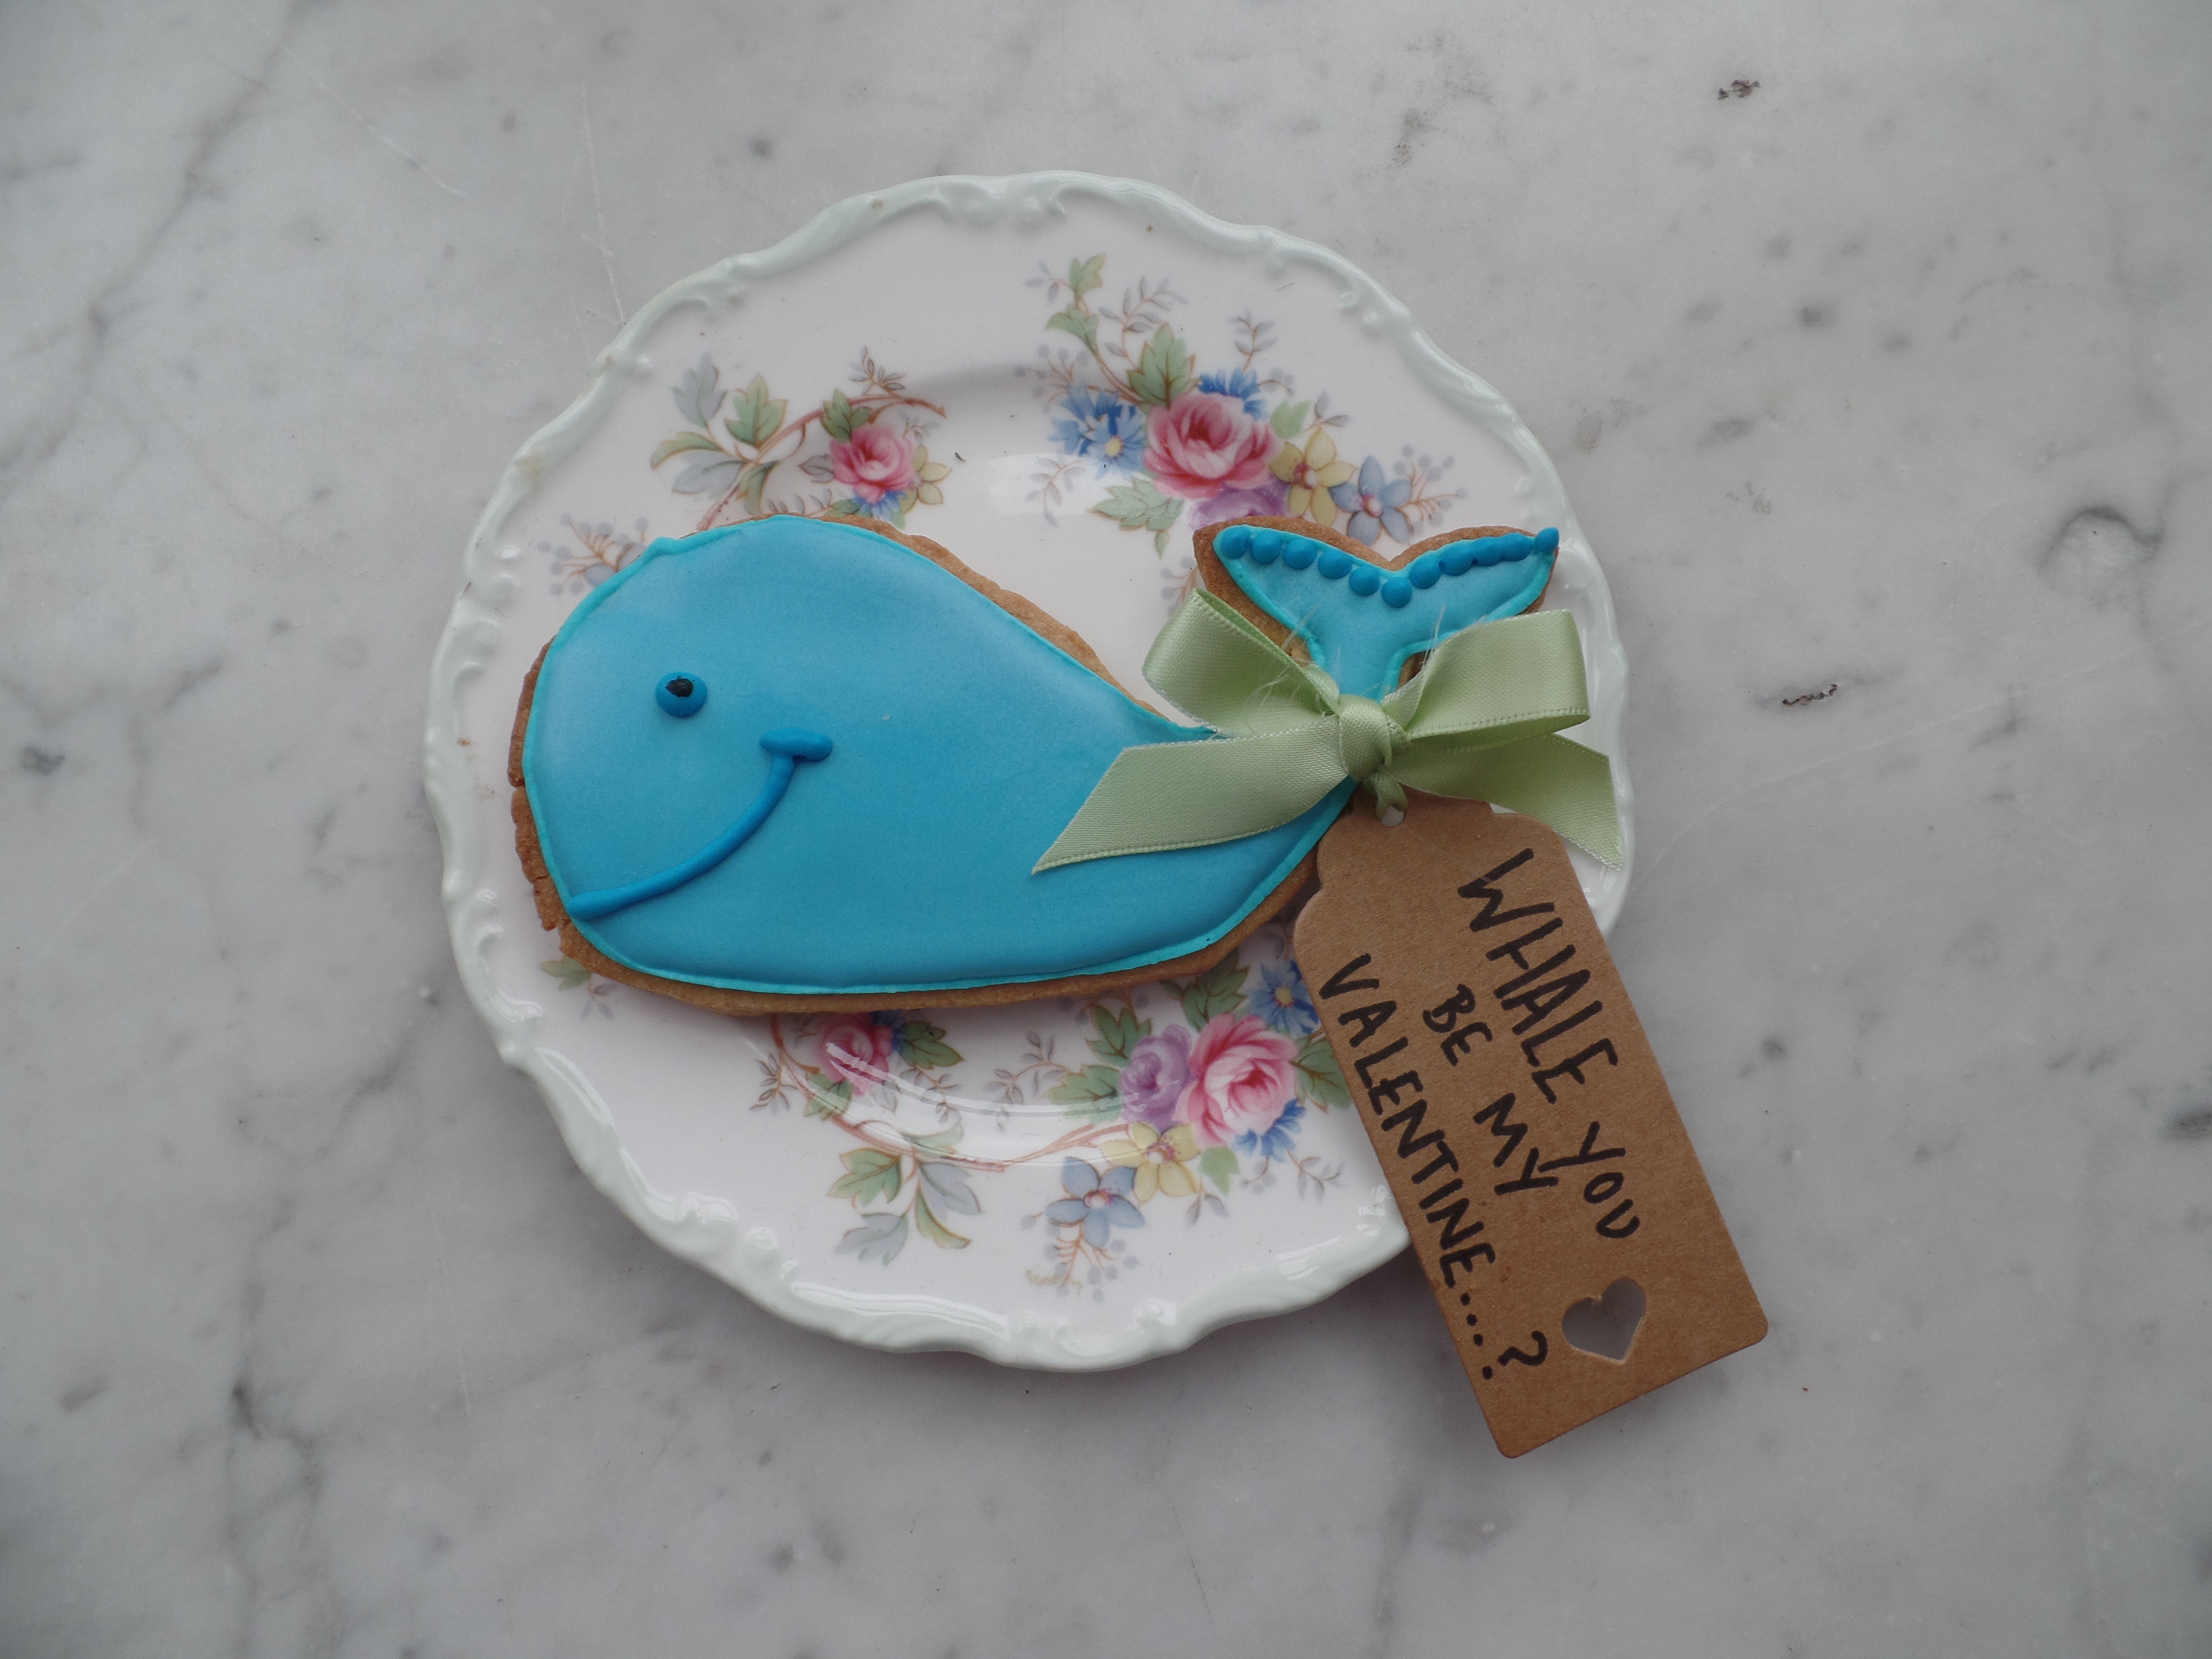
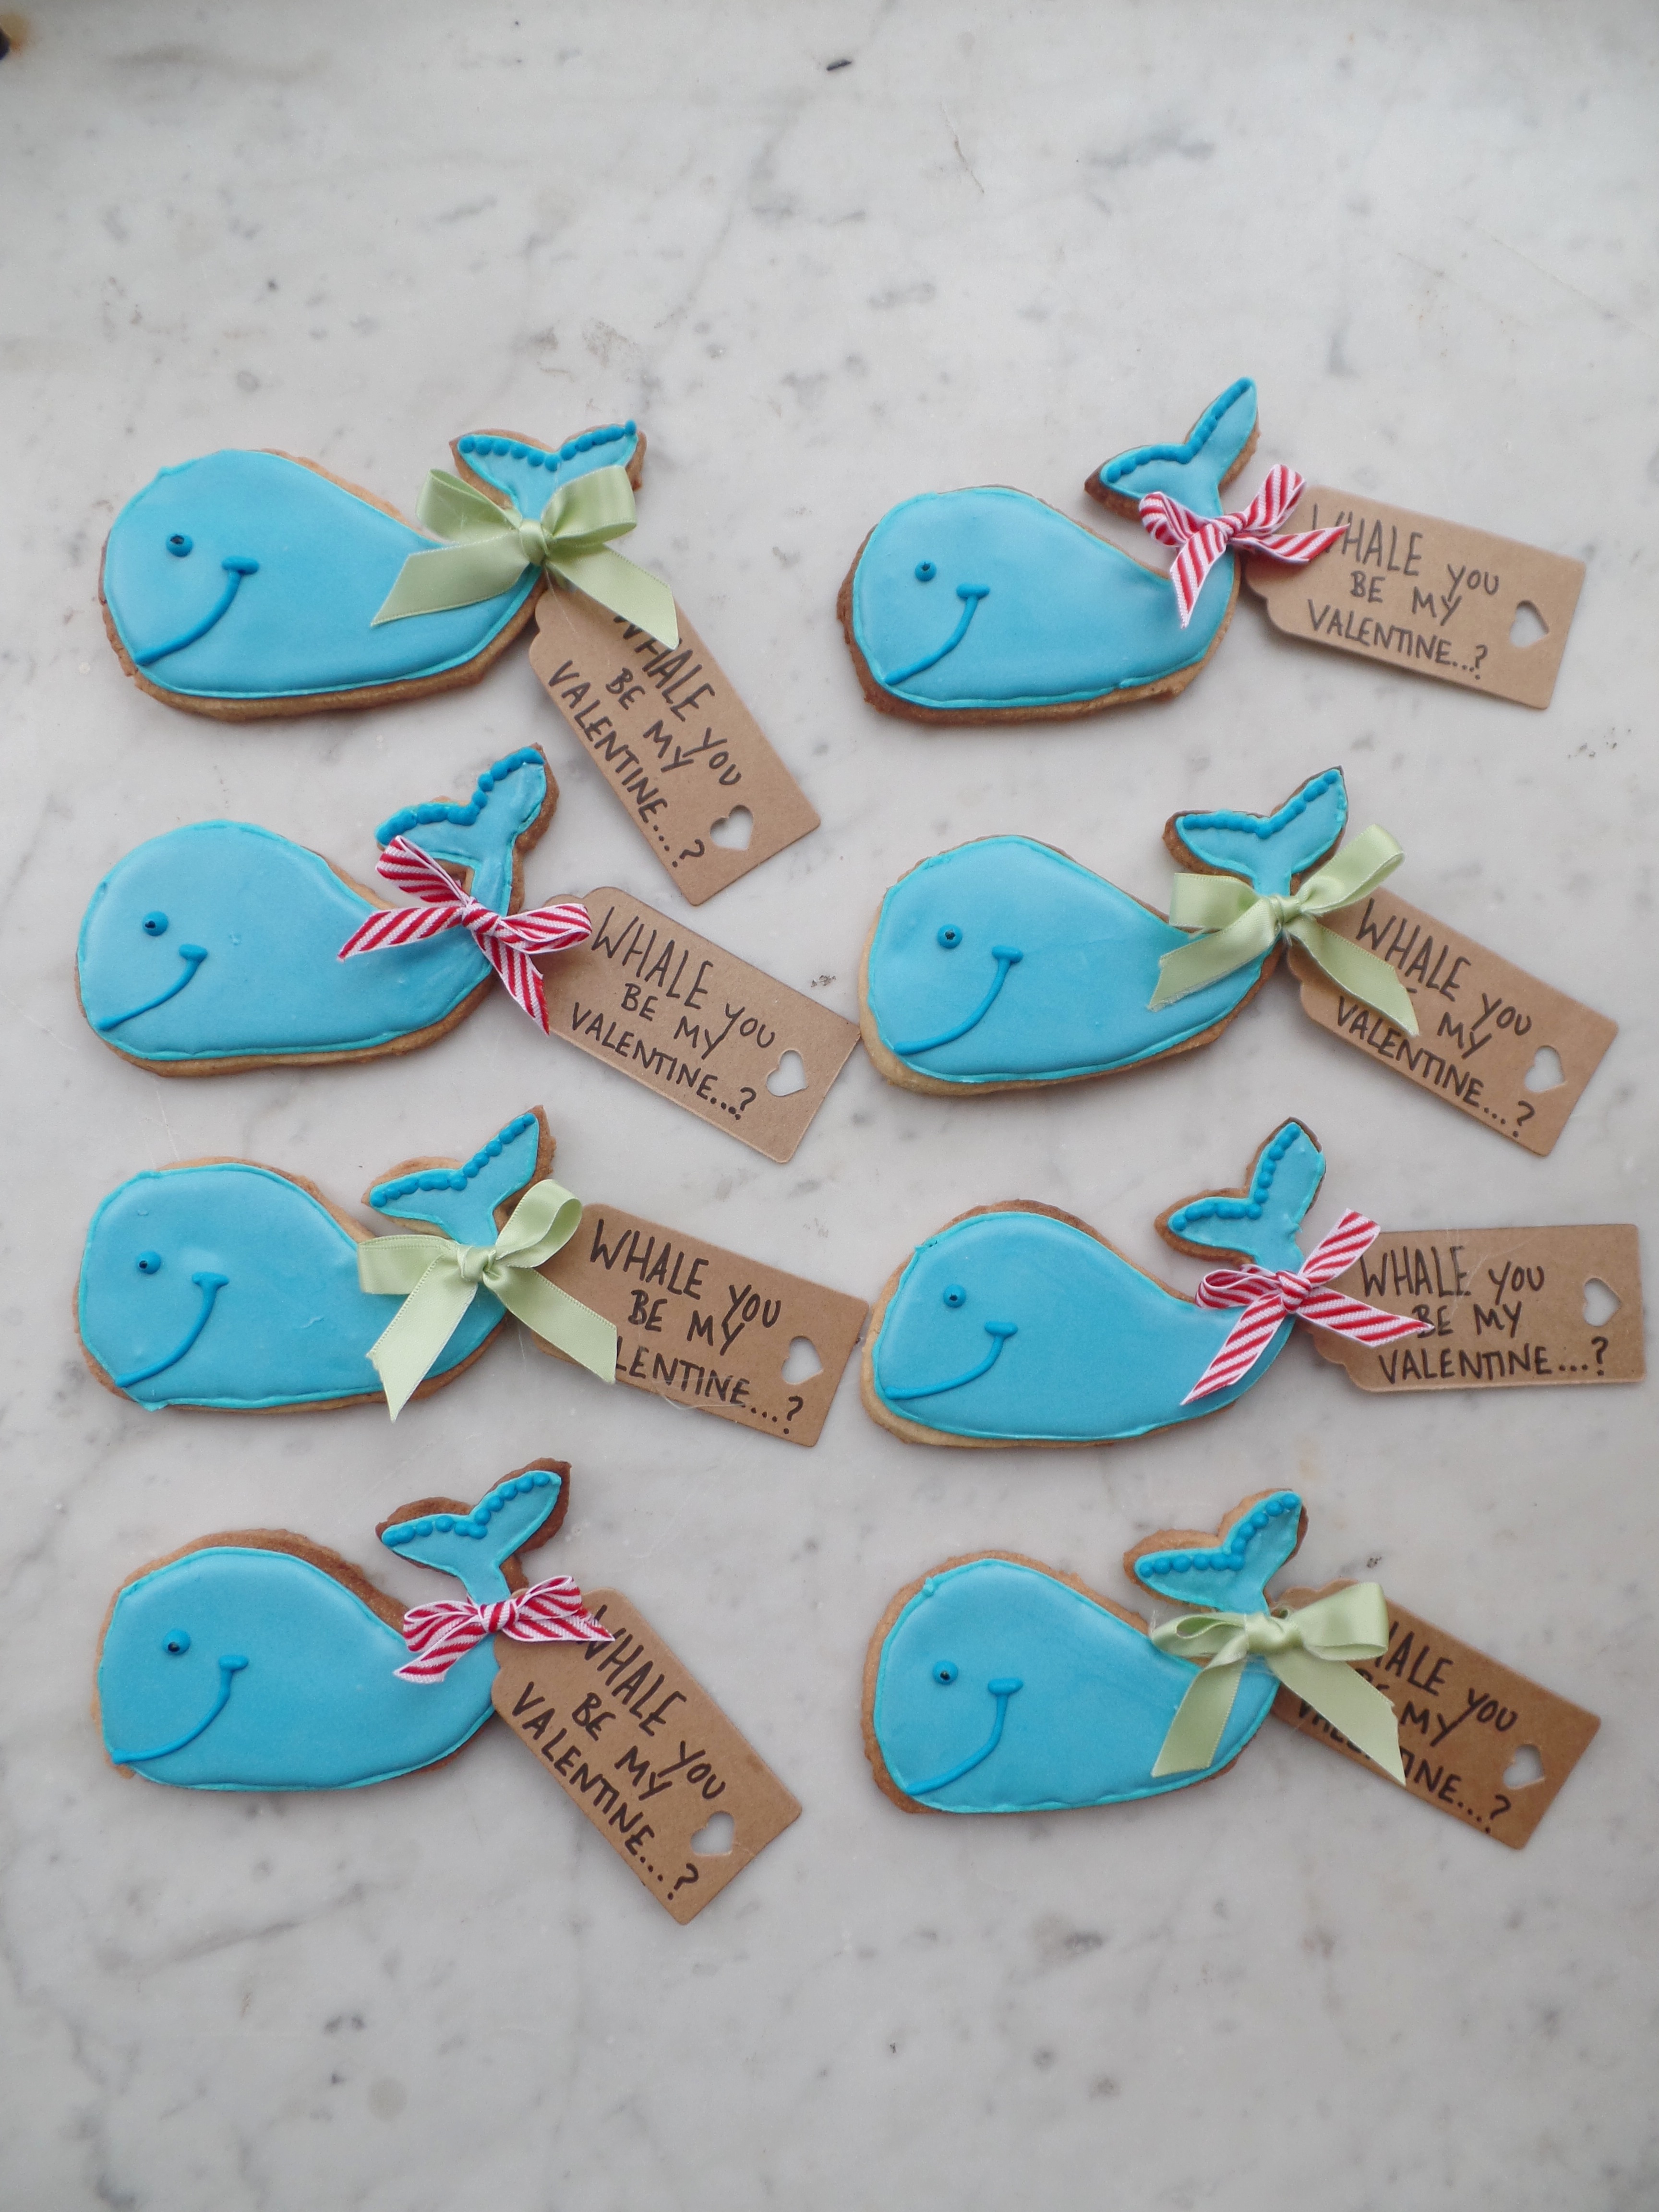
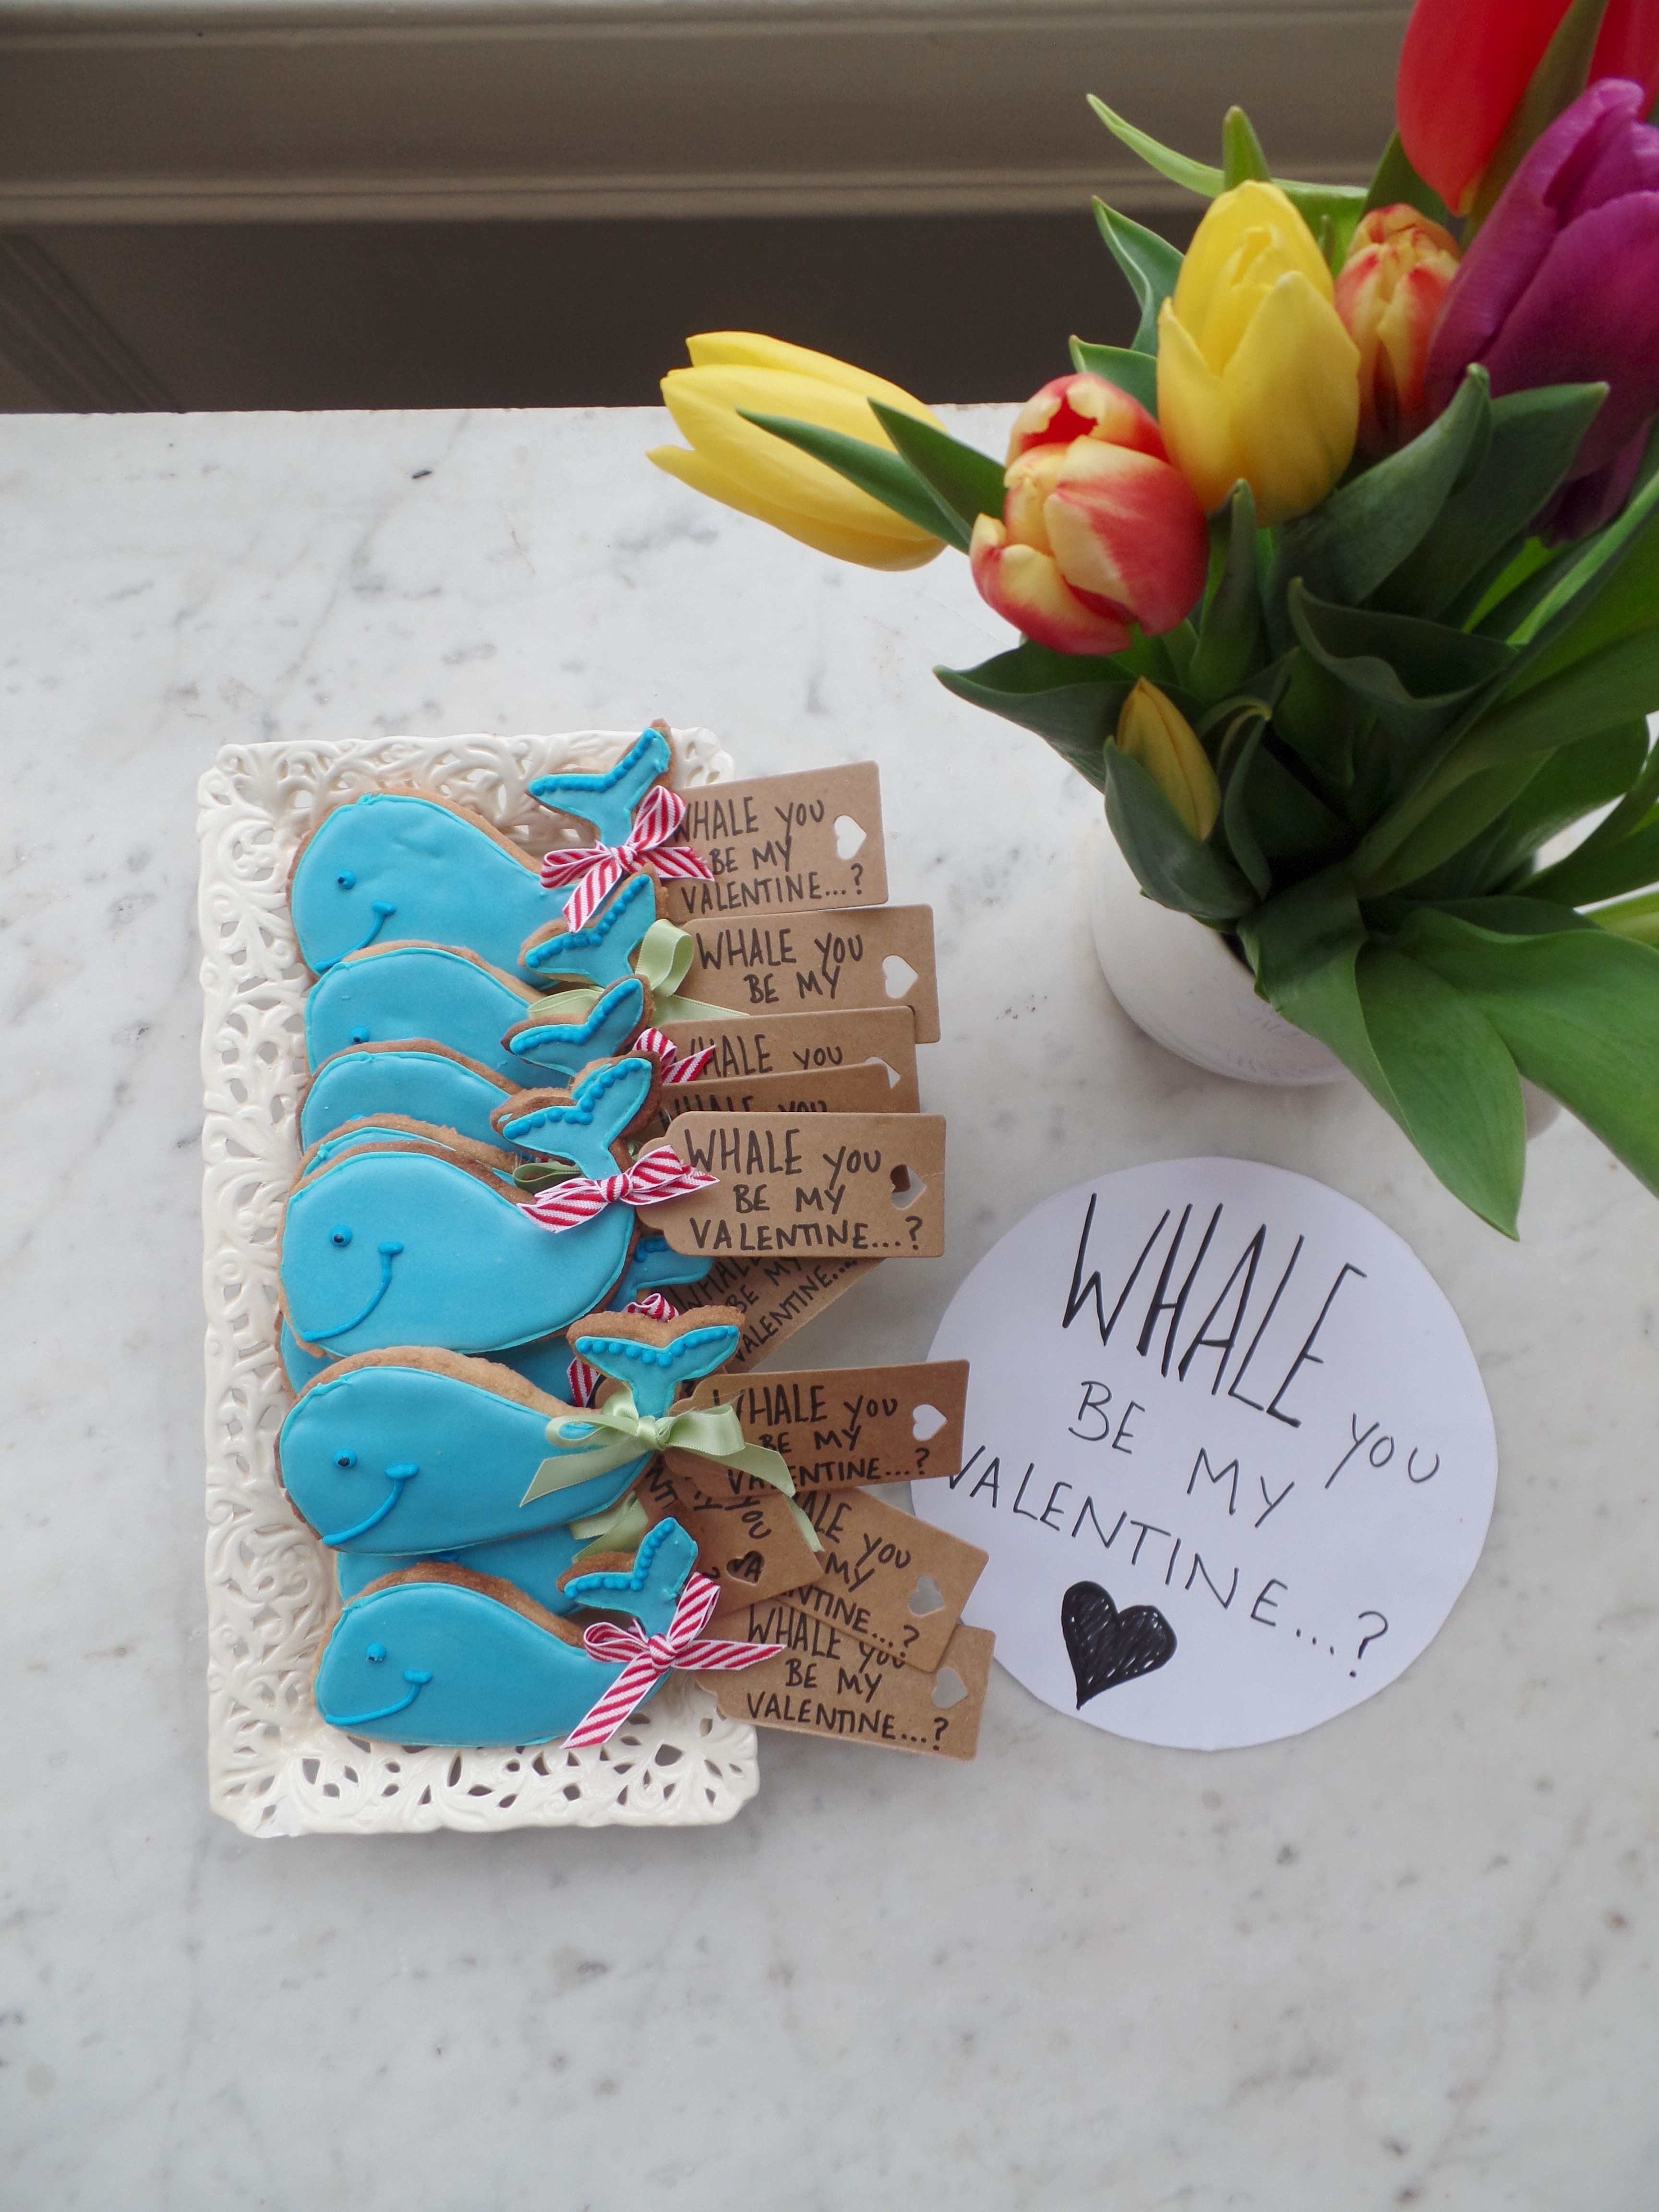
Chocolates, cupcakes and red roses are so last year; the iced biscuit is where it’s at. I mean, who wouldn’t love one of these little guys as a gift? They are just so damn cute.
Maybe I am biased; I will be the first to admit that I am a bit of a whale fanatic. You may have noticed my whale measuring cups and plate making an appearance in many of my blog photos.
Aside from the fact I love whales, I was inspired to make these biscuits after re reading my post on the ‘Fruity Iced Biscuits’ that I made back in September. It reminded me of how frustrated I was that I had used such runny icing and I actually wrote that next time I would, ‘make my icing less runny and invest in some very thin piping nozzles for piping the outline of the biscuits’. So that is what I did.
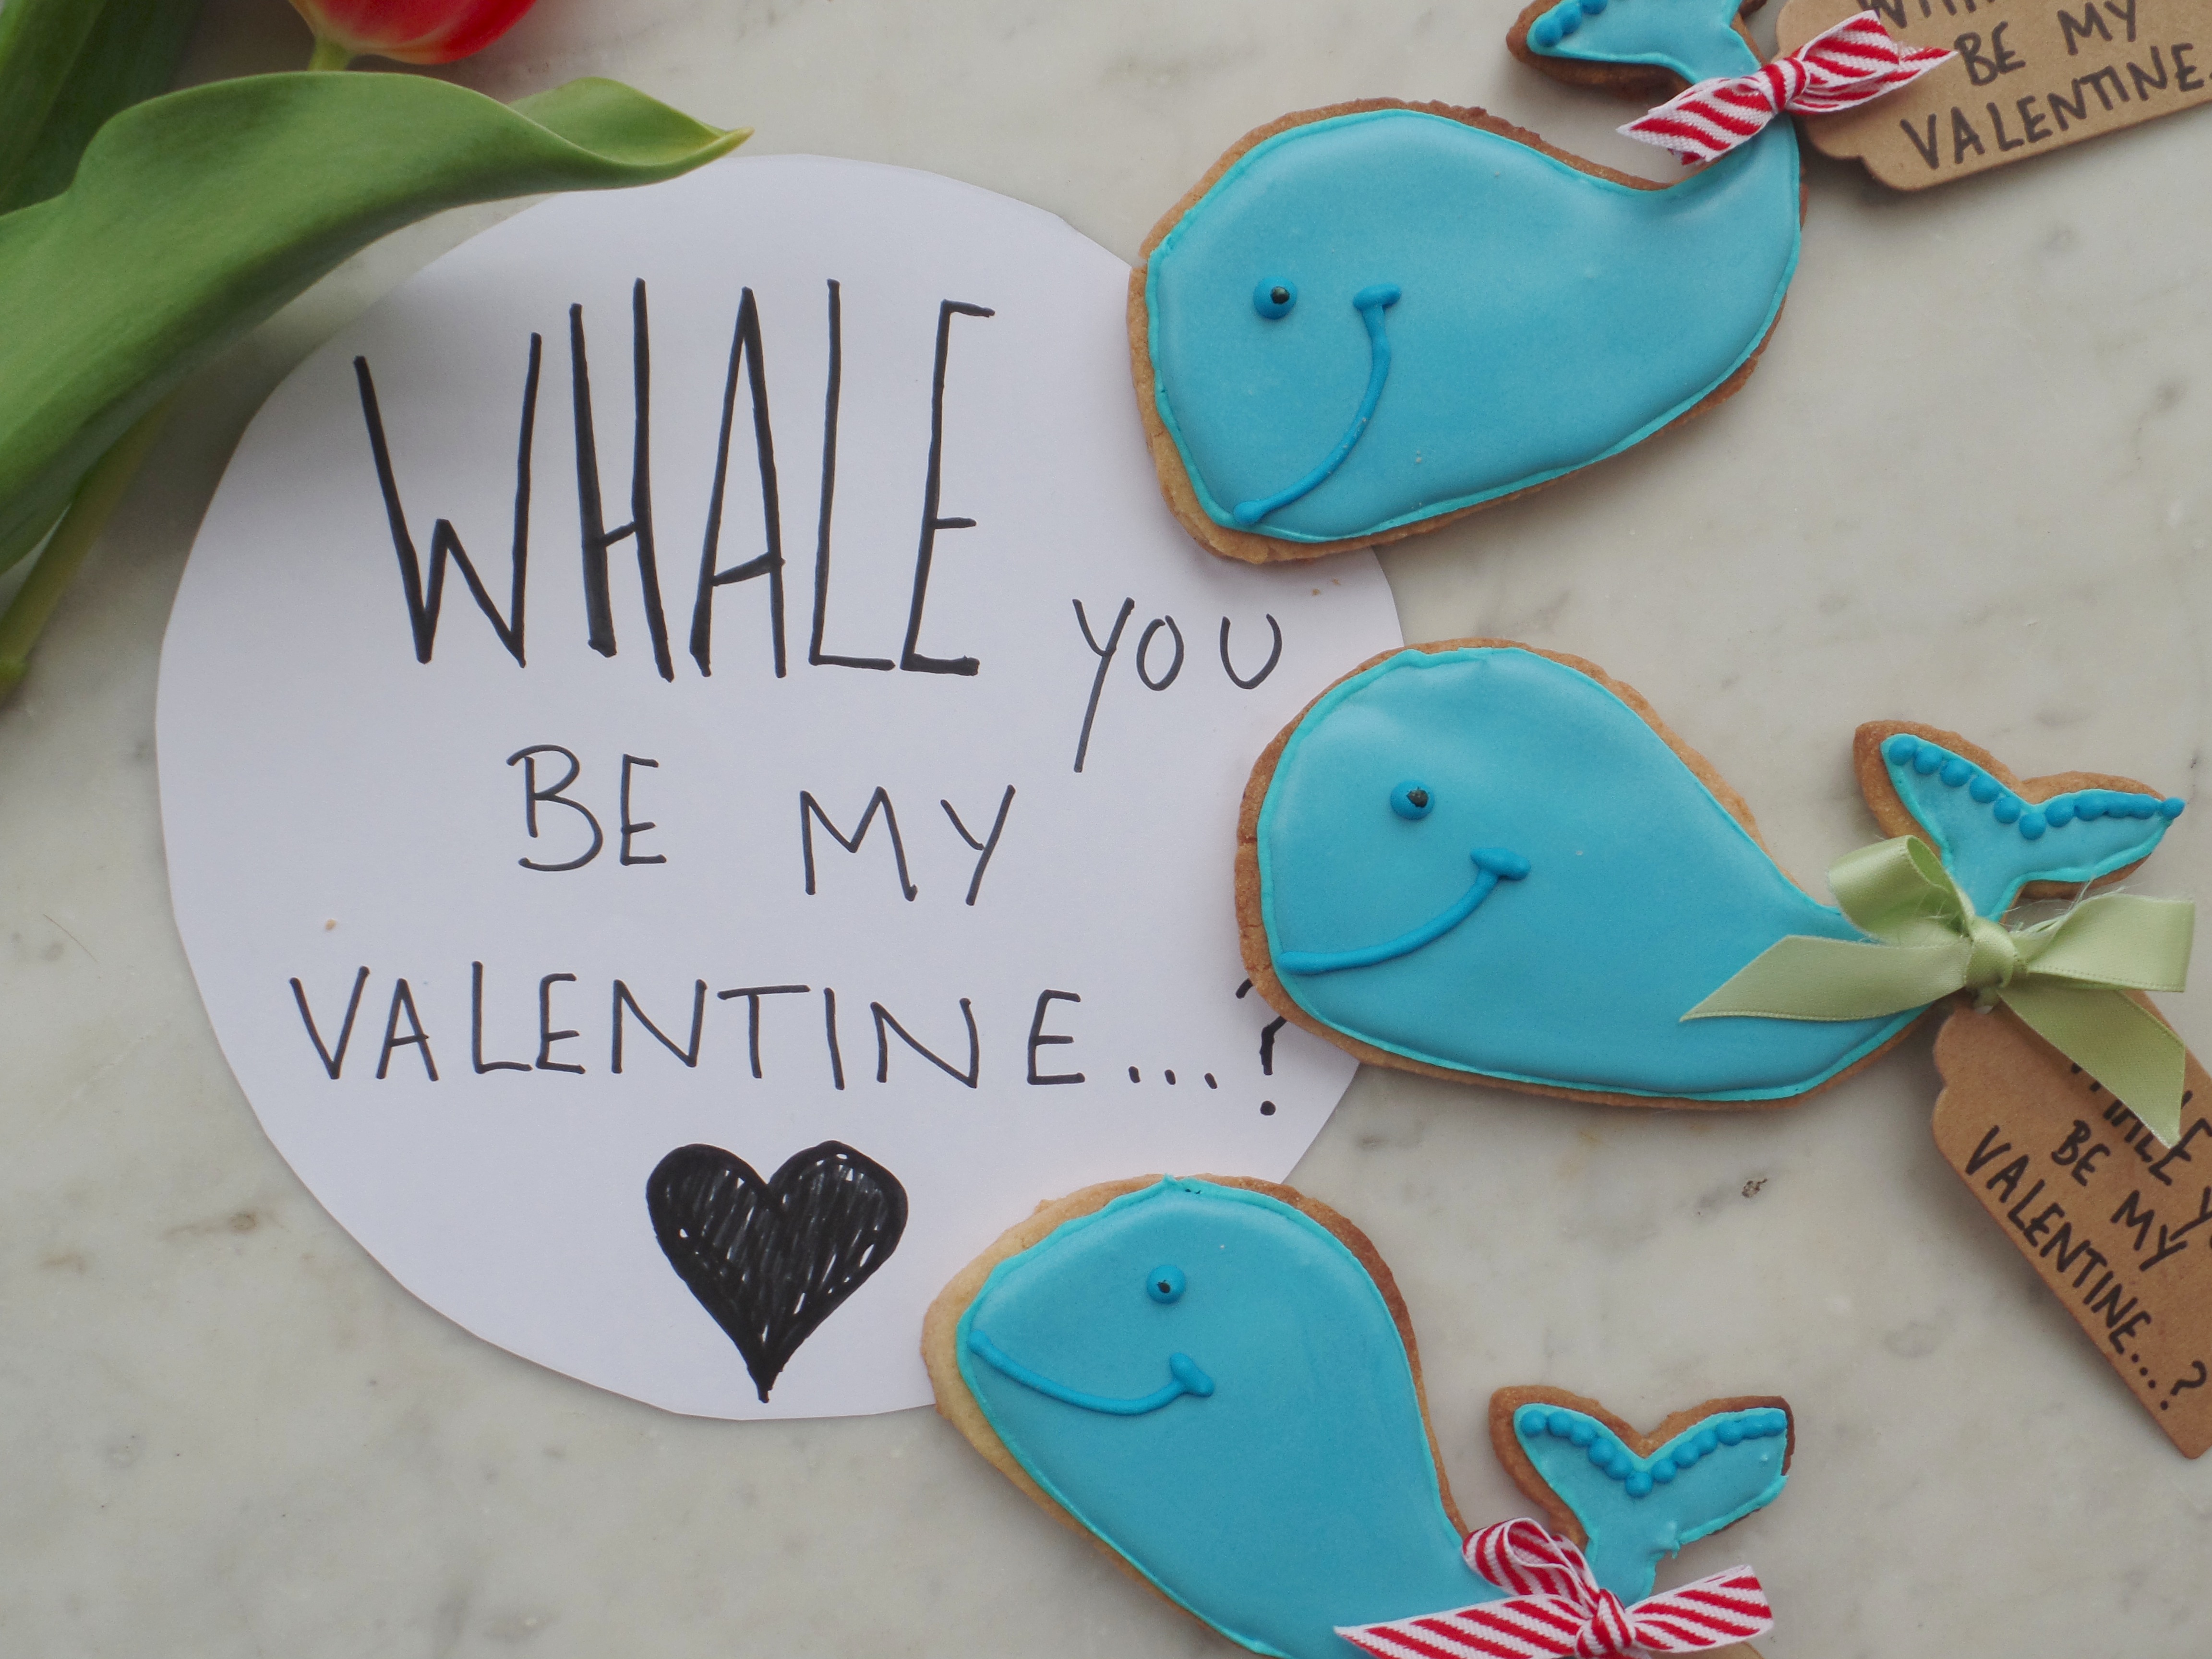
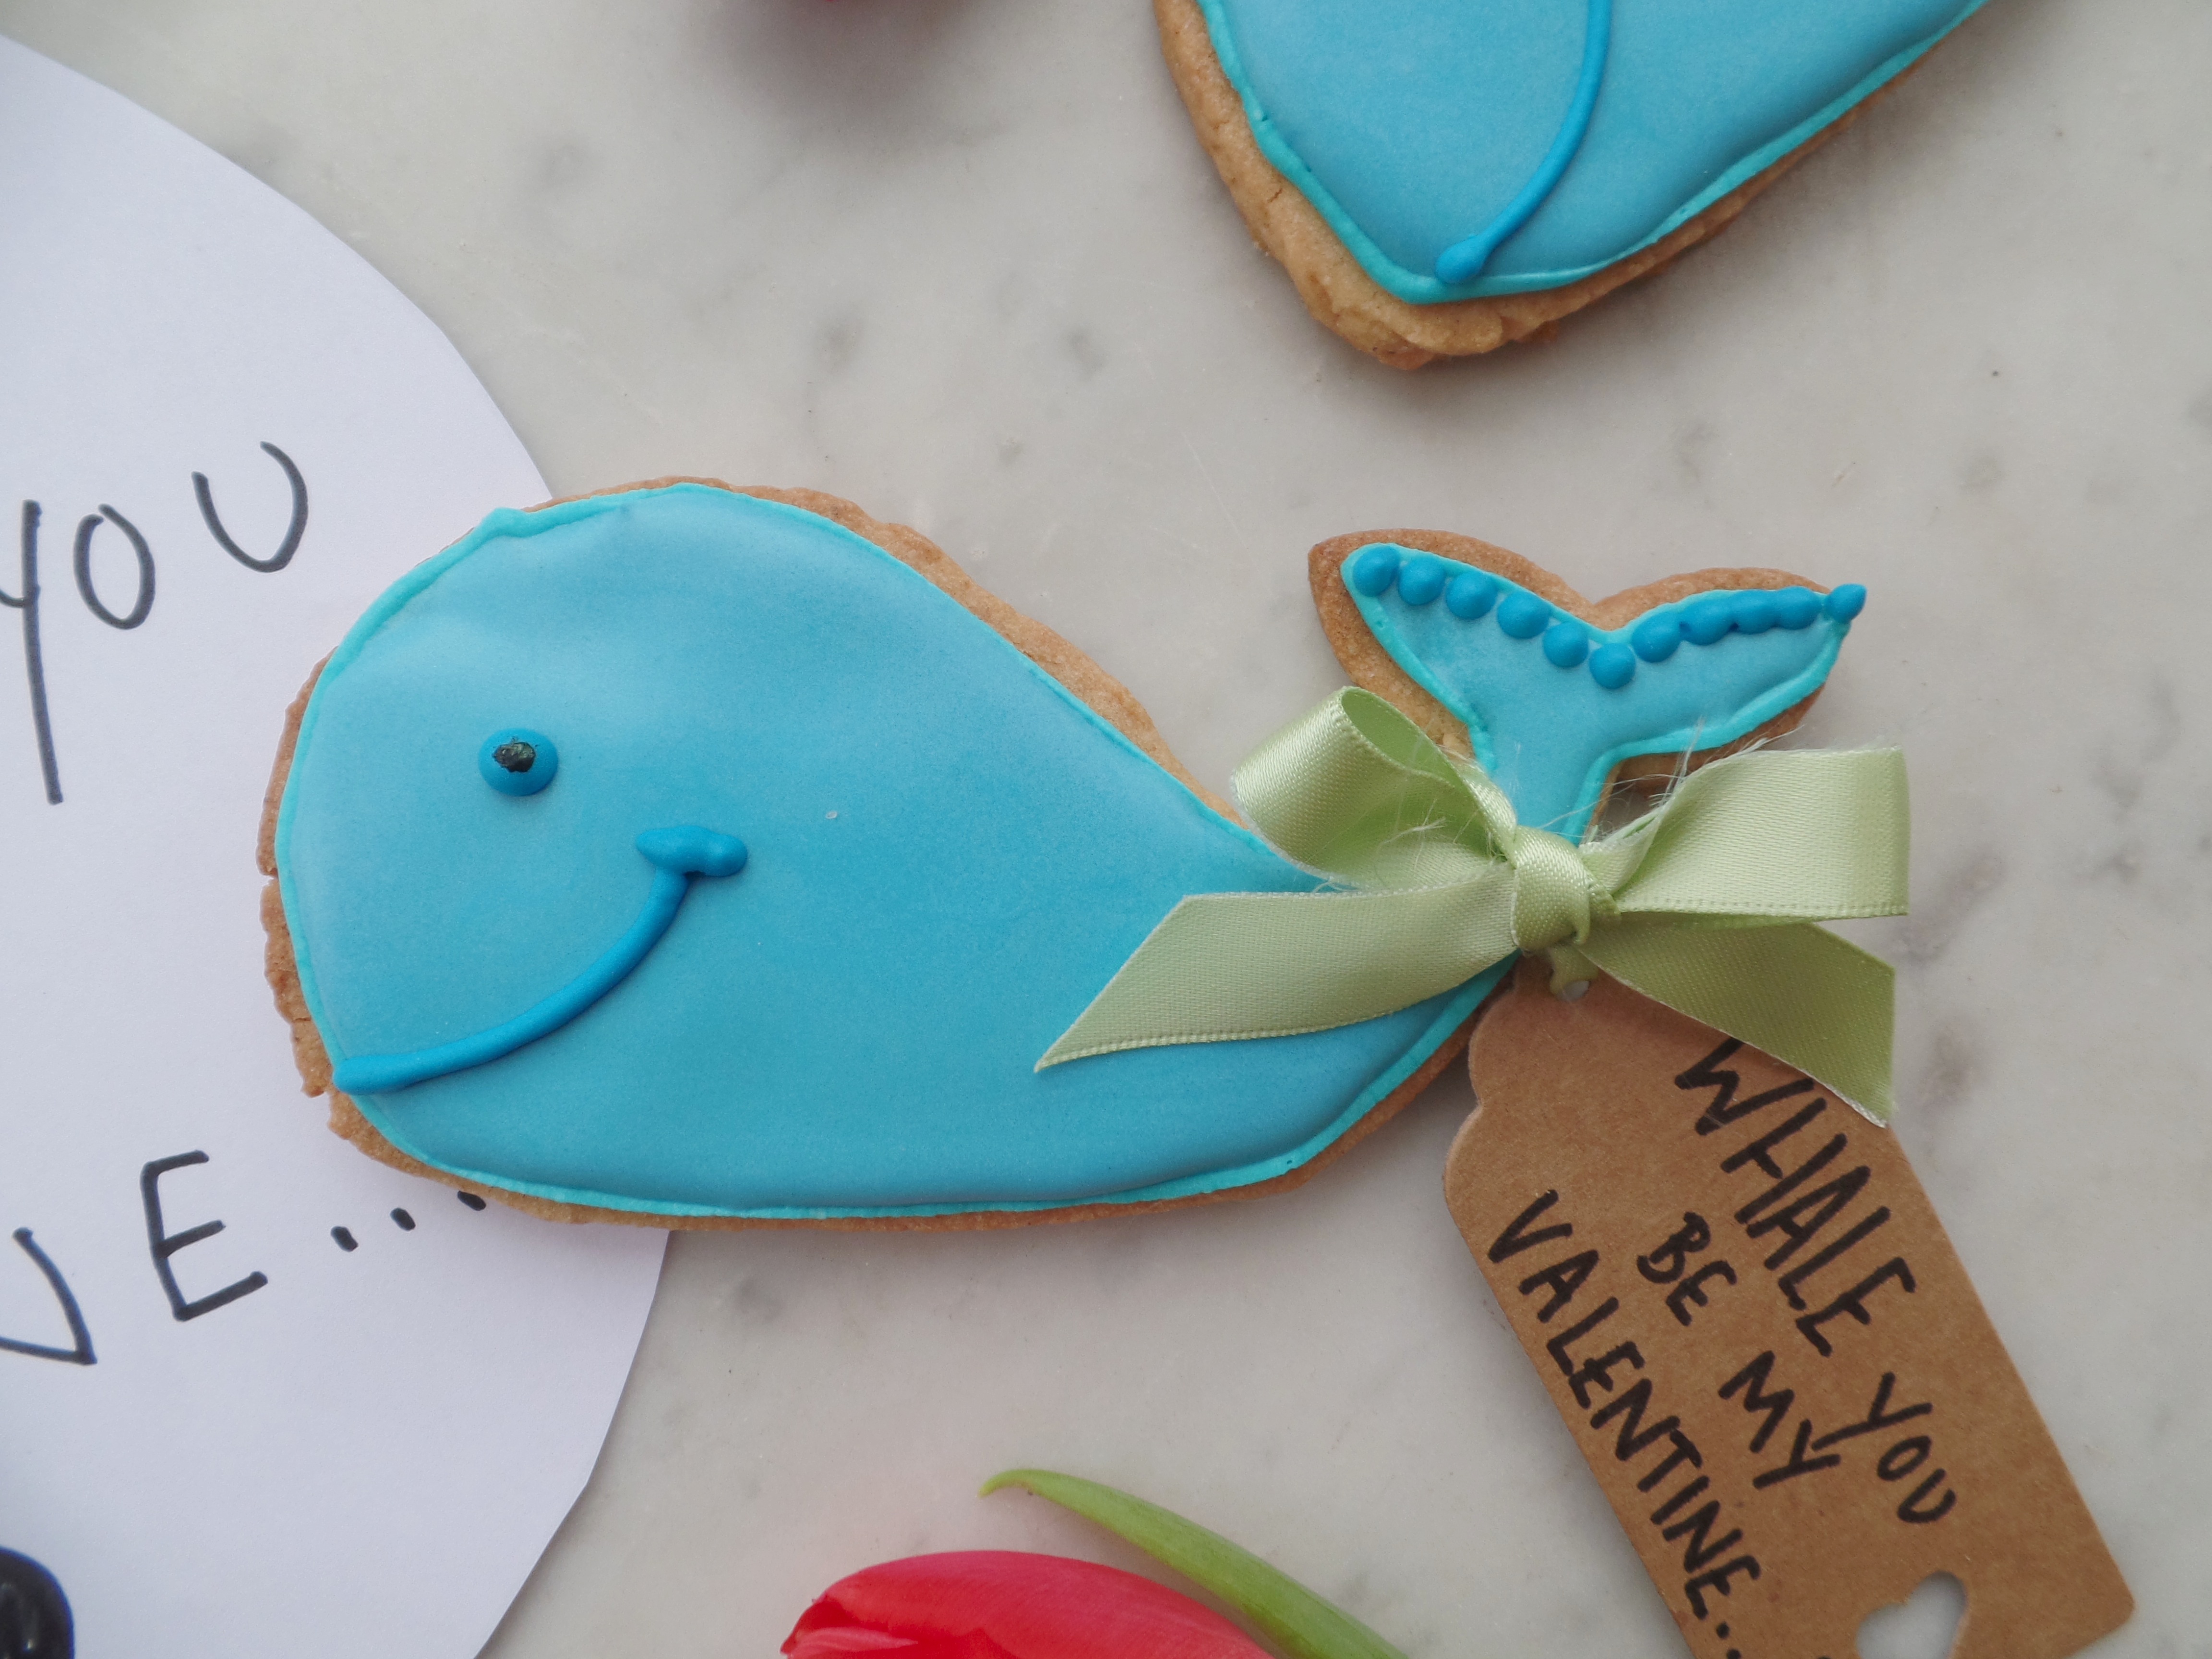
I have to say that I am much happier with the result of these ones, as I think they have a much cleaner finish and hopefully my next batch after this will look even better. Trial, error and seeing your skills improve is one of the things I love about baking.
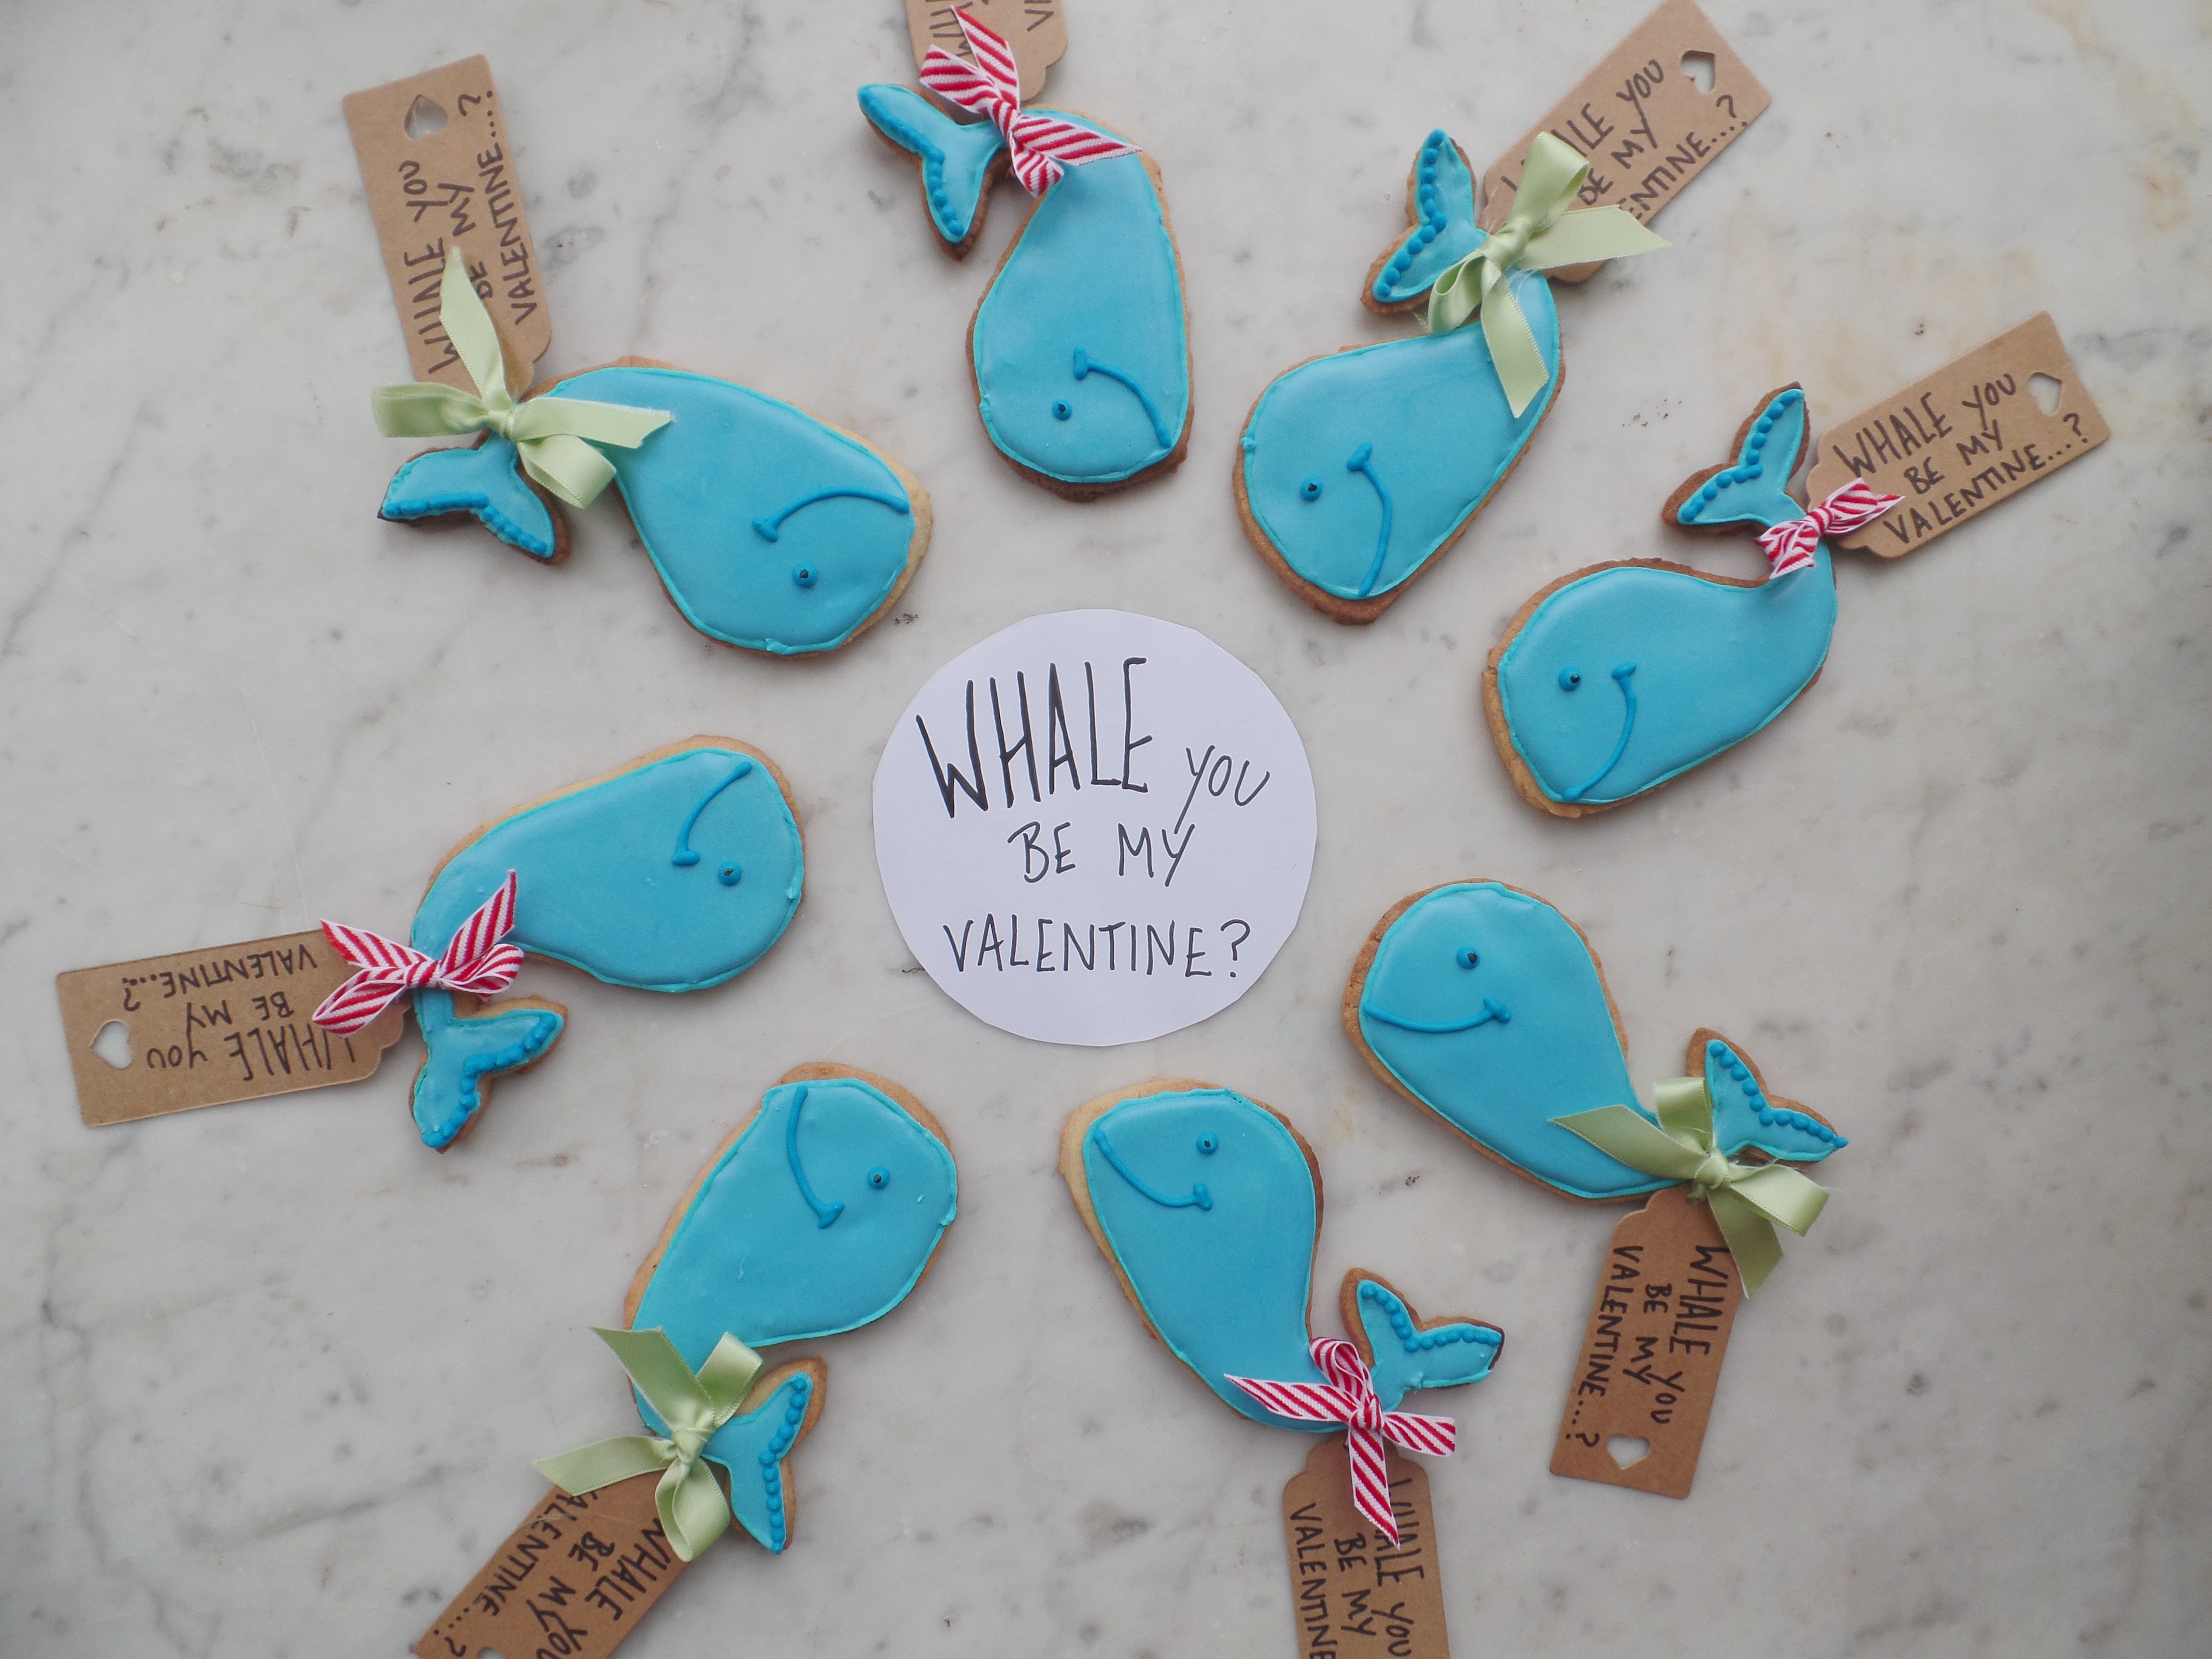
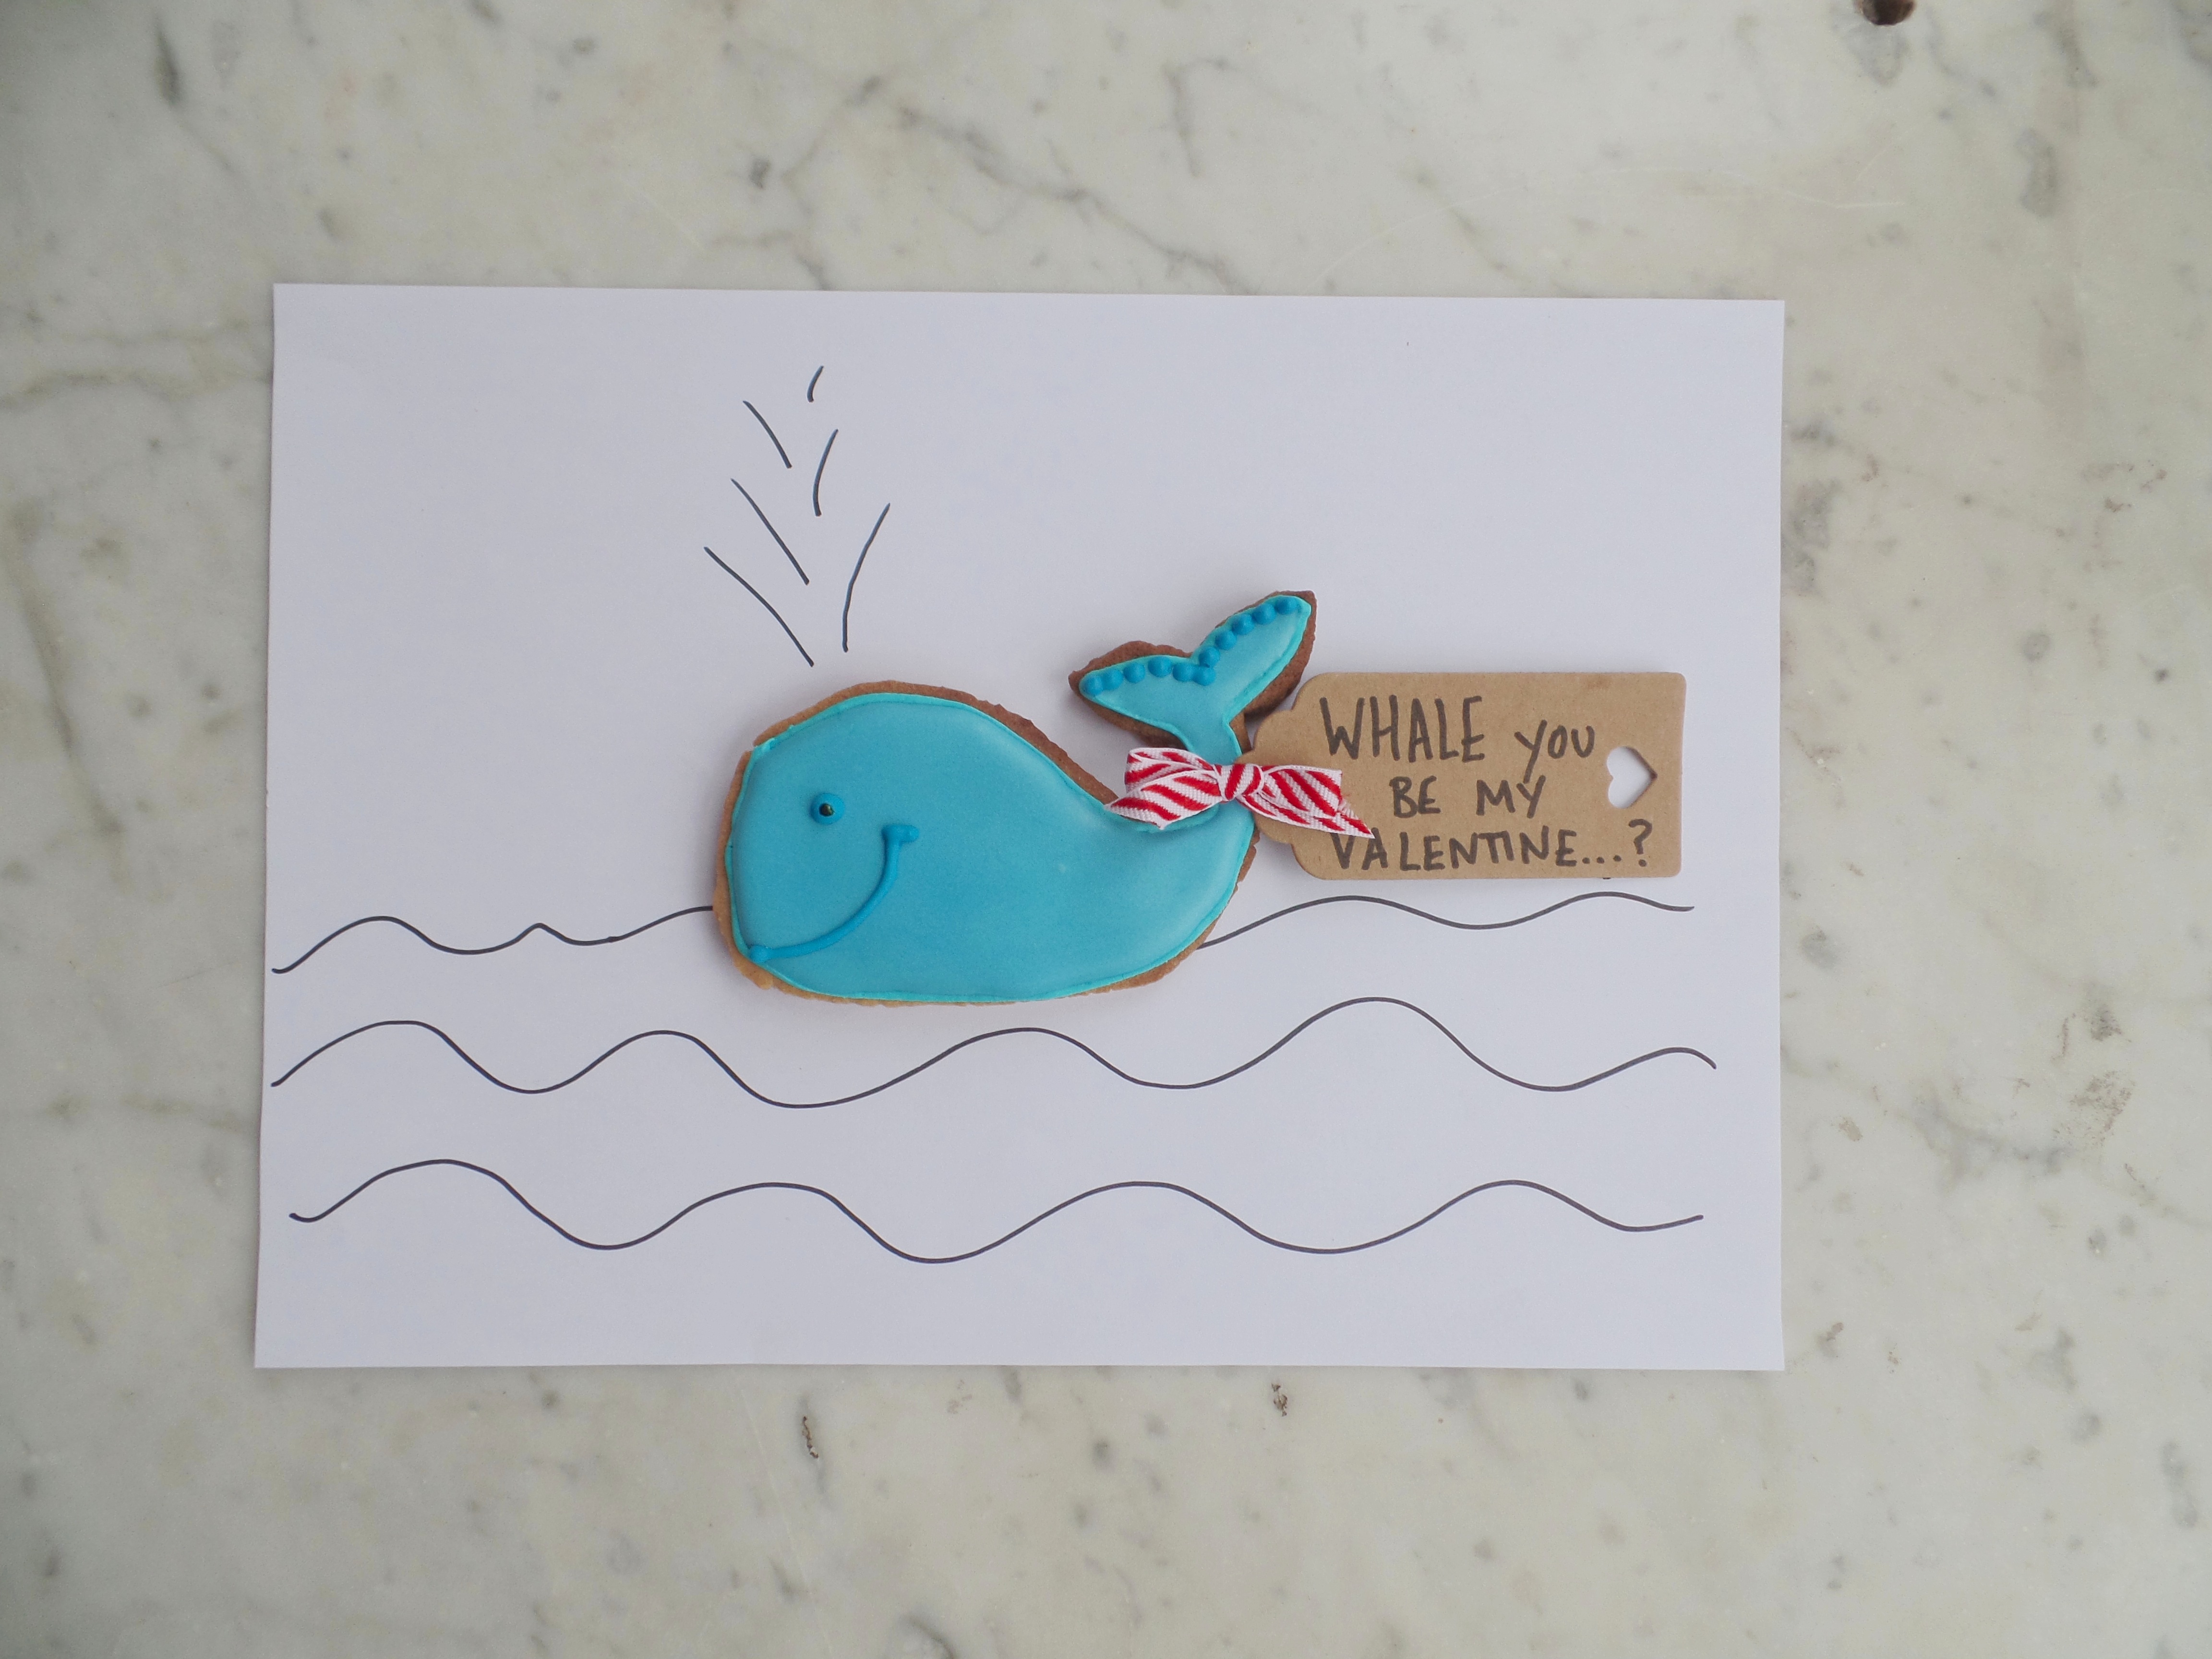
Anyway it is safe to say that I had a WHALE of a time making these little guys (sorry I couldn’t help myself). Also, the great thing about using the tags is that you can personalise them to include a name, i.e. ‘Tom Hardy WHALE you be my Valentine?’ ‘Jake Gyllenhaal WHALE you be my Valentine?’ ‘Jamie Dornan WHALE YOU…’ I think you get the idea.
Makes: 20 Biscuits
Prep Time: 30 mins to make the biscuits. Up to 3 hours to decorate including icing setting time.
Ingredients:
For the Biscuits:
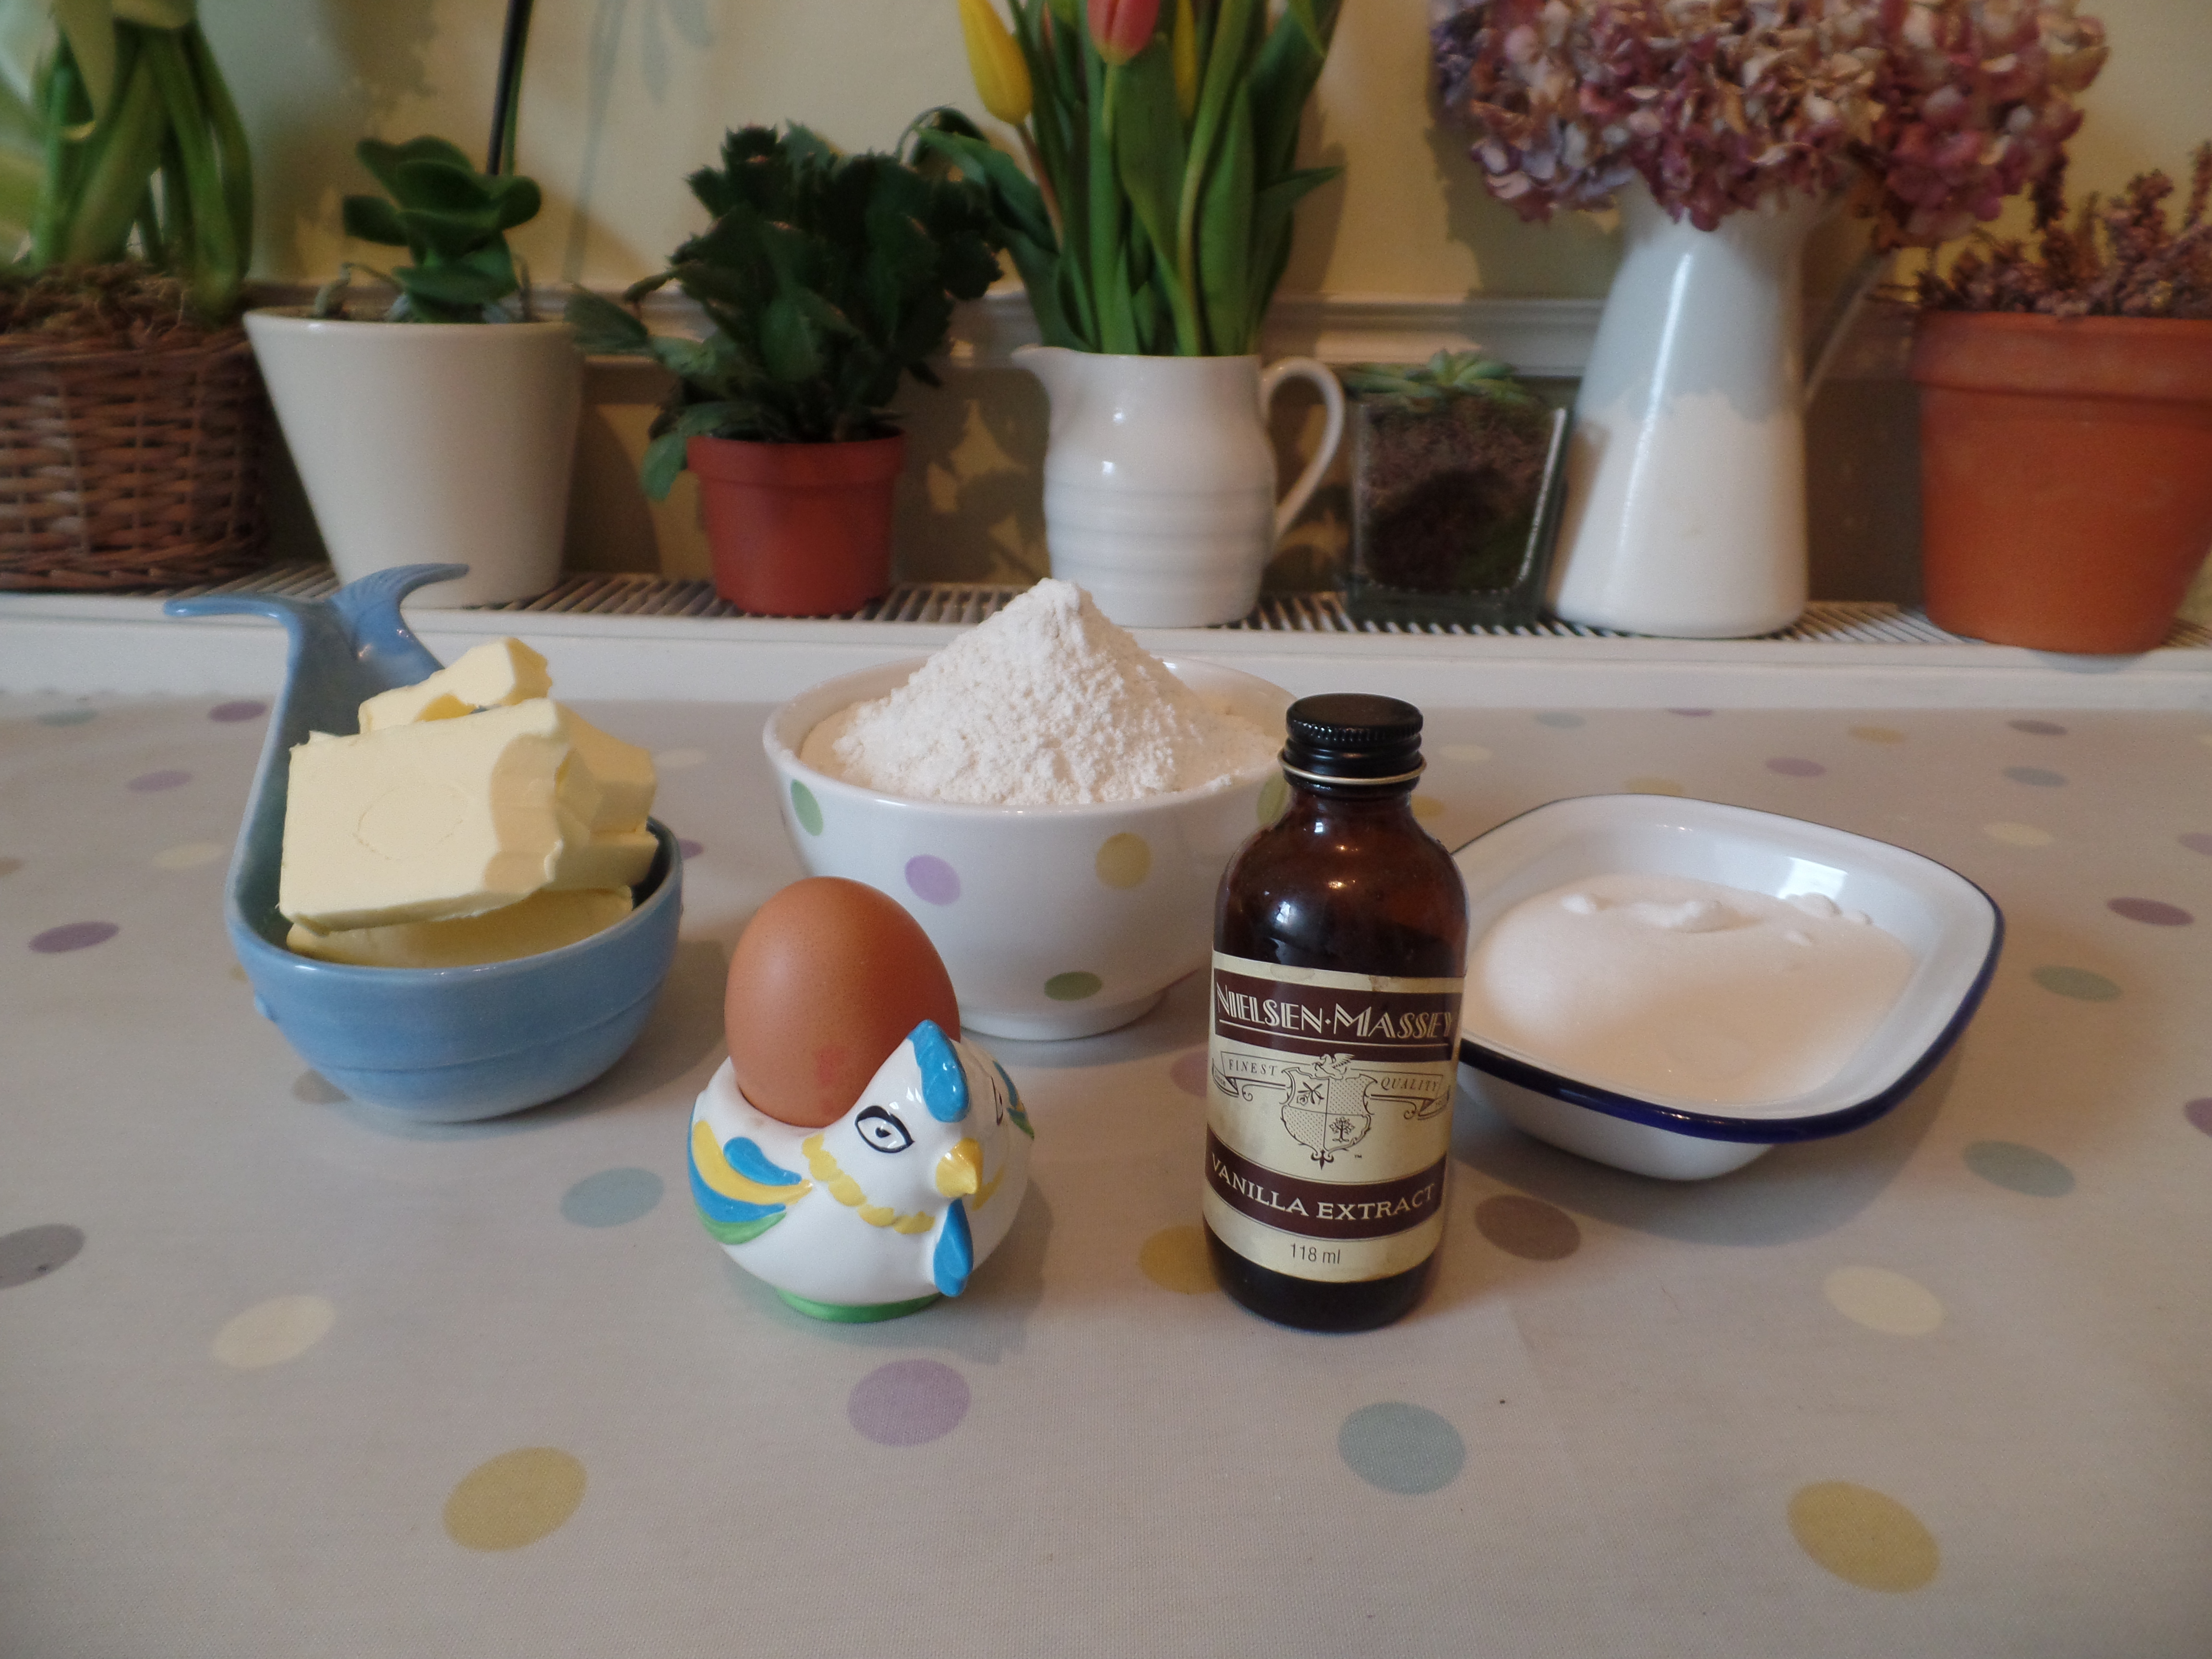
220g Salted Butter, softened
200g Caster Sugar
Half tsp Vanilla Extract
1 Large Egg
425g Plain Flour
For the Icing:
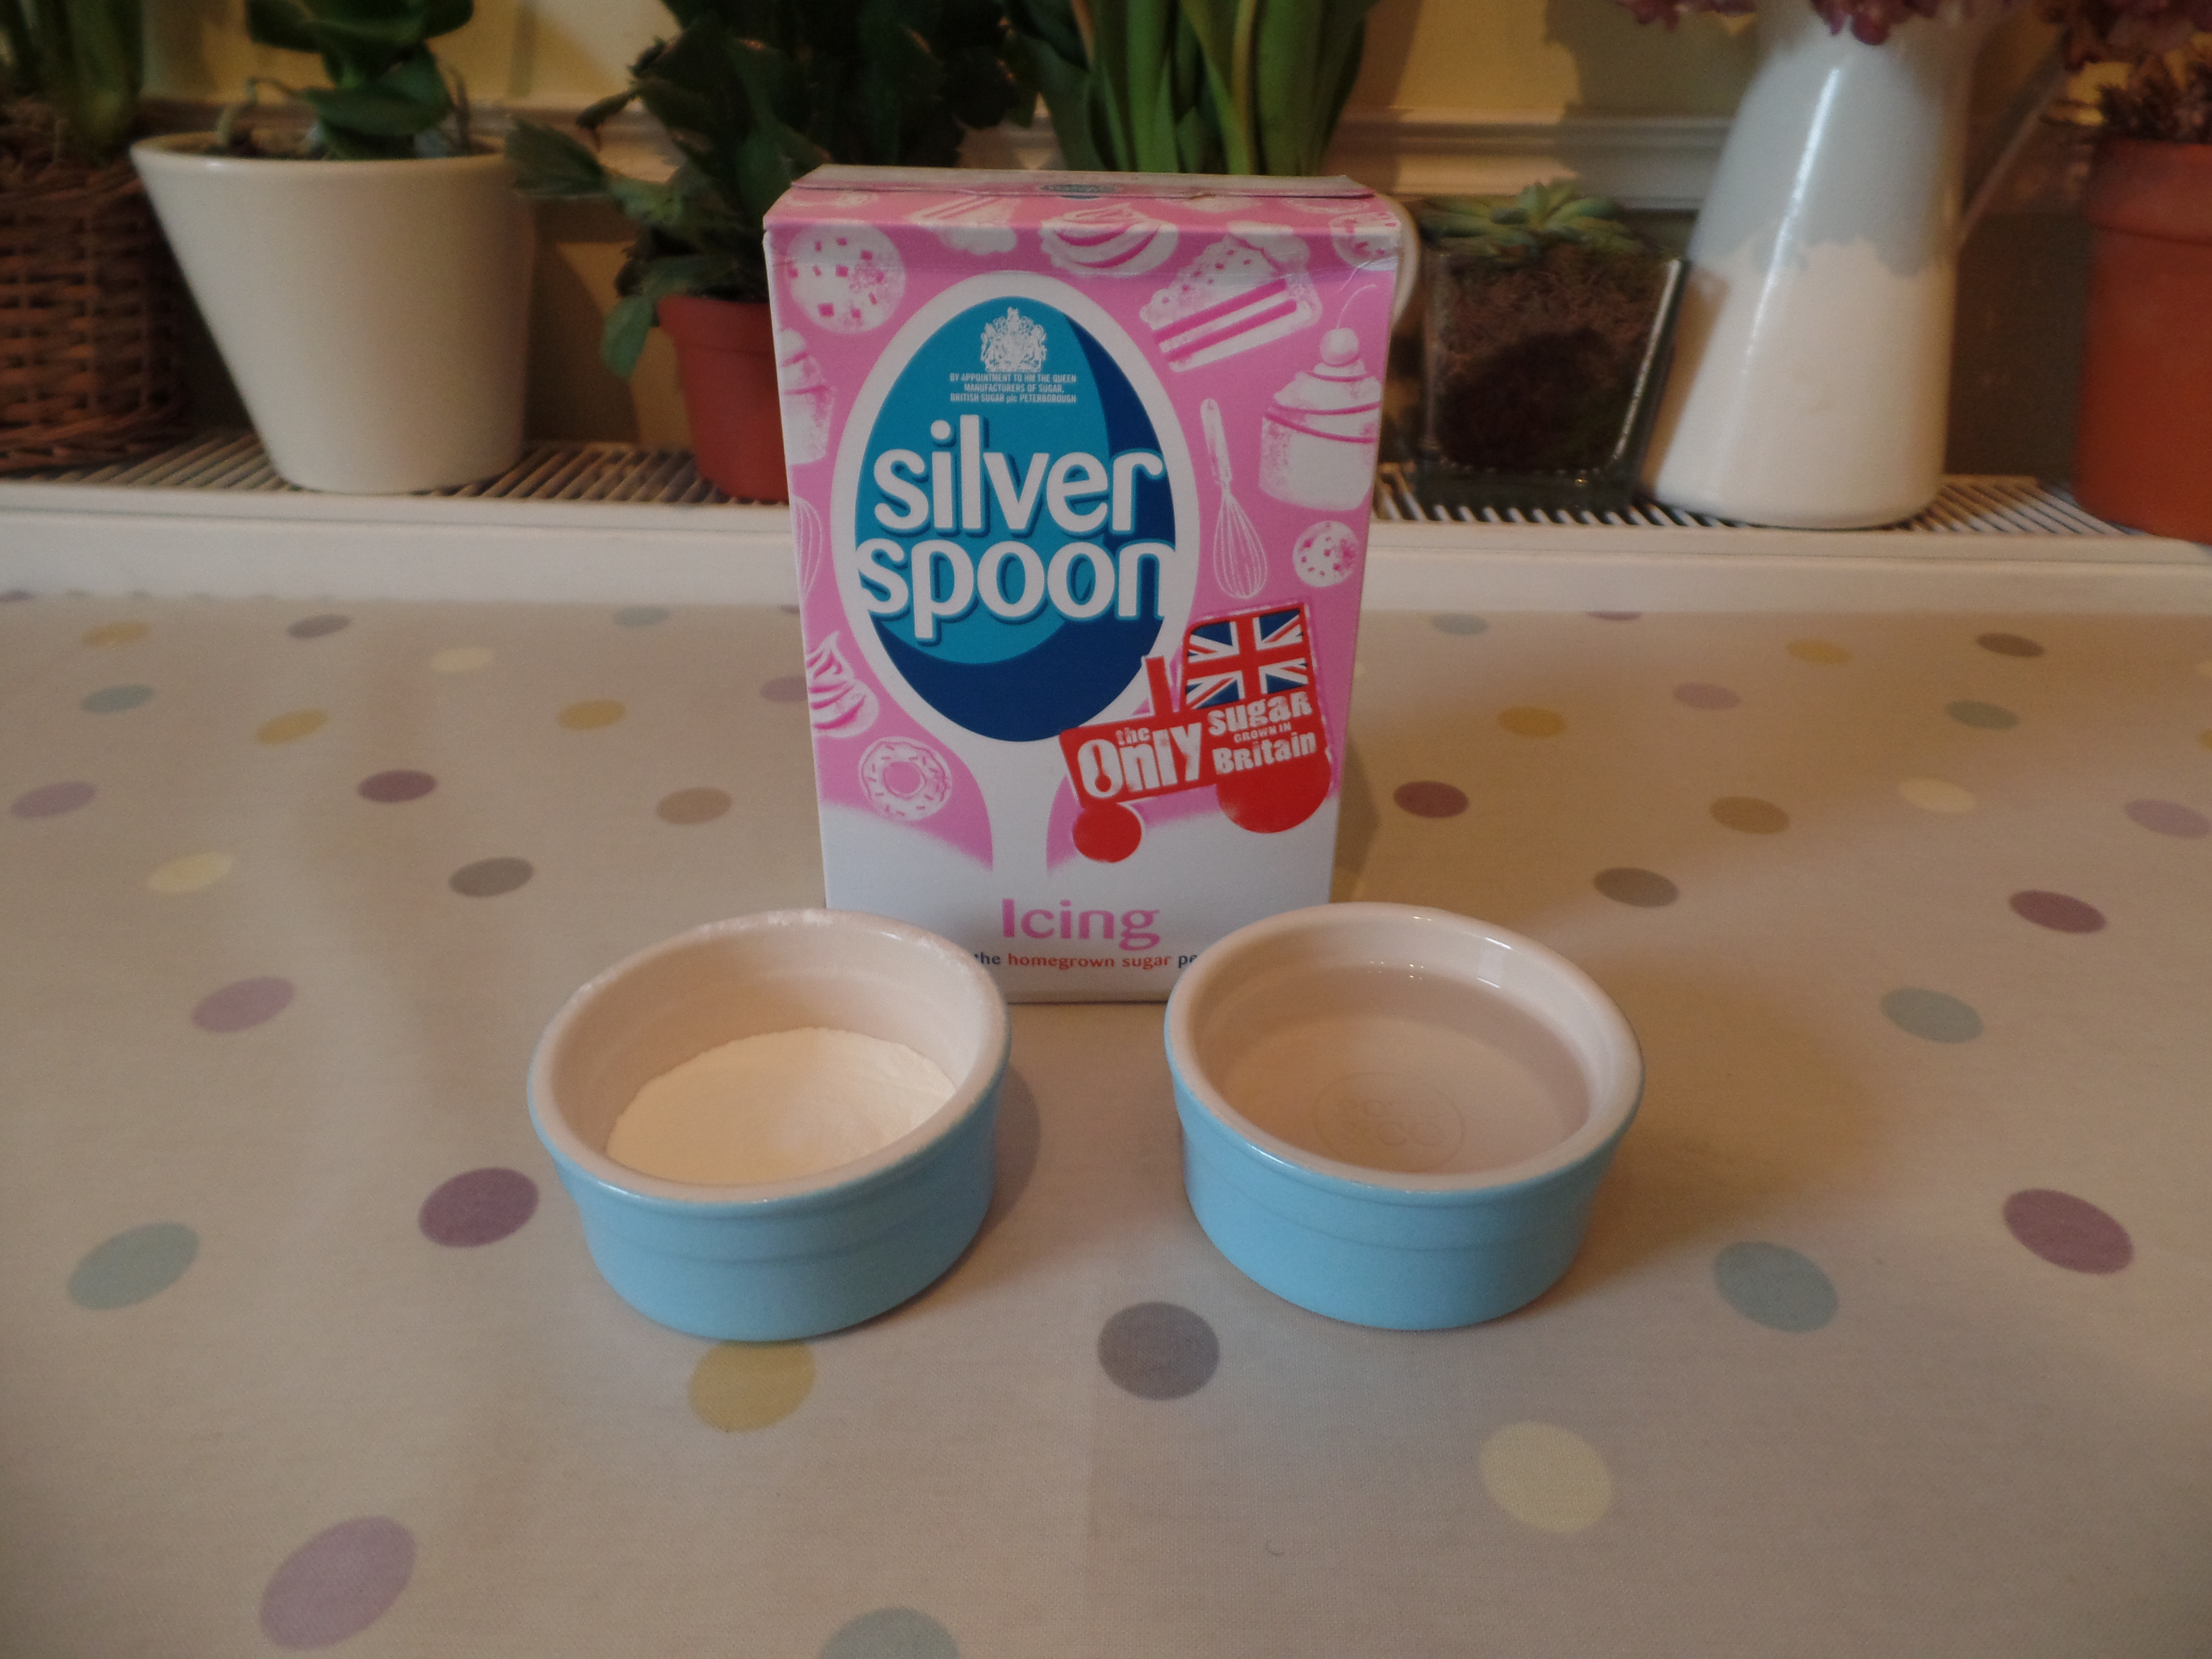
15g Egg White Powder
500g Icing Sugar
90 ml Water
Two different shades of blue food colouring
Extras: Ribbon and Brown Tags
Method:
1.Preheat the oven to 180°C/ 350 F/ Gas Mark 6.
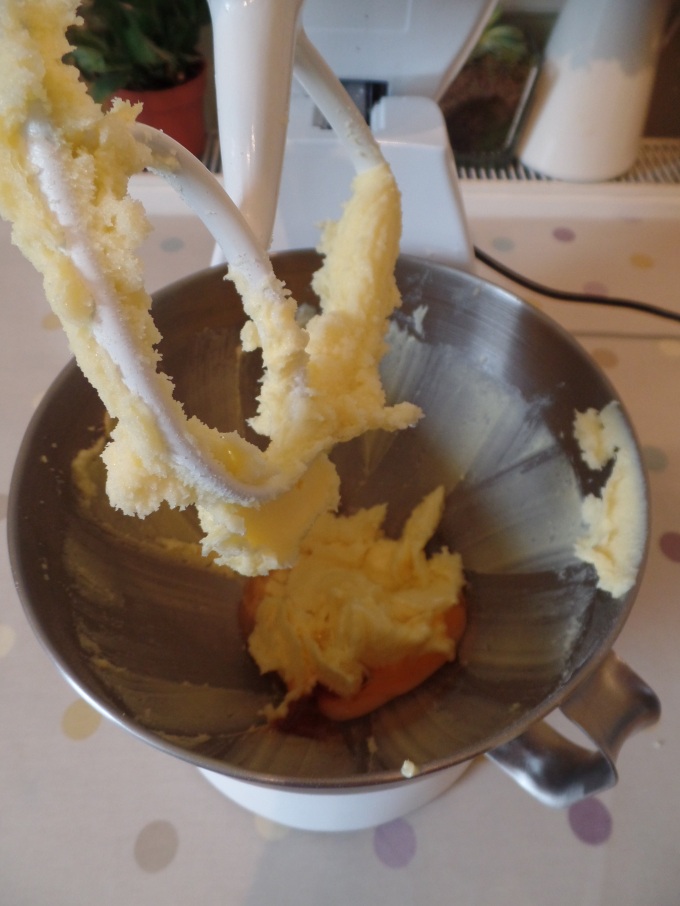
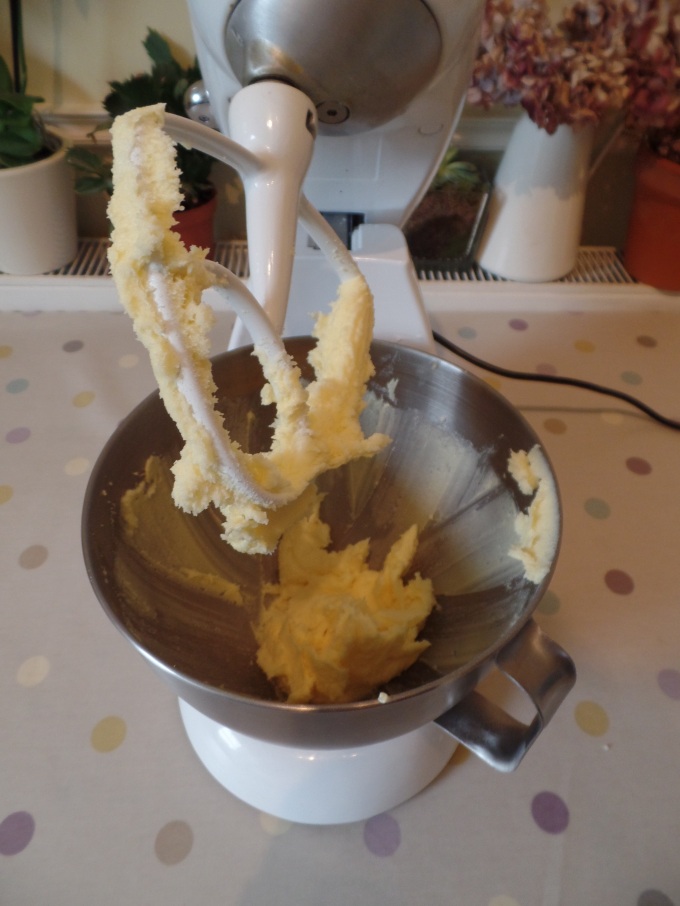
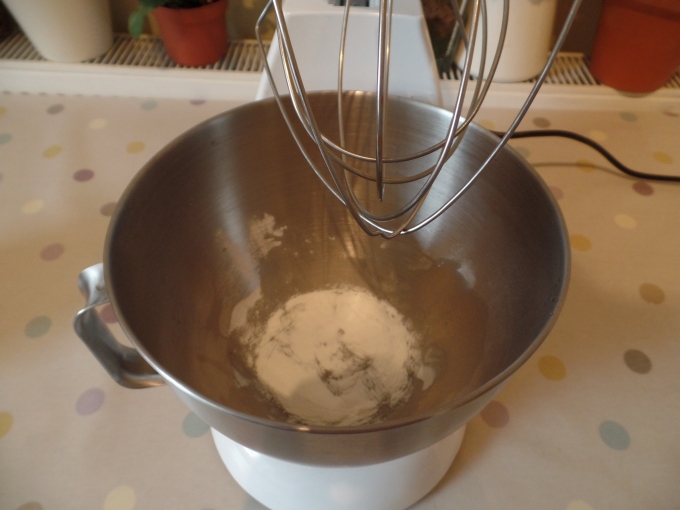
2. Cream together the butter and sugar.
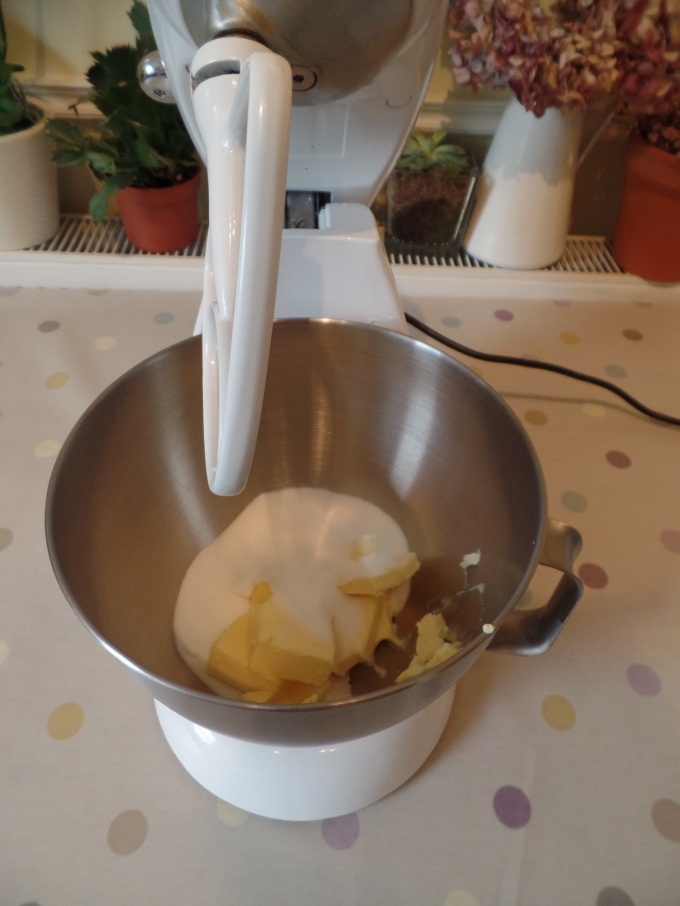
3. Add the egg and the vanilla extract and beat well.
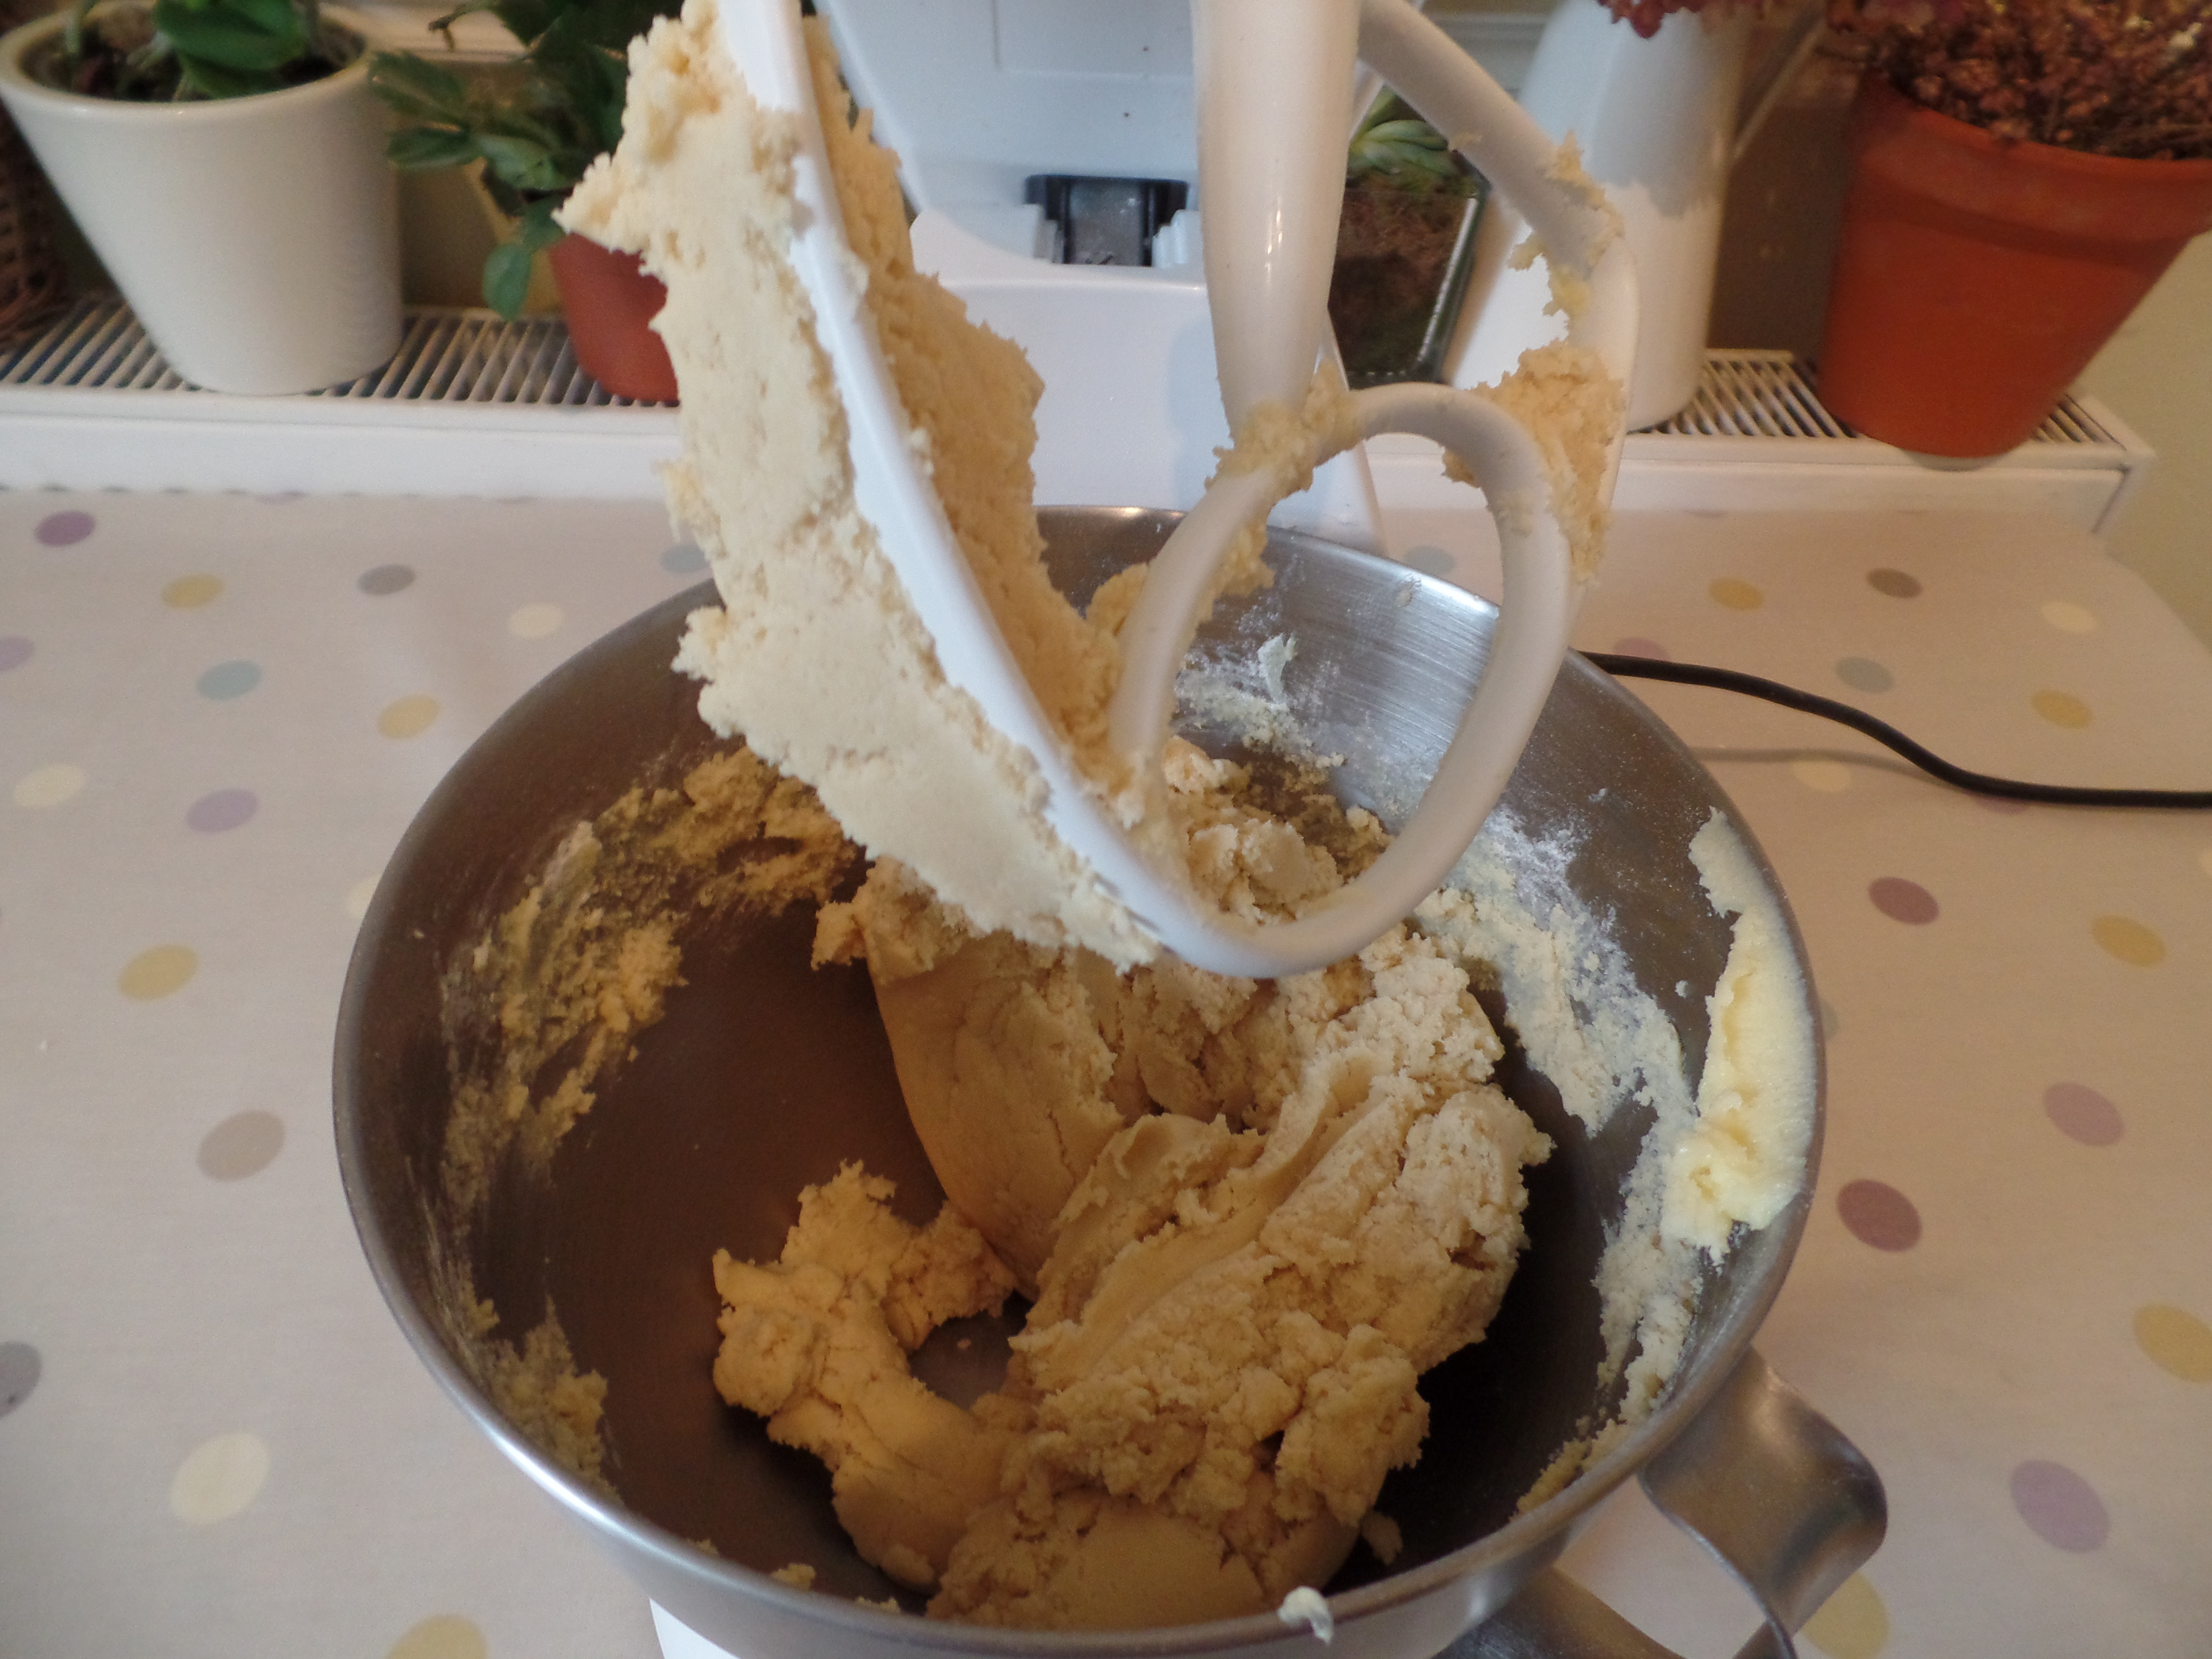
4. Add the flour and work together in to a dough.
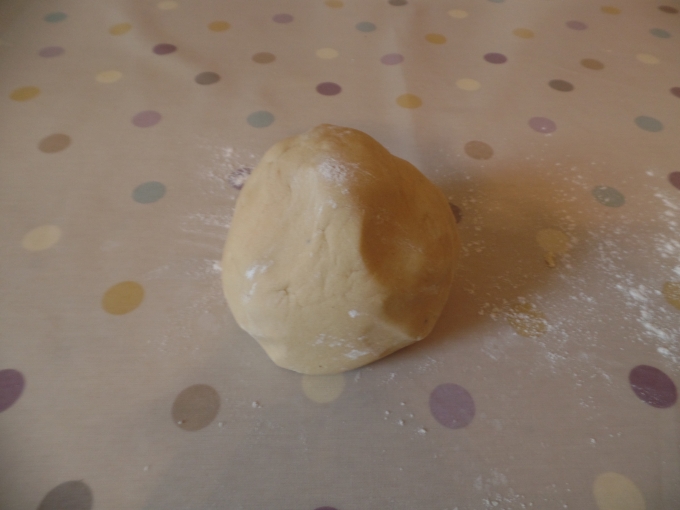
5. Lightly flour the work surface and gently knead the dough until it is smooth and pliable. Add more flour if you think it feels too sticky.
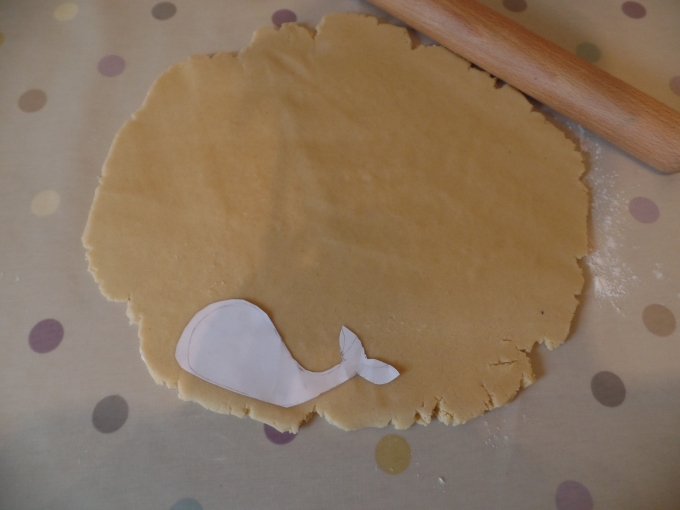
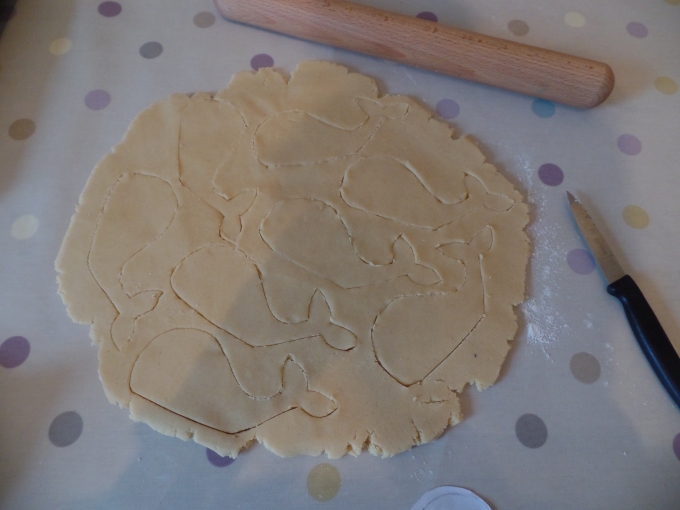
6. Roll out your dough with a rolling pin and then cut out your biscuits with your chosen cutter or template and transfer to a lined baking tray. To make my paper templates I just roughly copied a whale shape I found online and then cut around it.
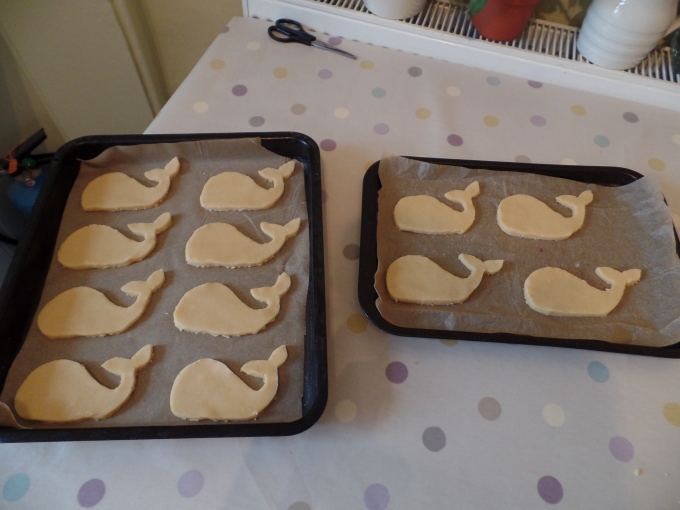
7. Bake in the oven for 8- 10 minutes until the edges are lightly golden brown.
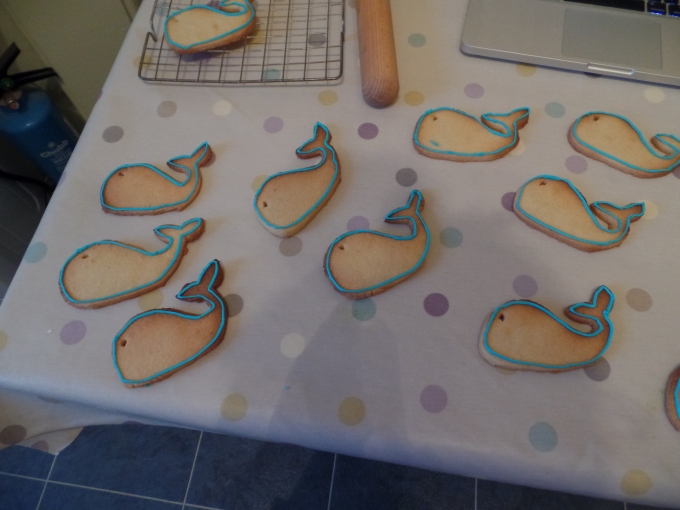
8. Allow to cool on the tray for 5 minutes before transferring to a wire rack to cool completely. PLEASE NOTE- You may notice the holes in the biscuits in picture below- My original plan was to tie the tags through holes in the whale’s bodies, however in the end I decided just to tie them around their tails instead.

9. To make the icing: Mix the egg white powder and water together and then gradually add the icing sugar bit by bit.
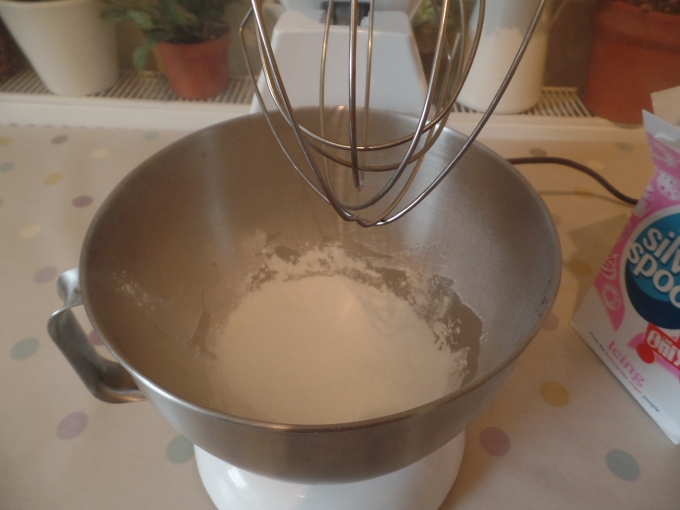
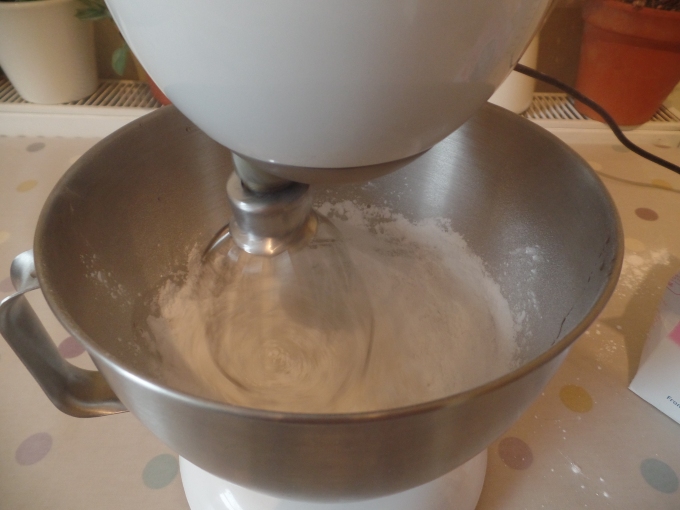
10. After you have done this you are going to need to divide the icing up into 3 parts.
1 QUARTER of the icing needs to be dyed a light blue colour and will be used for the outline of the whale’s body
THE OTHER QUARTER needs to be dyed a light blue and will be used later to do the whale’s features.
THE REMAINING HALF needs to be dyed a medium blue and have a little bit of water added to it to make it runny- this will be used to fill the centre of the whale’s body.
You can do this by distributing it in to 3 separate bowls and then colouring and mixing each one by hand.
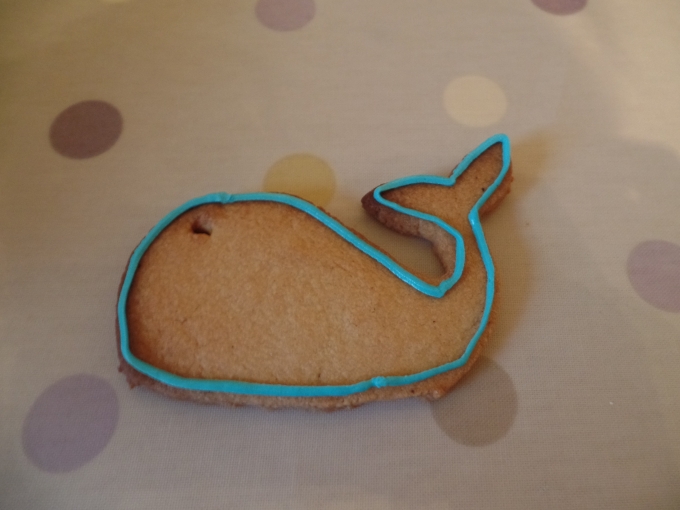
11. Once you have all three bowls of icing ready, place the light blue icing in a piping bag and pipe the outline of the whale on to the biscuits. Leave to set.
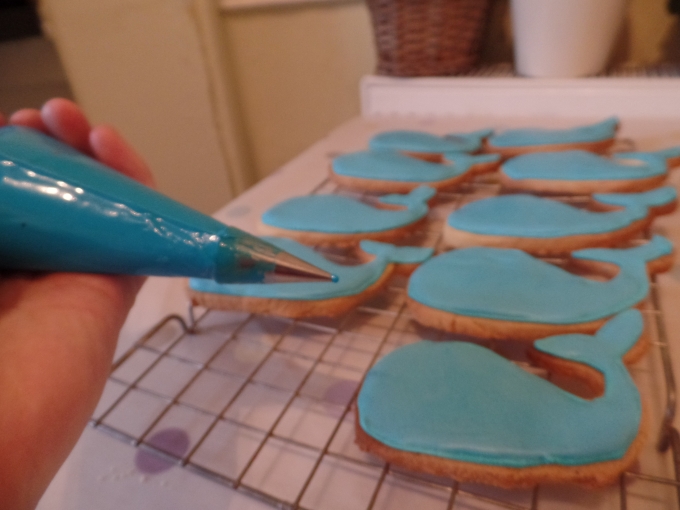
12. You now need to ‘flood’ the inside of the outline with the medium blue coloured icing (Remember you should have added a bit of water to it earlier to make it runny) Place it in a piping bag and then fill in the space- you can use a cocktail stick to get it in to all the little nooks and crannies.
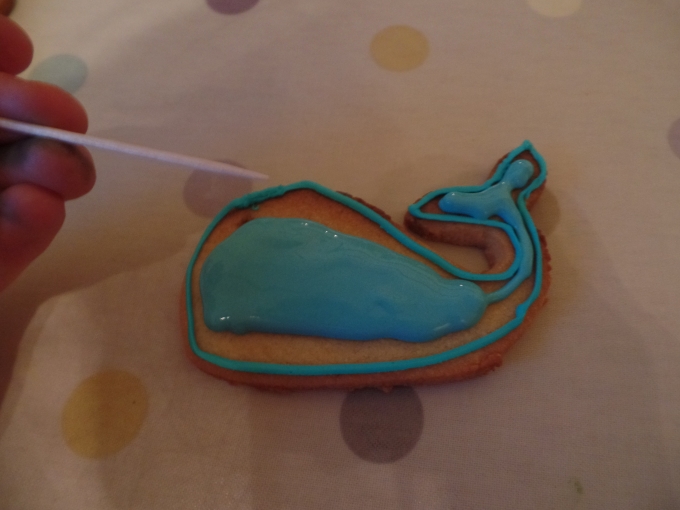
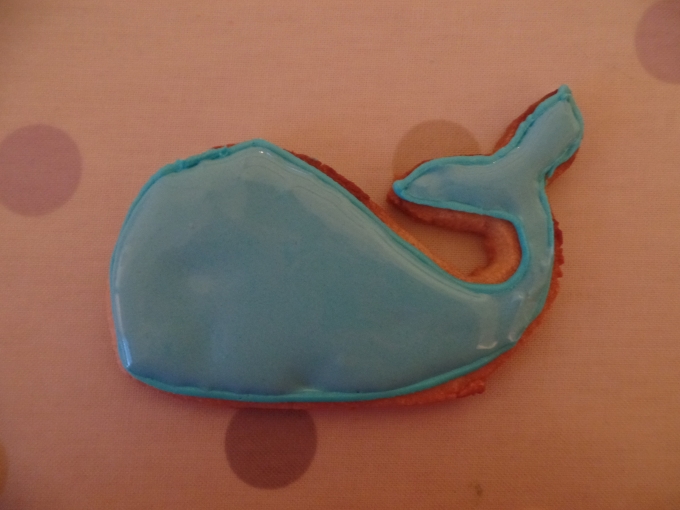

Leave to set for as long as possible.
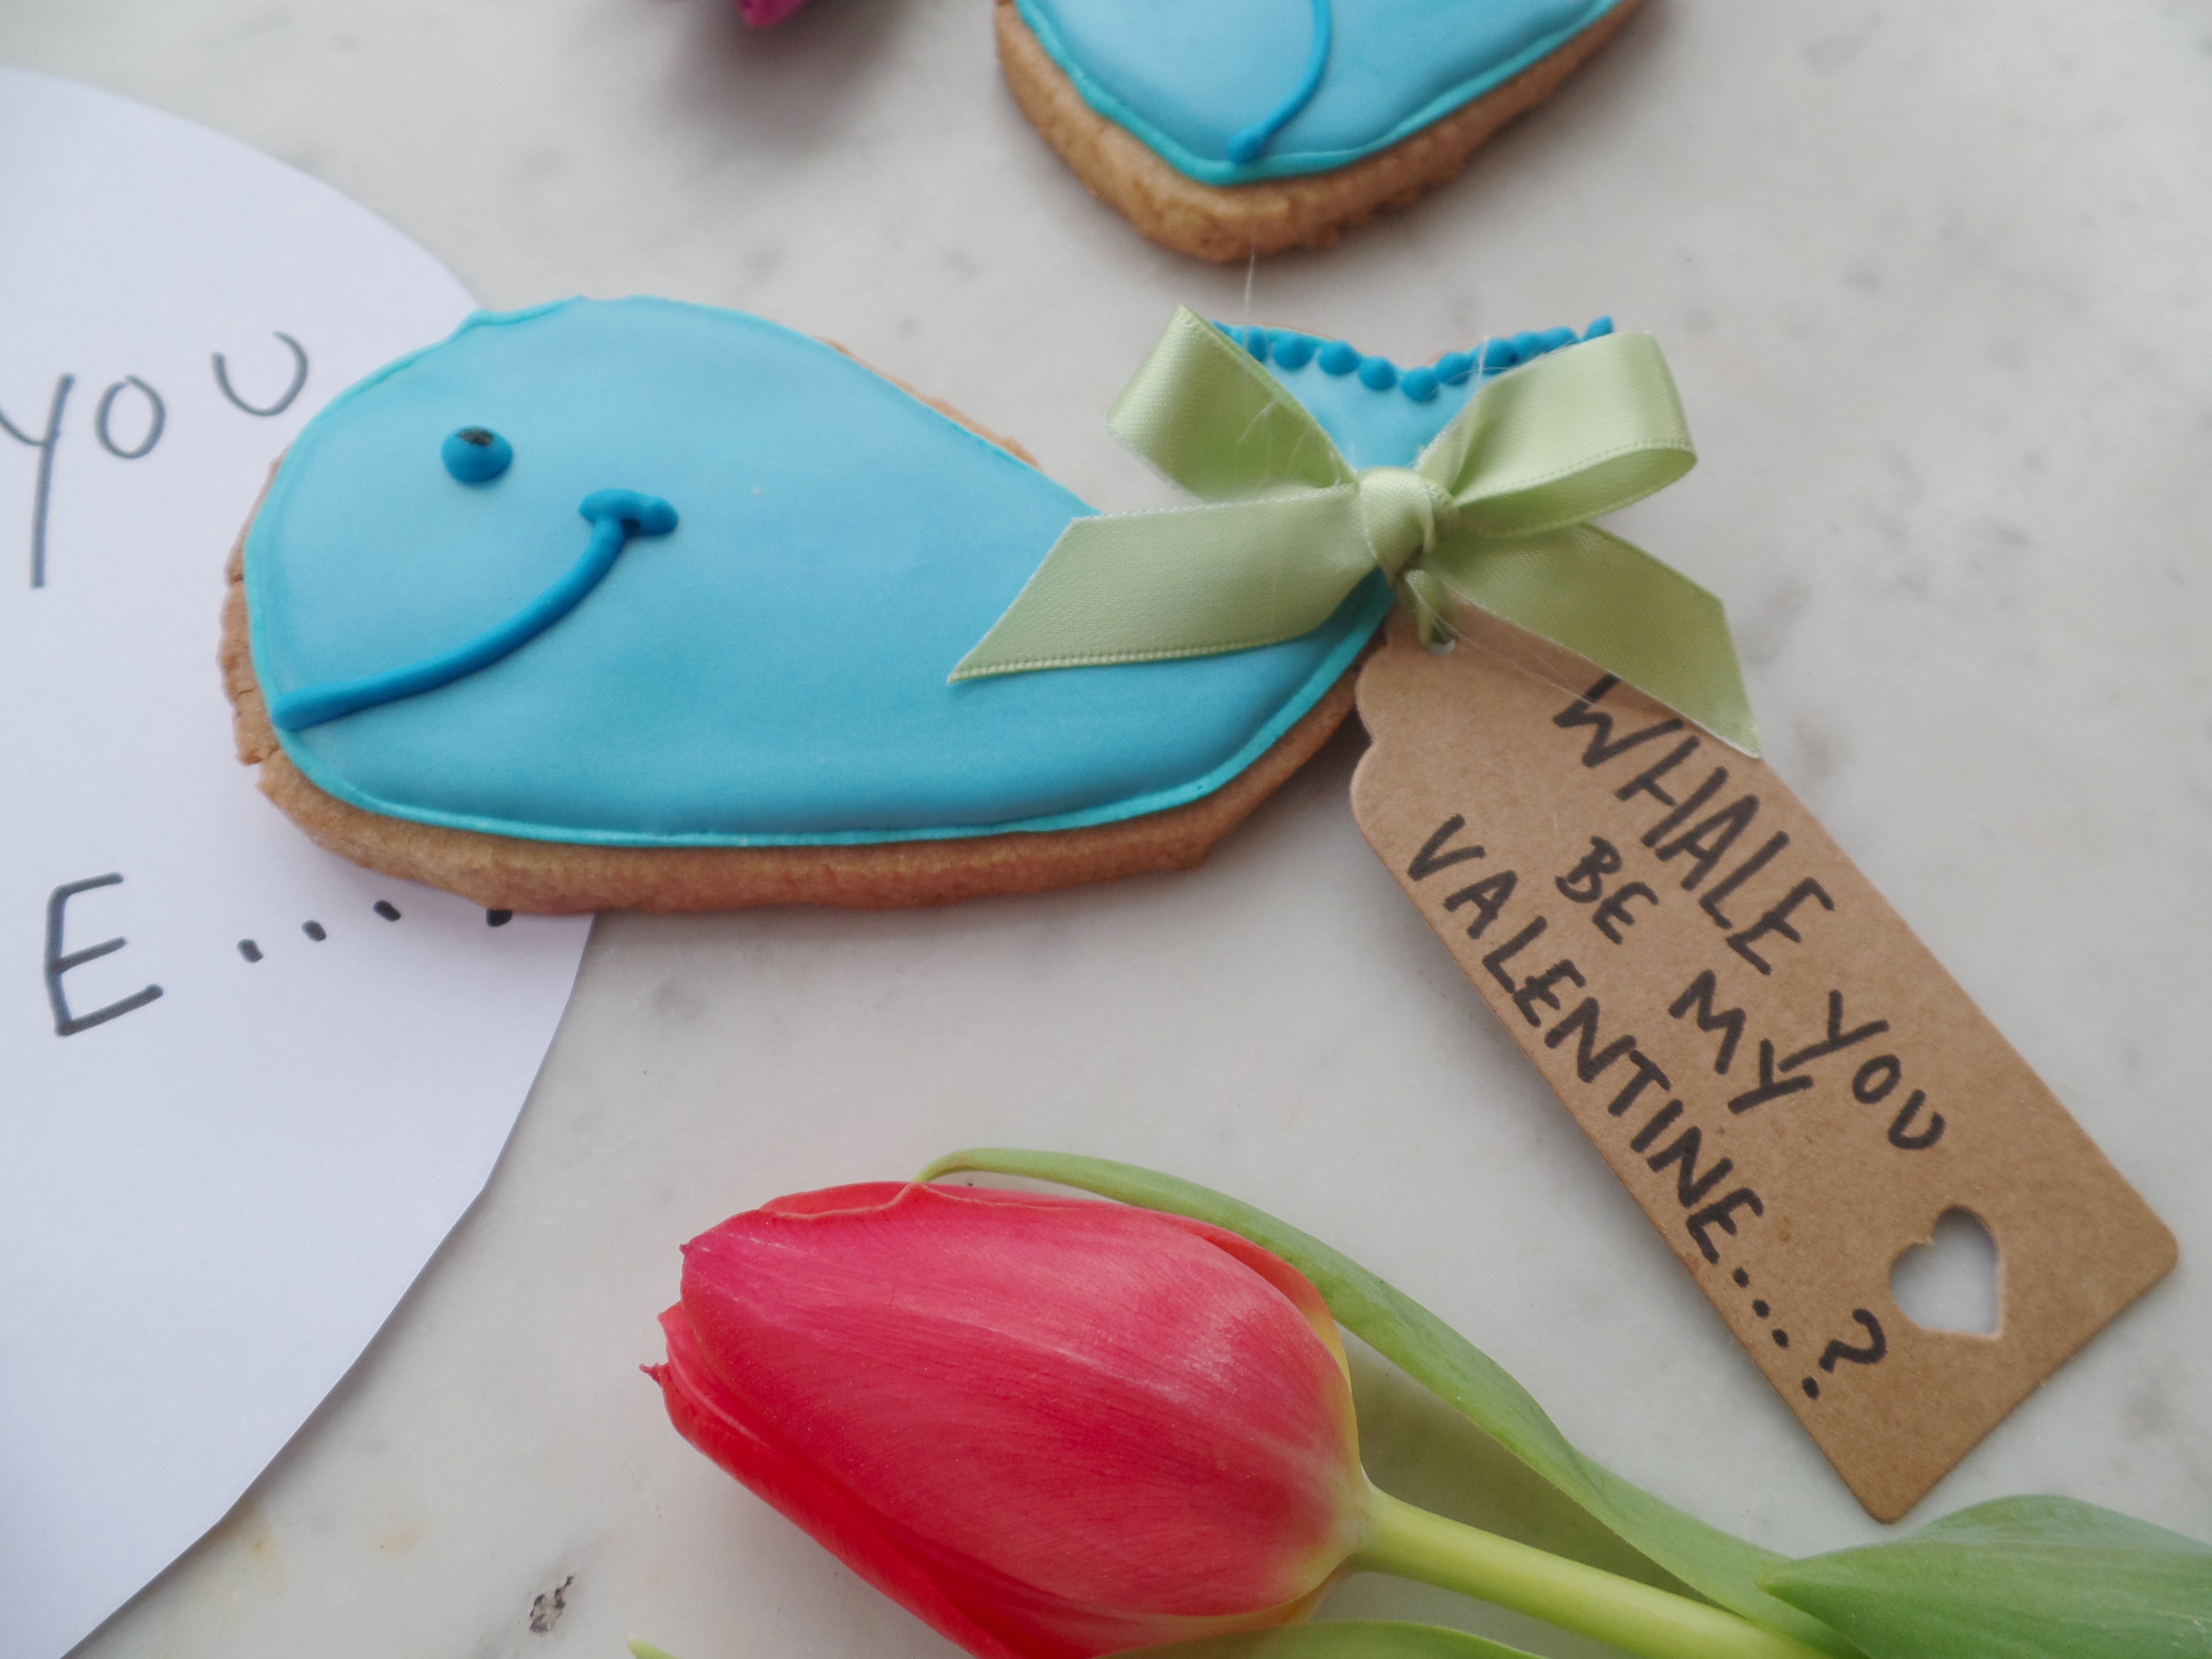
13. Once it is dry you can place the dark blue icing in a piping bag and pipe on the mouth, eyes and tail detail.
14. I then used a cocktail stick and black food dye to add a pupil to the eyes.
15. Tie the tags around the whale’s tail with a piece of ribbon and then you are done!

That’s adorable !!!
LikeLike
Thank you 😀
LikeLiked by 1 person
This is so cute!!!
Please visit and follow my blog (www.lazymomcooking.wordpress.com) or Instagram (lazymom_cooking) for some recipe ideas
LikeLike
Thank You! 😀
LikeLiked by 1 person
Amazing!
LikeLiked by 1 person