

On the whole it hasn’t been a bad summer, with the odd scorcher here and there. While I didn’t get a chance to go abroad, I have to say I was exceptionally lucky with all the weather I encountered on my weekends away venturing around bonnie Scotland and her islands.
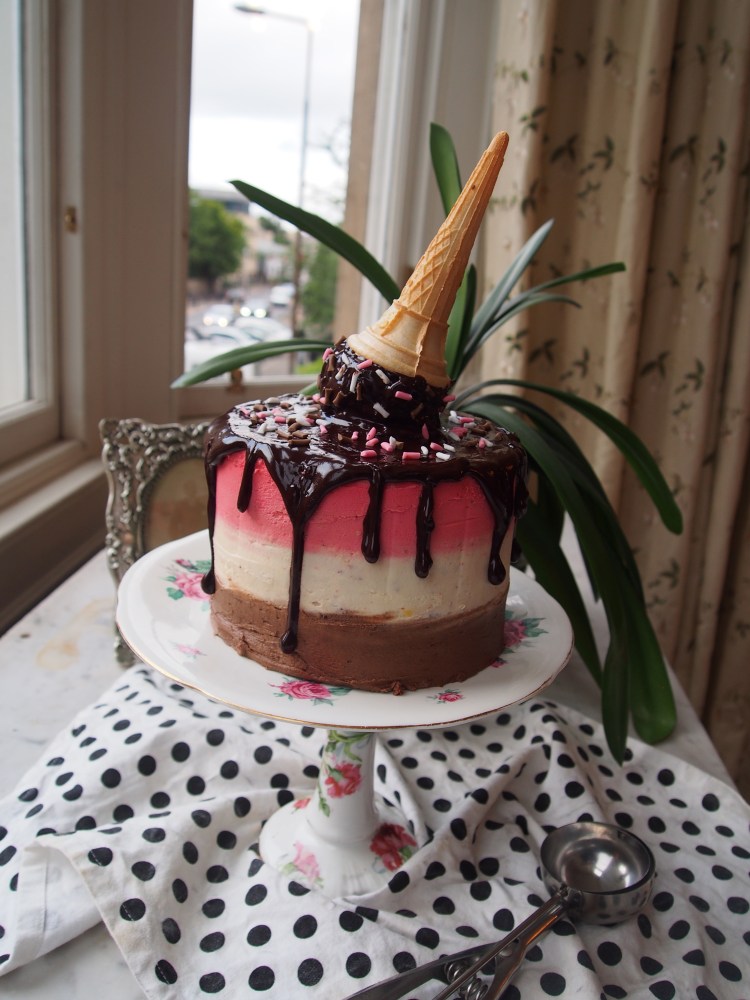
Unfortunately summer is now well and truly over and it’s beginning to feel like autumn/winter. Therefore before everything becomes apples, pumpkins and cinnamon I wanted to make one last summery bake. I have seen a lot of ‘drippy’ cakes on the interweb lately and therefore I decided to attempt a Neapolitan ice cream drip cake complete with homemade sprinkles. Bye-bye Summer, it’s been fun…
Serves: 10
Prep Time: 3 Hours
Ingredients:
For the Cakes:
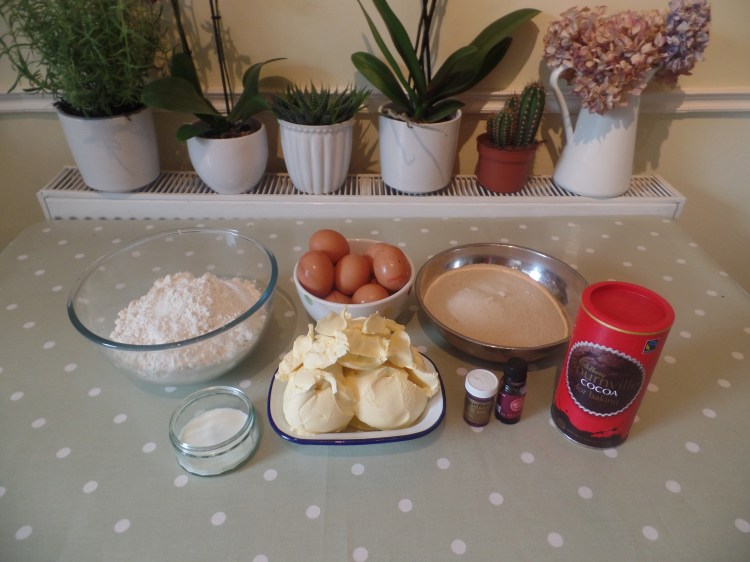
600g Stork
600g Caster Sugar
600g Self Raising Flour
10 Eggs
2 Tbsp Milk
8 drops of raspberry extract and a dollop of pink gel food colouring
70g Cocoa Powder
1 Tsp Vanilla Extract
For the Icing:
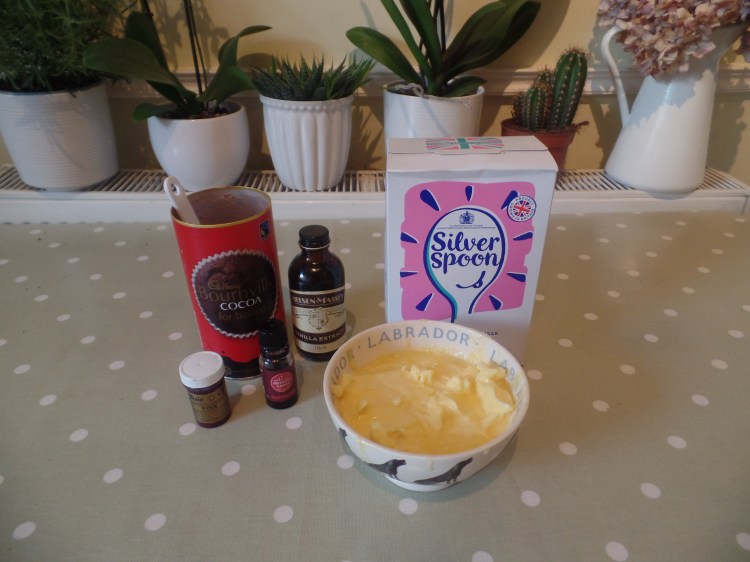
500g Butter
1kg Icing Sugar
2 Tbsp Cocoa Powder
6 drops of raspberry extract and a dollop of pink gel food colouring
For the Decoration:
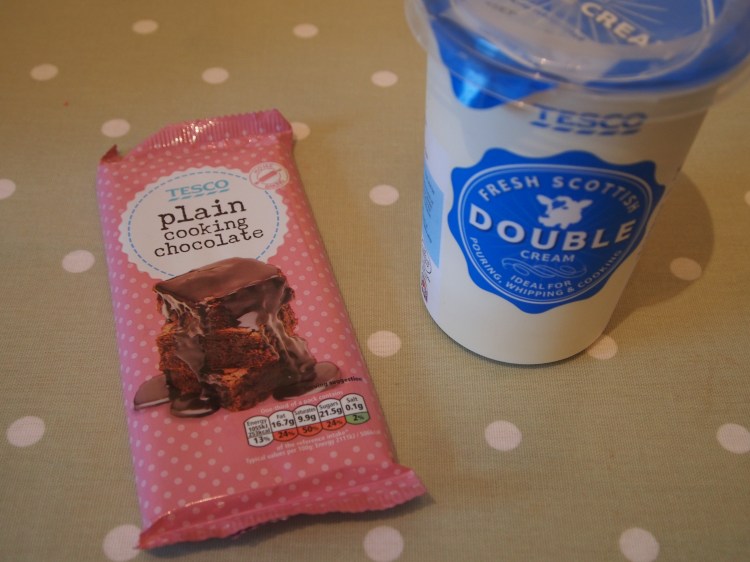
100g Dark Chocolate
100g Double Cream
White sugar paste and pink and brown gel food colouring
1 Ice Cream Cone
Method:
1. Preheat the oven to 170°C/ 325 F/ Gas Mark 3
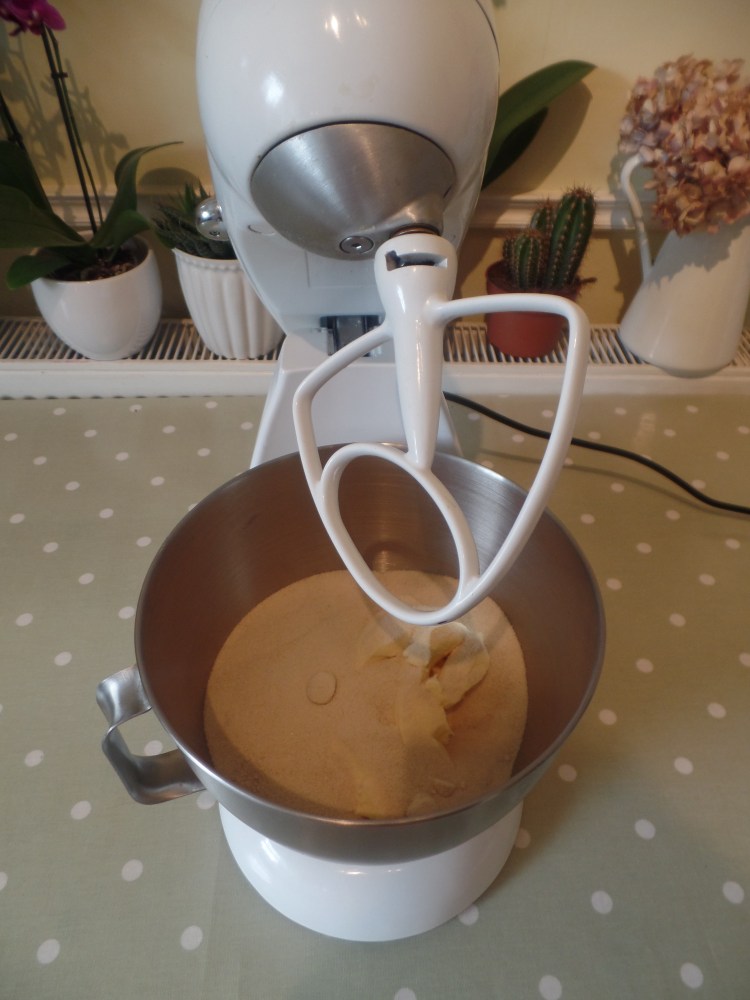
2. Cream together the stork and caster sugar.
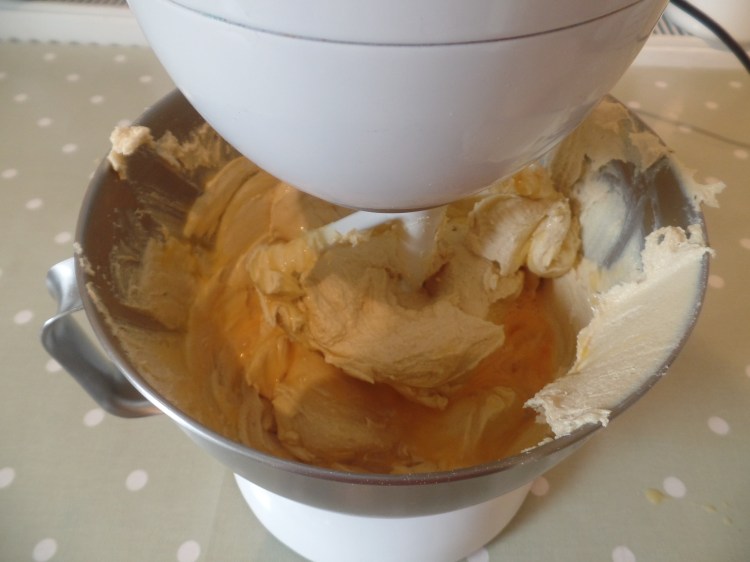
3. Then beat in the eggs one at a time.
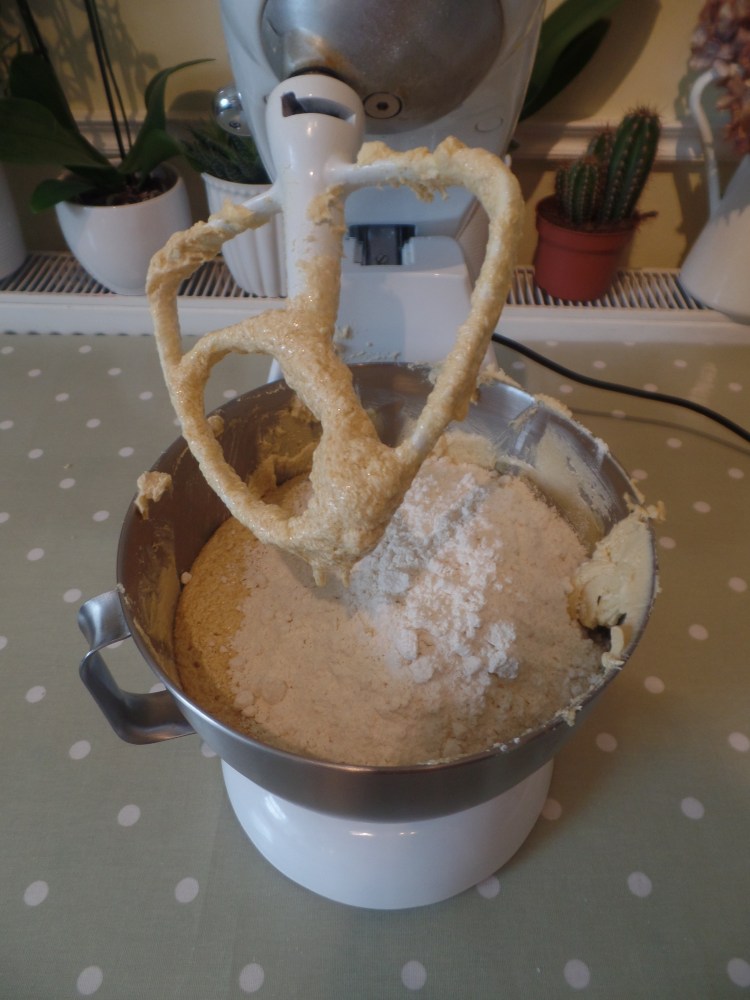
4. Add the flour.
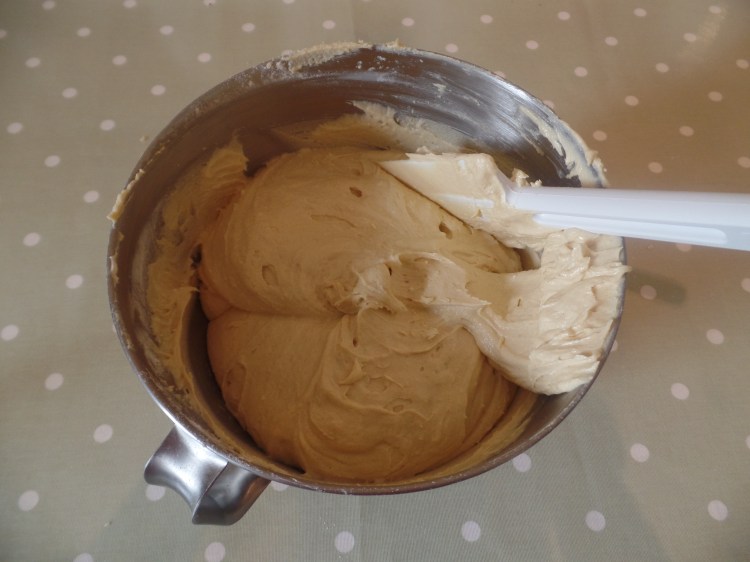
5. Divide the cake mix between 3 bowls, keeping a little bit extra in one of the bowls.
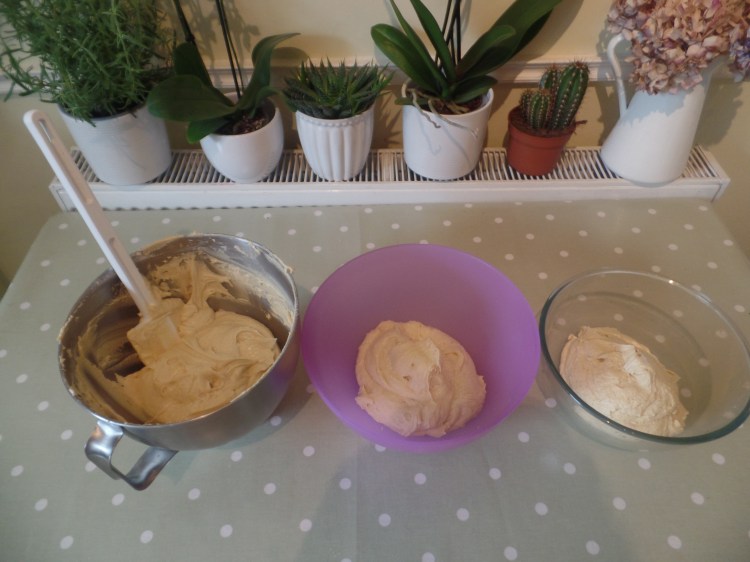
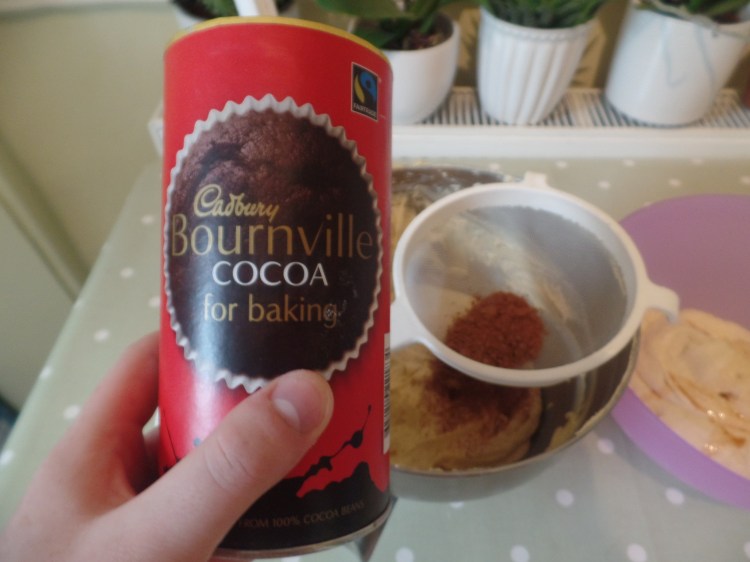
6. Add 70g of cocoa powder to the bowl with the bit of extra cake mix (you will need the extra sponge later)
7. Add a teaspoon of vanilla extract to another bowl.

8. Add the raspberry extract and pink food colouring to the last bowl.

9. Place the mixes into three separate greased cake tins. I put the raspberry and vanilla mixes into two 7 inch cake tins and the chocolate mix in to an 8 inch tin.


10. Bake the cakes in the oven for 45-50 minutes, until they are well risen and a skewer comes out clean when inserted in the centre (it might take a bit longer for the chocolate cake)
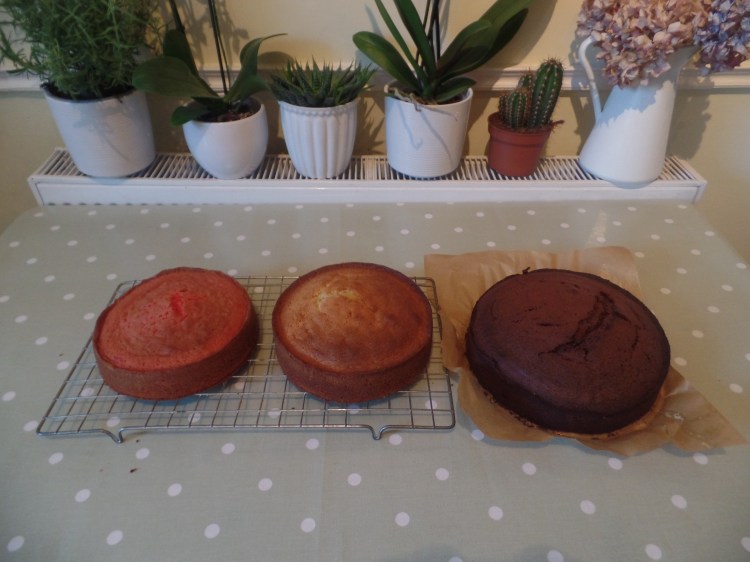
Leave the cakes to cool and get started on the buttercream icing.
11. Beat the butter until light and fluffy and then add in the icing sugar a bit at a time.

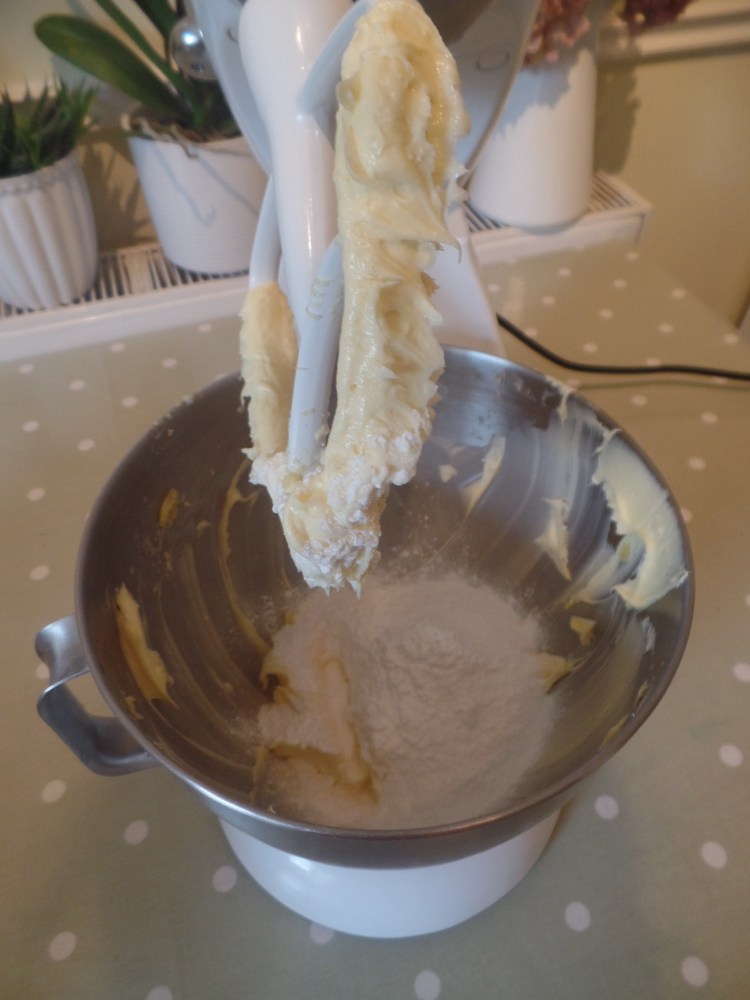
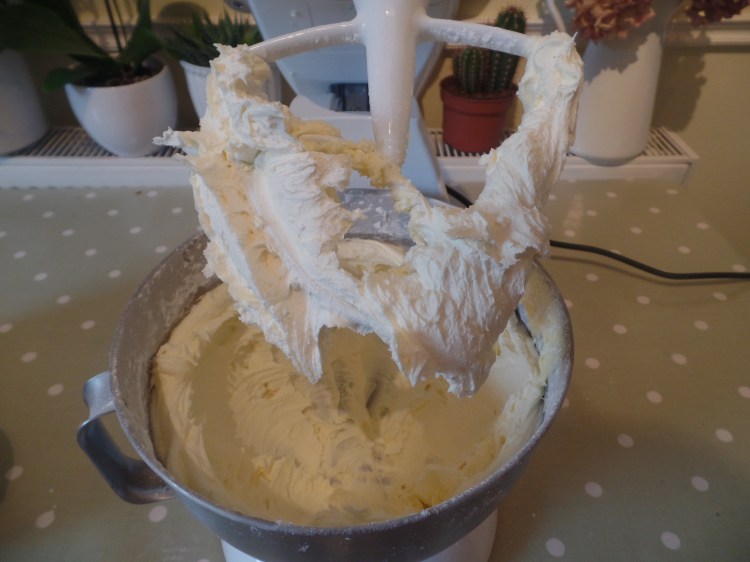
12. Just like with the cake mix, divide the buttercream up into three bowls (with a little bit less in one) and add 2 tablespoons of coco powder to one bowl, leave one as it is and finally add 6 drops of raspberry extract and pink food colouring to the bowl with a bit less buttercream in it.

OKAY. Time for construction.
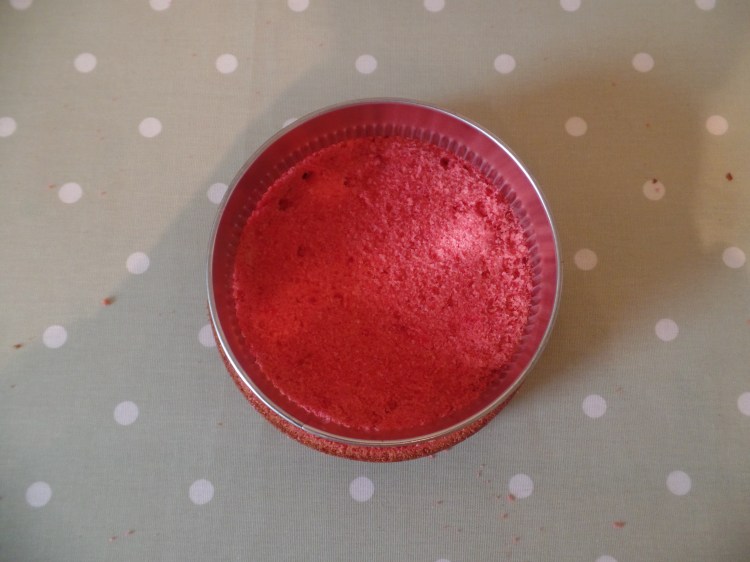
13. Using a knife or a cake leveller, shave the tops off your sponges so they are all the same level.

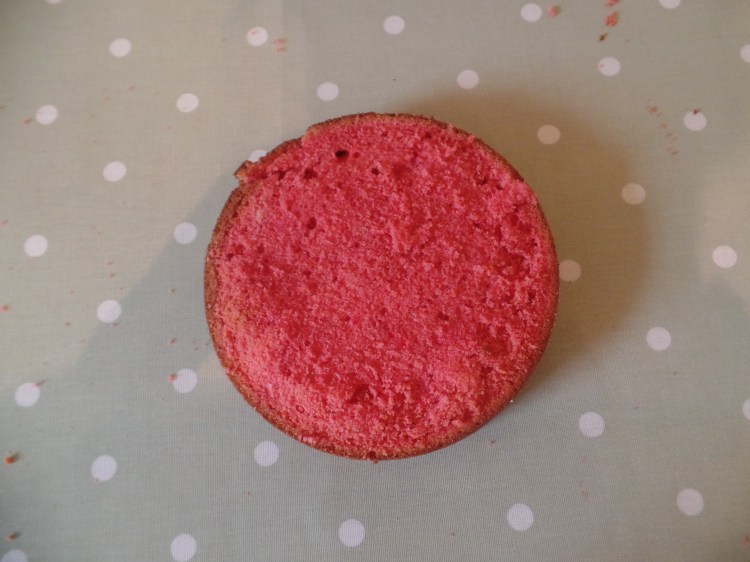
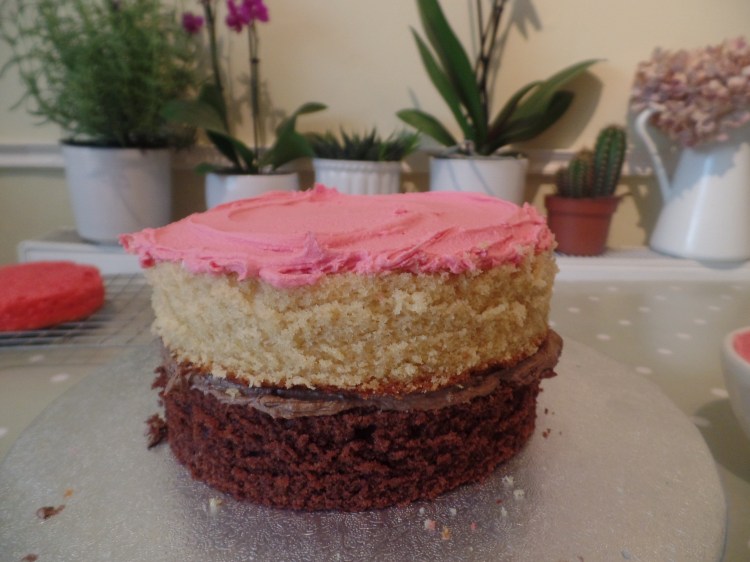
14. Now using a cutter or a knife and circle template, cut around the sponges so they are all six inches in diameter. Put the excess sponge to one side.
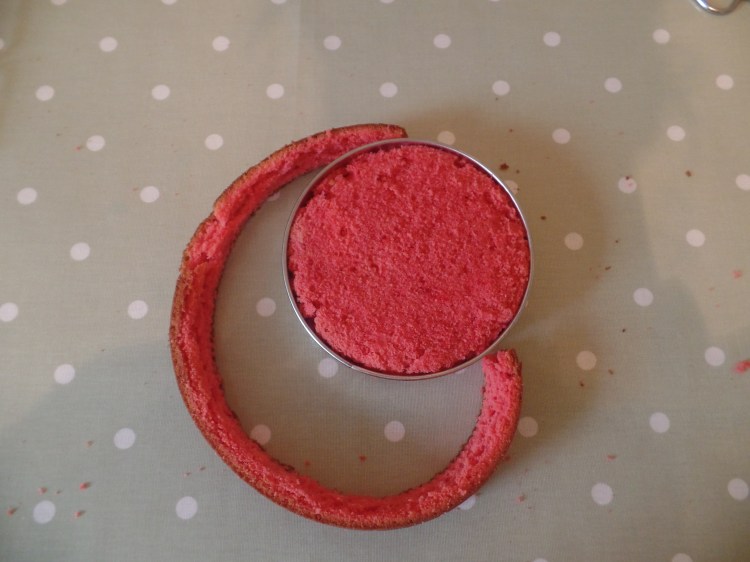
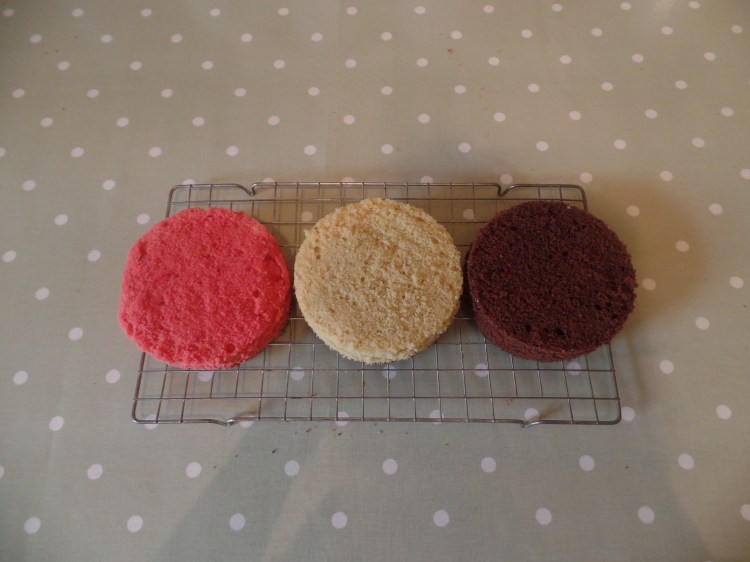
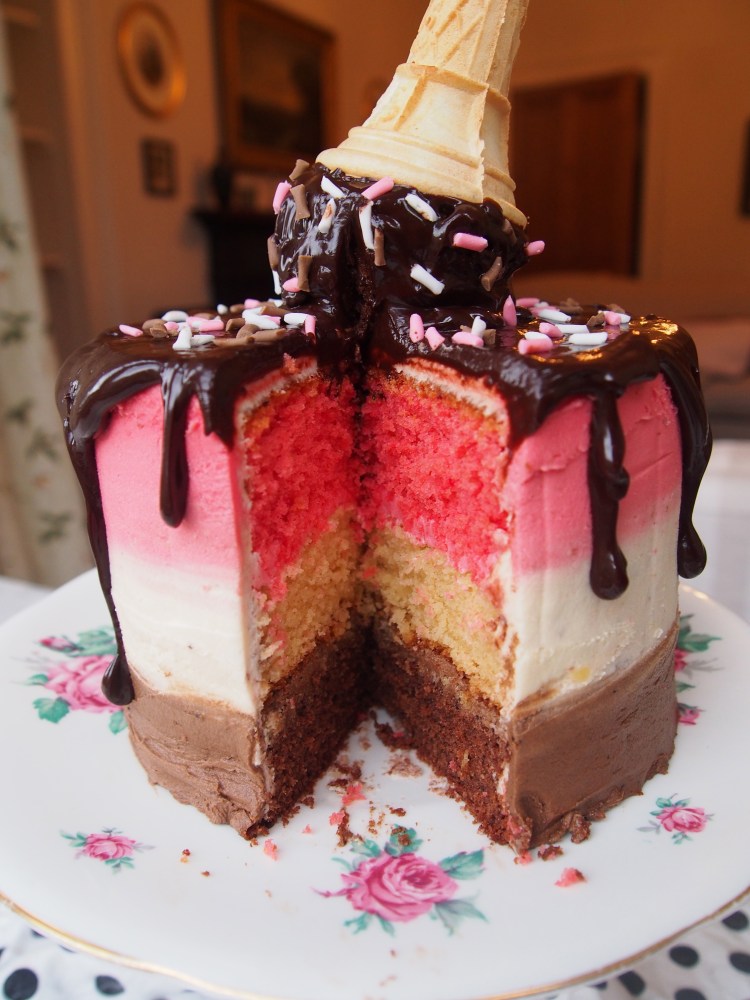
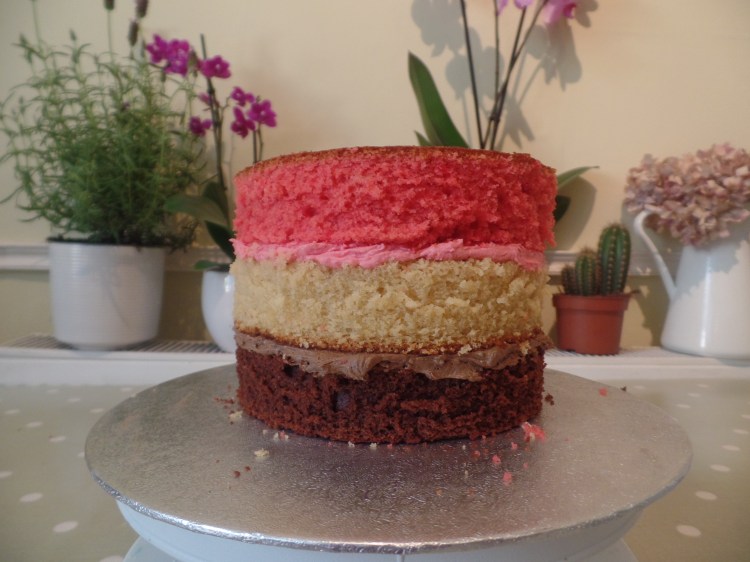
15. THE CAKE GOES… Chocolate sponge topped with chocolate buttercream. Vanilla sponge topped with raspberry buttercream. Raspberry sponge.

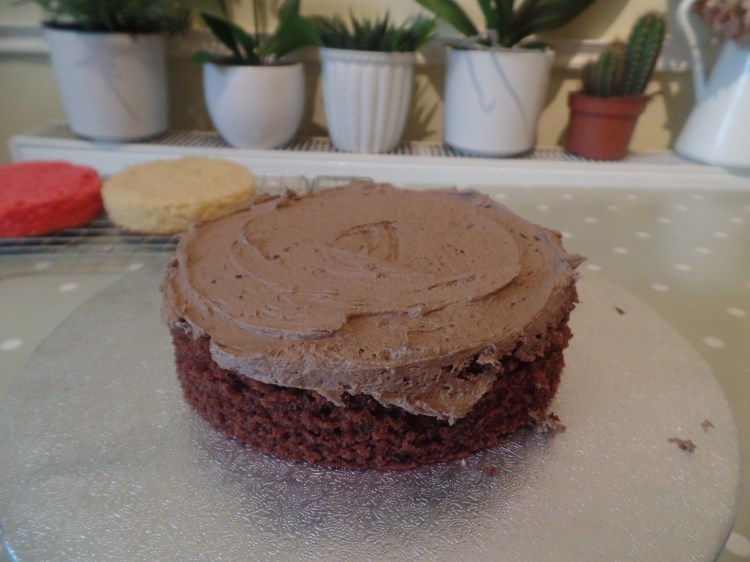
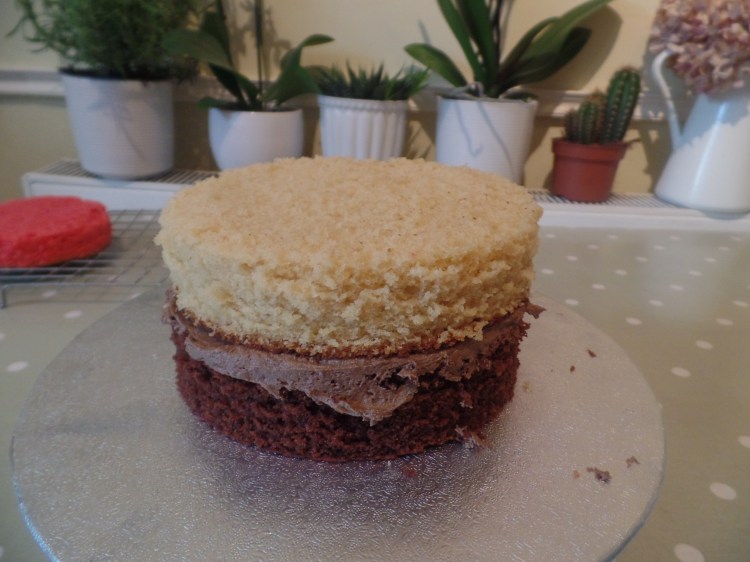
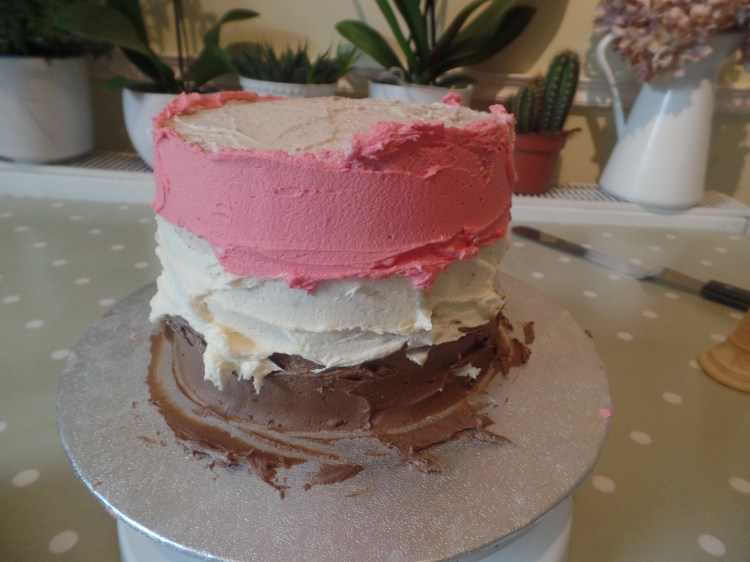
16. One you have your three layers stacked it is time to coat them in a thin layer of the plain buttercream. Then place the cake in the fridge to harden.

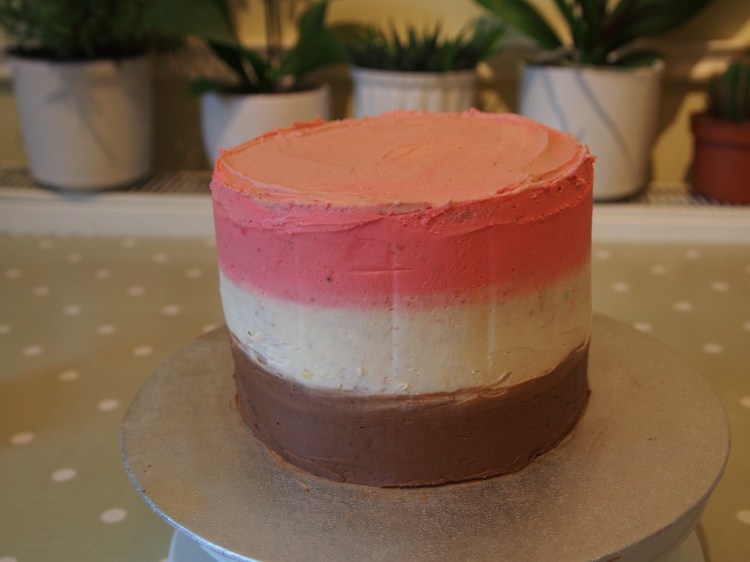
17. To create the Neapolitan icing effect you need to roughly apply all three flavours of buttercream to the cake and then spread them using a scraper and a cake turntable.

18. TO DECORATE… Make the ice cream base by mixing in the crumbled up off cuts from the chocolate sponge with any left over chocolate buttercream and shaping in to a ball (just like a cake pop)
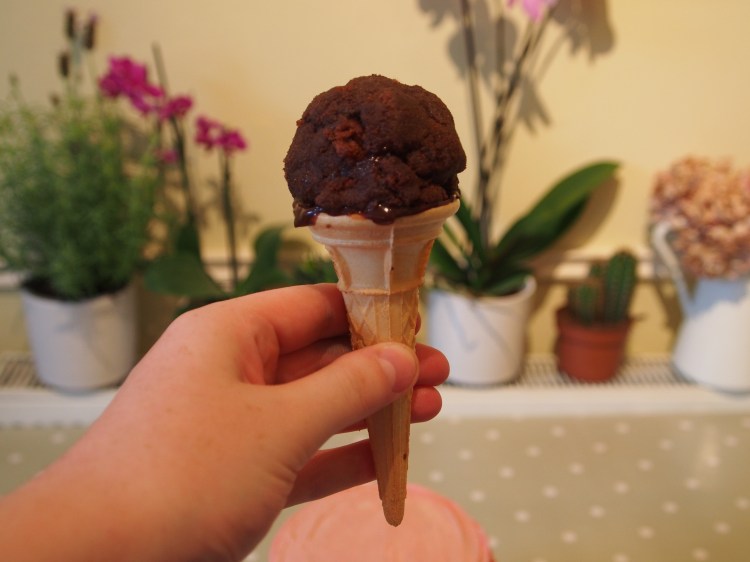
19. To make the drippy chocolate ganache, heat the cream in a saucepan and then pour over the chopped up chocolate. Stir until the chocolate has melted.

20. Pour the ganache over the top of the cake, allowing it to drip down the sides.
21. Put the ice cream cone on top off the cake and cover the base in the chocolate ganache.
22. To make the sprinkles, dye some Renshaw sugarpaste with gel food colouring. Roll it in to a thin ‘sausage shape’ and chop into pink, brown and white sprinkles.
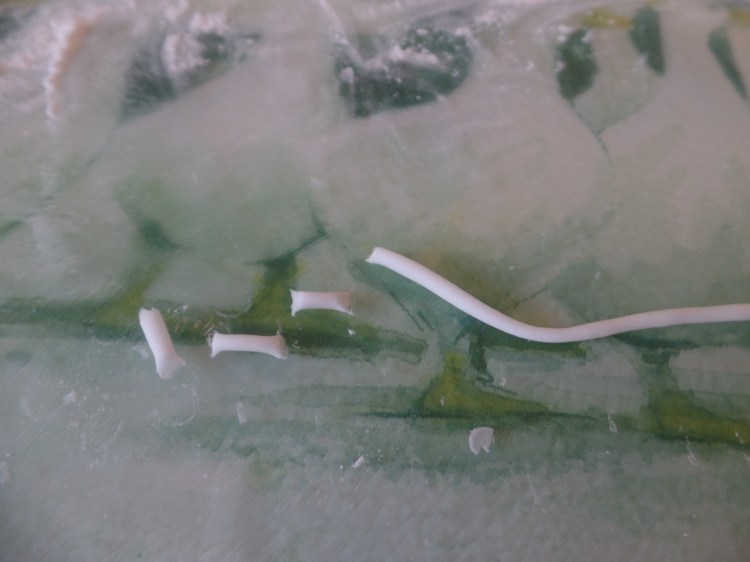
Then sprinkle on top.

Great idea!
LikeLiked by 1 person