


It is safe to say that I have been a bit of a busy bee this Summer…
In a few weeks time I am leaving Edinburgh and moving up to Inverness where I will be going back to University to study Nursing. Therefore I have been busy working lots of overtime to try and save up money, packing up my flat and also spending lots of time with my friends and boyfriend before I leave. Unfortunately packing up my flat means that my cake tins, stand mixer and all other baking bits have been boxed up (sadly shared student kitchens and the Nursing student schedule are not really conducive with baking/blogging!) This means that this is the last bake I will be sharing for a while. I hope you like it…
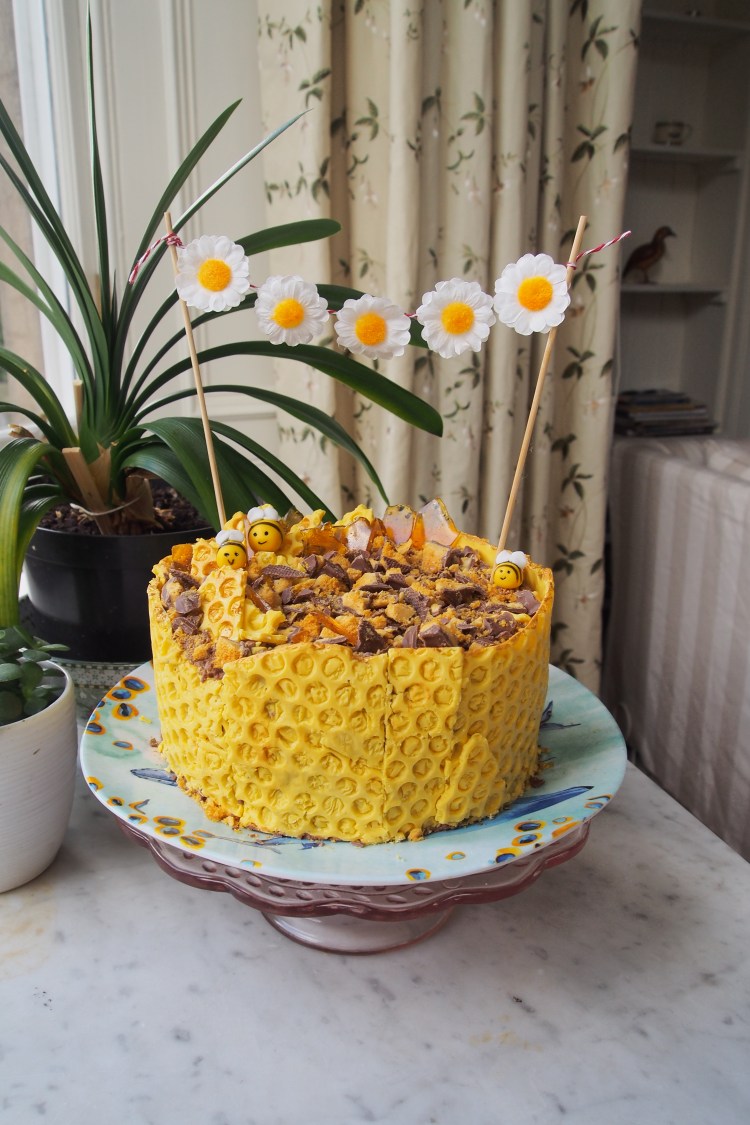
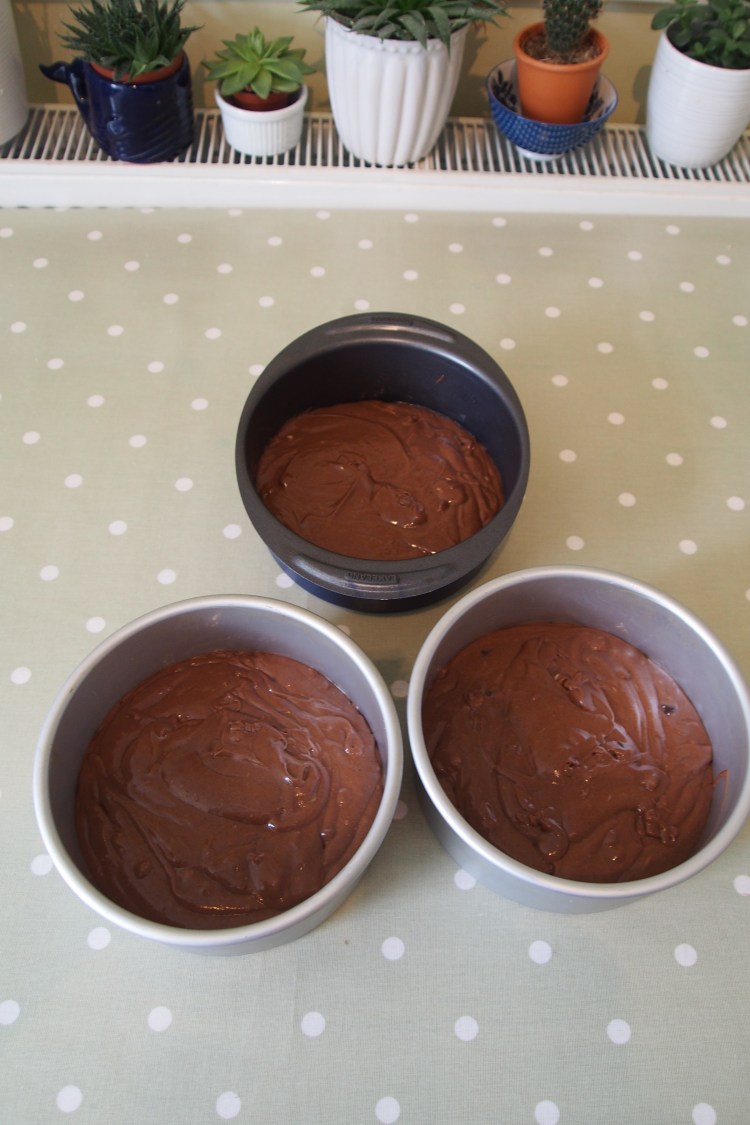
This chocolate honeycomb cake was a bit of an experiment and I definitely adapted the recipe and made things up as I went along. For example my recipe makes three sponges but in the end I decided just to use two of them. If you decide to follow this recipe (which I would definitely recommend as it makes a really nice fudgey cake!) then it’s up to you if you want to half the measurements or stick to the original but use bigger cake tins to make two sponges instead of three.
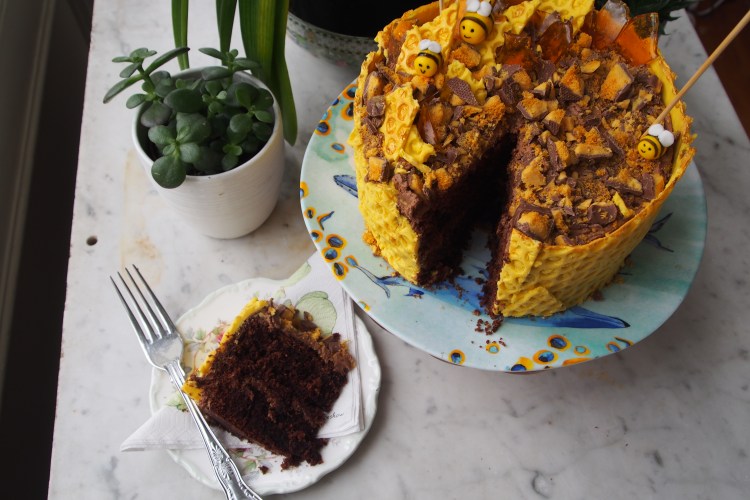
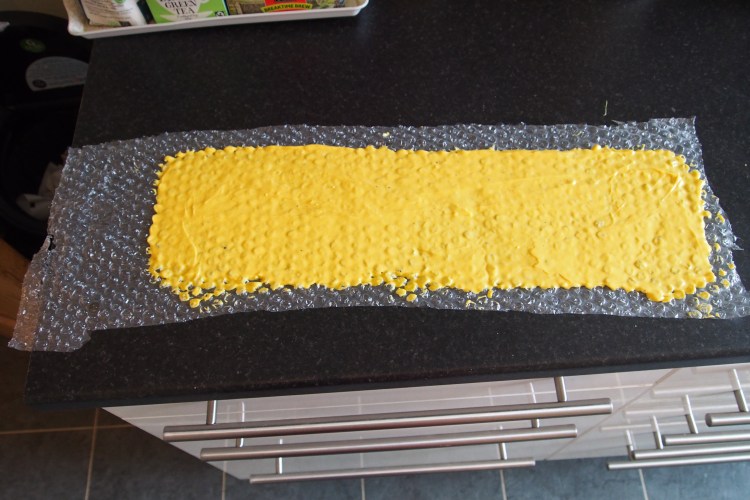
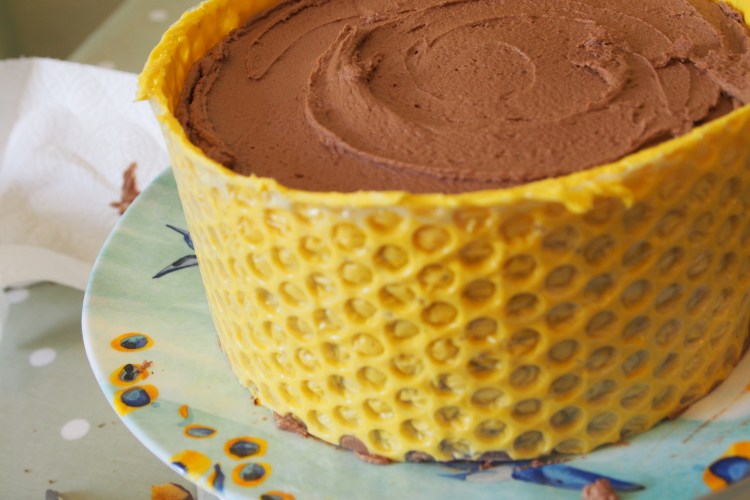
The mixture of chocolate and honeycomb was a winning combination and the whole cake was gobbled up at work in a very short space of time. Making the yellow chocolate collar that went around the cake was also really fun and very simple to make (just bubblewrap and melted white chocolate).
Serves:
10-12
Prep Time:
2.5 Hours
Ingredients:
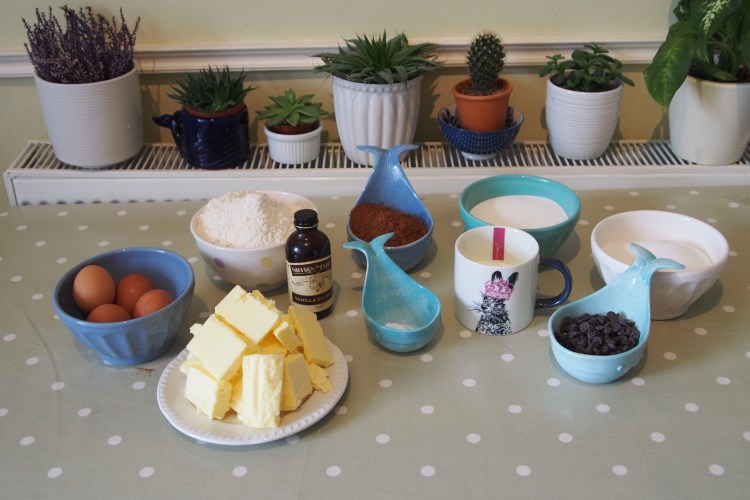
For the Sponges:
200g Plain Flour
1 Tsp Bicarbonate of Soda
100g Cocoa
550g Caster Sugar
350g Butter, Softened
4 Eggs
1 Tbsp Vanilla Extract
160ml Sour Cream
100g Chocolate Chips
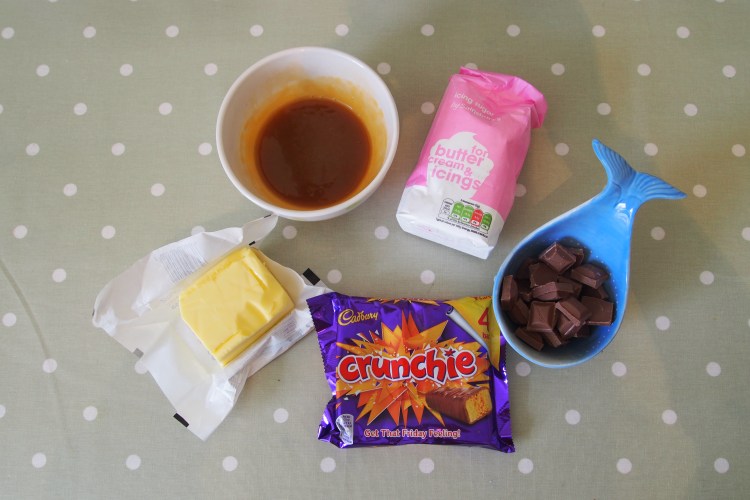
For the Icing and Decoration:
100g Milk Chocolate
200g Butter
400g Icing Sugar
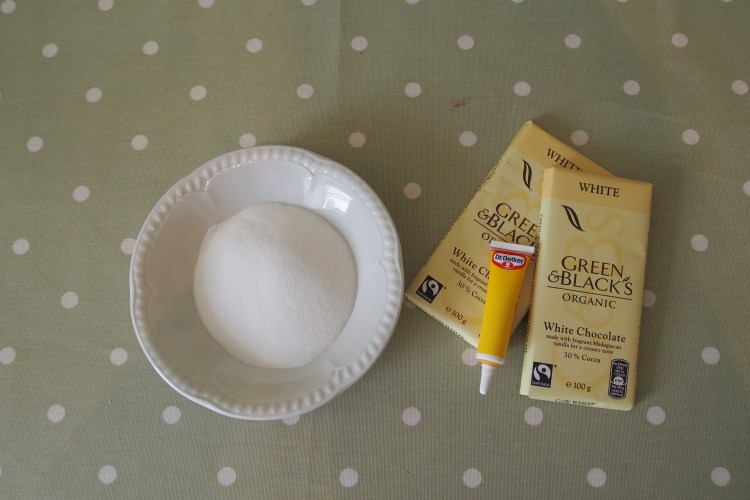
200g White Chocolate
Bubble Wrap (washed and dried)
Yellow gel food colouring
Caramel Sauce *OPTIONAL*
(I was going to drizzle this in between/on top of the sponges but decided against it in the end. My tooth just isn’t sweet enough!)
250g Caster Sugar (for the caramel shards)
2 Multi Packs of Crunchie Bars
Method:
1. Preheat the oven to 170°C/ 325 F/ Gas Mark 3
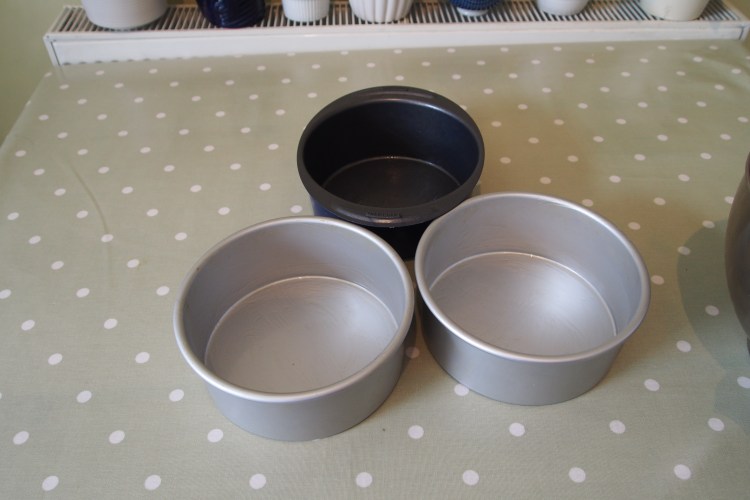
2. Line 2, 7 inch cake tins with baking paper OR take the lazy option like moi and grease them with cake release.
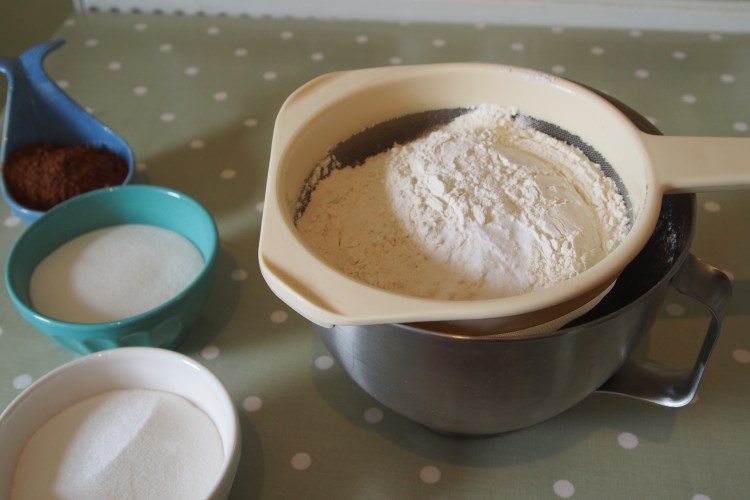
3. Sieve all of the dry ingredients into a mixing bowl then mix them together.

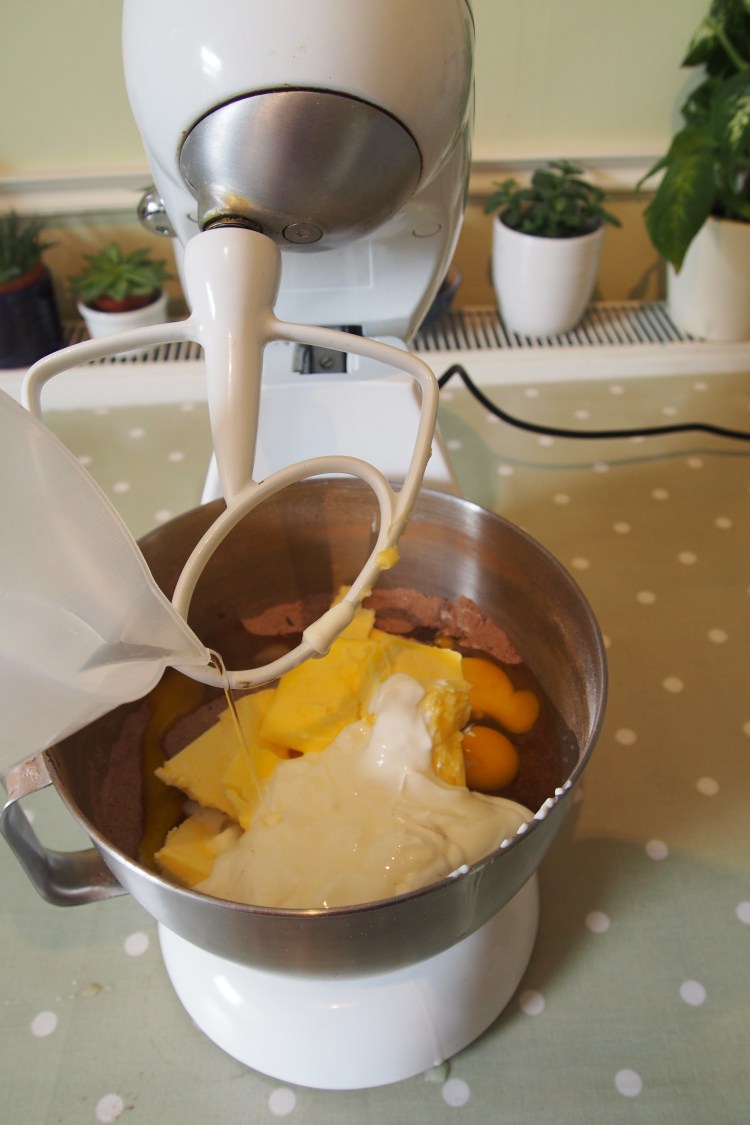
 4. Add all of the wet ingredients, INCLUDING 250ml of boiling water, and mix together on a low speed.

5. Pour the cake mix evenly between the three pre lined OR greased cake tins.
 6. Bake in the oven for 45 minutes, until the cakes are well risen and a skewer inserted in the centre comes out clean.
Time for decorations and icing…
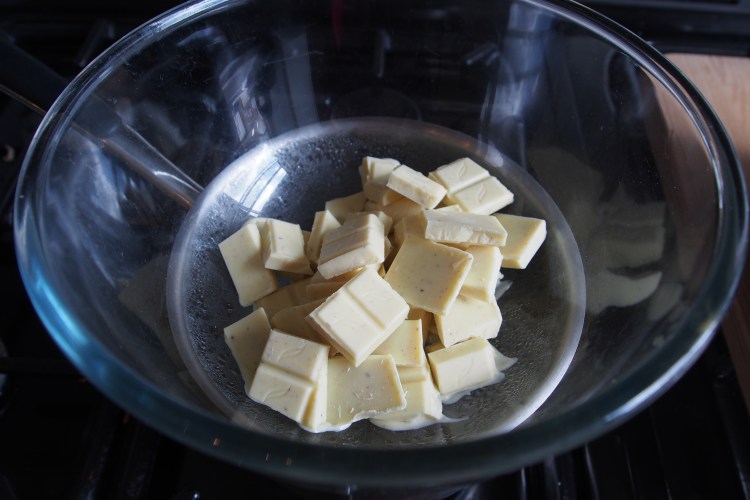
1. To make the chocolate collar that wraps around the cake you need to melt 200g of white chocolate in a bowl above a pan of simmering water. Once the chocolate is melted leave it to cool a bit then add the yellow food colouring.

2. Measure out the bubble wrap so it wraps around the cake. Now spread the melted white chocolate over the bubble wrap and then leave it to set a bit (you still want to be able to bend it without it cracking though).
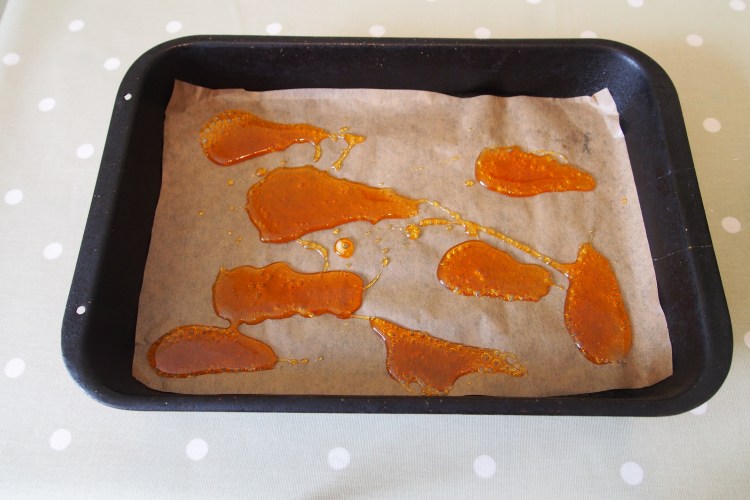
3. To make the caramel shards that go on top of the cake simply tip 250g of caster sugar into a heavy-based saucepan, stir in 4 tbsp water, then place over a medium heat until the sugar has dissolved. Wait for the sugar to turn an amber colour and then remove from the heat. Do not stir it or it will crystallise.
4. Line a baking tray with baking parchment and then dollop the caramel on top of it. Leave to set in the fridge.
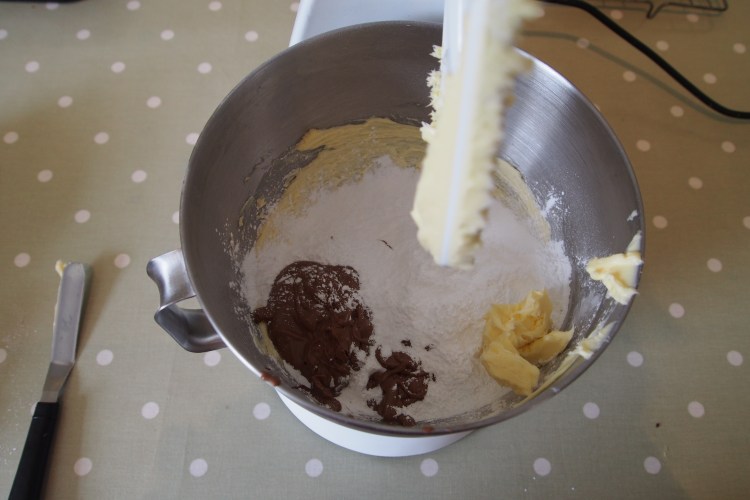
5. To make the icing, Beat the butter until pale and fluffy.
6 . Melt the milk chocolate in the microwave and add this and the icing sugar to the butter. Beat together on a high speed. Add a splash of milk if you feel it’s too thick to spread.

TIME TO DECORATE…
PLEASE NOTE… As I mentioned earlier, although I made 3 sponges, in the end I decided to just use two for the finished cake. You can use three if you want but I warn you that the finished cake will be HUGE!
1.Cut the tops off the cakes so that they are level.

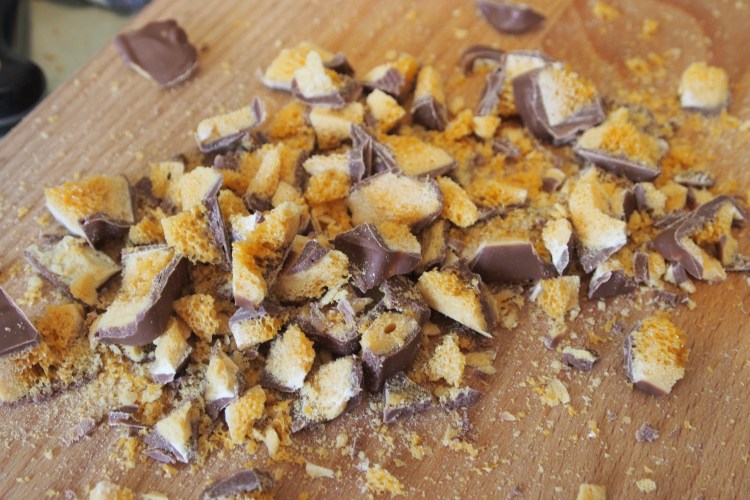
2. Chop up 4 Crunchie bars in to small pieces.
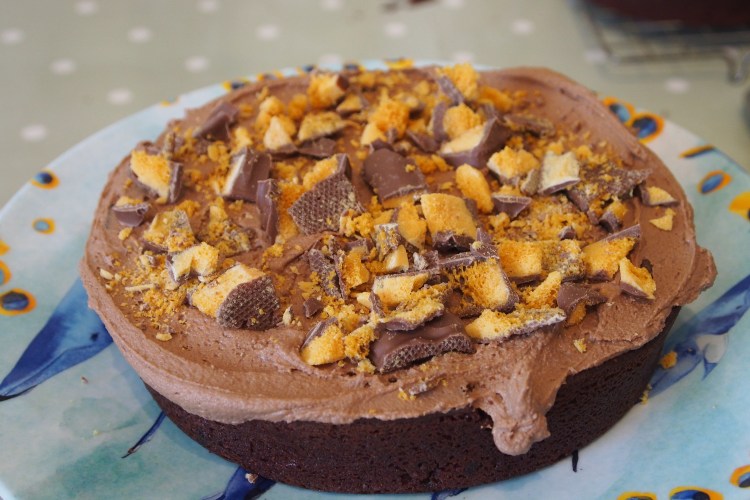
3. Ice the bottom cake and then sprinkle the Crunchie pieces on top.
4. Put the other sponge on top and then cover the whole cake in the chocolate icing.
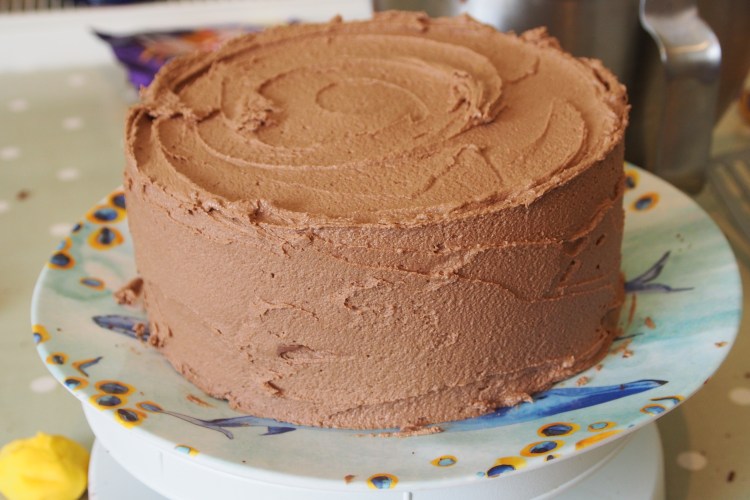
5. Wrap the white chocolate collar around the cake and then put the cake in the fridge for about 10 minutes so that the chocolate sets firmly around the cake.
6. Remove from the fridge and peel off the bubble wrap .
7. Decorate the top of the cake with the hard caramel shards, Crunchie pieces and any excess bits of white chocolate.
8. The sugarpaste bumblebees you see below are optional but add a nice bit of cuteness to the cake!
